Showing posts with label reflection. Show all posts
Showing posts with label reflection. Show all posts
Tutorial for Reflection
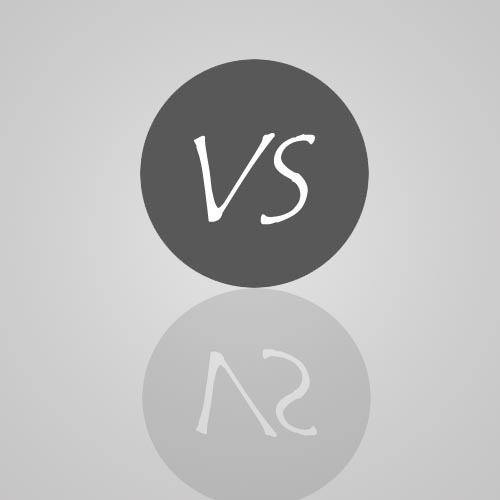
Final view

Step 1:
Create New File.
Paint Give the Gradient to background using gradient fill tool.

Step 2:
Make a new layer by pressing Ctrl+Shft+N. name it Layer1 .
Take Elliptical Marquee Tool and draw a round .
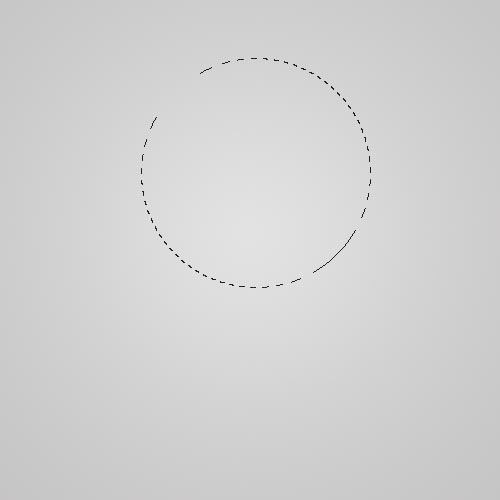
Step 3:
Fill this round with dark color by color fill (Shft+f5).

Step 4:
Take the Horizontal Type Text Tool ans add some text on round.

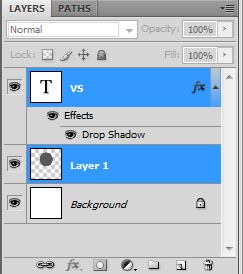
Now drop some shodow to text. go to blending options of layer ---> Drop Shadow. press OK.

Step 5:
Select Layer 1 and the text layer by pressing ctrl. and merge both layers by pressing Ctrl+E.
Step 5:
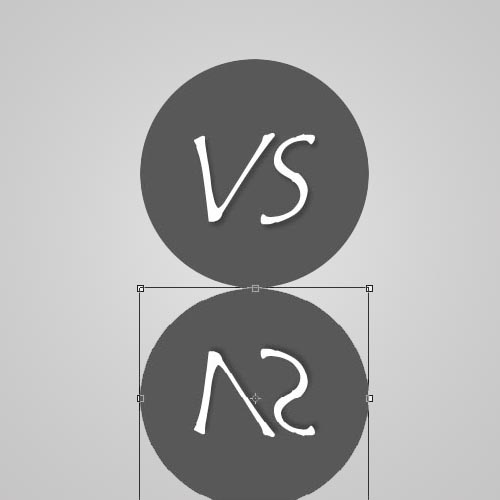
Now ake a duplicate layer of that layer by pressing Ctrl+J.
Press Ctrl+T for transforming the copied layer.
Press and hold the pointer on the top-middle edge of layer and drag it to below.
the layer becomes opposite like mirror image.
Step 6:
Fix this layer. and change the opacity of the layer to 17% - 20%.
Step 7:
Take the Eraser toll and select the brush as shown.
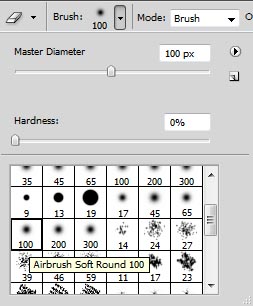
Now erase the bottom area of the copied/reflected layer.
Done..!!

Today I am going to make a tutorial for the text reflection. Actually I think you may also use this technique in other design for the reflection purposes. Lets start then. Open the PS for sure then open a document and we need it in 400px X 200px with white background.
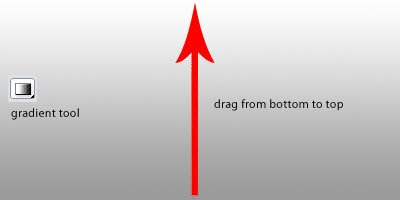
1. Create a new layer, rename as gradient_background, with gradient tool, set the foreground color to #999999 and the background color to white (#ffffff). Drag from the bottom to the top of the stage and you may get something like this:
2. Select the horizontal type tool and write something there and here I write LOONDESIGN. I use supersonic font for this typing with white color.

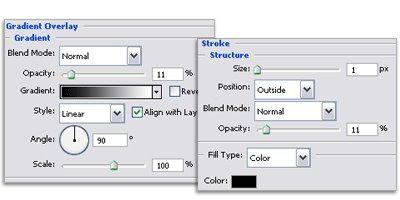
3. Double click on the text layer to bring out the layer blending option and we need to set the stroke and gradient overlay option like below:
4. Ctrl + J to duplicate the text layer then right click on the copy layer and select Rasterize. Right click again and select clear layer style. Ctrl + T to bring out free transform option and right click on the stage and select flip vertical. Adjust the position and you will get something like this:

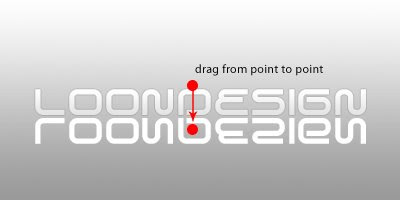
5. Select the rasterized layer again, press "Q" on your keyboard to use the Quick Mask Mode function. Select gradient tool, drag by holding shift like shown below. Press "Q" again and press Delete once. Set the layer opacity to 60%.
6. Create a new layer below all layers but above the gradient_background layer. Take Elliptical Marquee Tool and draw a circle as the image below shows.
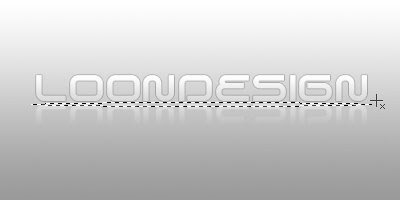
7. Fill it with black color then go to Filter > Blur > Gaussian Blur 2. Now adjust the layer to get the desired effect and change the Opacity to 30%. And you are done!

Now you can tune or set the text effect via the layer blending option and the gradient_background color with gradient tool. have fun!
Read more »
1. Create a new layer, rename as gradient_background, with gradient tool, set the foreground color to #999999 and the background color to white (#ffffff). Drag from the bottom to the top of the stage and you may get something like this:
2. Select the horizontal type tool and write something there and here I write LOONDESIGN. I use supersonic font for this typing with white color.
3. Double click on the text layer to bring out the layer blending option and we need to set the stroke and gradient overlay option like below:
4. Ctrl + J to duplicate the text layer then right click on the copy layer and select Rasterize. Right click again and select clear layer style. Ctrl + T to bring out free transform option and right click on the stage and select flip vertical. Adjust the position and you will get something like this:
5. Select the rasterized layer again, press "Q" on your keyboard to use the Quick Mask Mode function. Select gradient tool, drag by holding shift like shown below. Press "Q" again and press Delete once. Set the layer opacity to 60%.
6. Create a new layer below all layers but above the gradient_background layer. Take Elliptical Marquee Tool and draw a circle as the image below shows.
7. Fill it with black color then go to Filter > Blur > Gaussian Blur 2. Now adjust the layer to get the desired effect and change the Opacity to 30%. And you are done!
Now you can tune or set the text effect via the layer blending option and the gradient_background color with gradient tool. have fun!
Subscribe to:
Posts (Atom)


- Follow Us on Twitter!
- "Join Us on Facebook!
- RSS
Contact