Showing posts with label lightning. Show all posts
Showing posts with label lightning. Show all posts
Tuesday, March 31, 2015
effect,
for,
lightning,
photoshop,
text,
tutorial
0
comments
Photoshop Tutorial for Lightning Text Effect
Tutorial for Lightning Effect
Final view
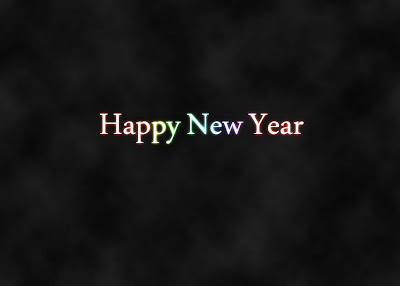
Step 1:
Create New File.
Paint The background with Black color.

Step 2:
Add your text on it at center withe white color.

Now Make the duplicate layer of the text by righting on the layer, and hide that layer.
Step 3:
Now go to the layer properties ---> Gradient Overlay ---> Select rainbow colors (R,Y,G,SB,V,P,R).
set Angle to 0 or 180.
And set scale to 70 .

Step 4:
Now go to Filter ---> Gaussian blur
Set the radius to "3.7 to 4.2"

Step 5:
Now make the hidden text layer visible.

Now go to layer properties ---> Outer Glow ---> set the Blend Mode to "Color Dodge".
Set Opacity to 50%.
Set size to 20px.
Done..!!

Tutorial for Lightning Effect
Final view
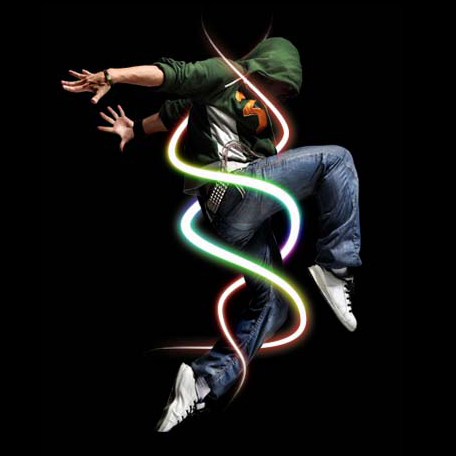
Step 1:
Create New File.
Paint The background with Black color.
Step 2:
Add your image/object on at center .
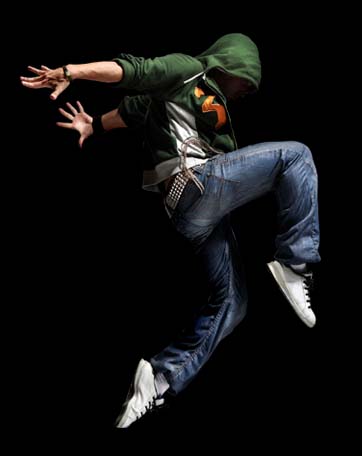
Step 3:
Now Make a new layer by pressing Ctrl+Shft+N. Name the layer (layer1).
Now Make a new layer by pressing Ctrl+Shft+N. Name the layer (layer1).
Take the Pen Tool and create a Path around the objectivr or image.
Note : Before selecting Pen Tool Select Brush tool and set the radius of normal brush to 9px and the color to white.

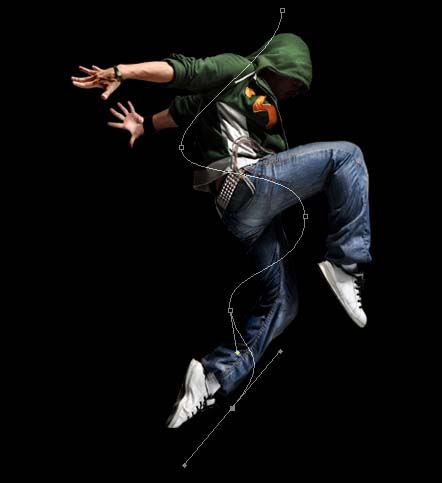
Step 3:
Now right click on the image and select Stroke Path.
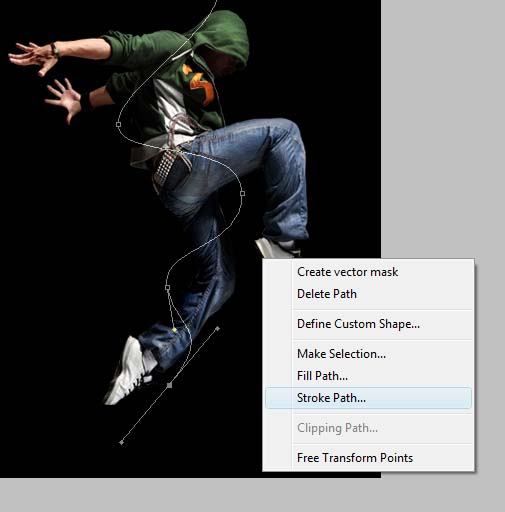
Note : Before selecting Pen Tool Select Brush tool and set the radius of normal brush to 9px and the color to white.
(Pen Tool)
Step 3:
Now right click on the image and select Stroke Path.
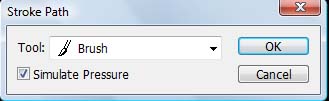
Select Brush for stroke as shown below.
Note : This will take 9px brush and white color as we set earlier..
Press ok.
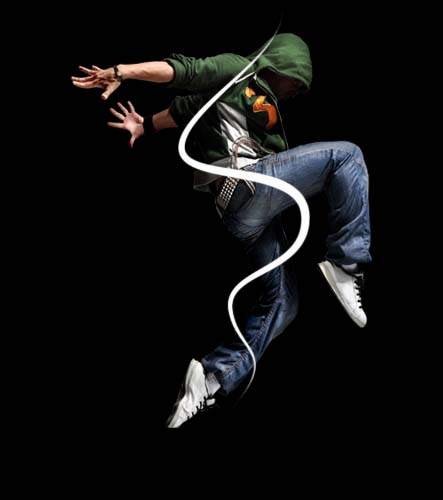
You will get the white stroke around your path.
Step 4:
Now make Duplicate layer of this Layer1 by pressing Ctrl+j (copy of layer1) and hide this layer.
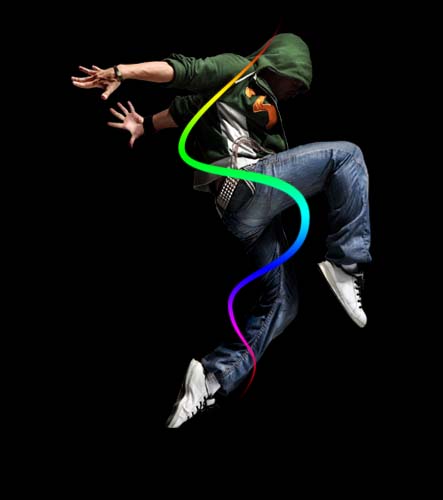
Now select Layer1 and Goto Blending Options ---> Gradient Overlay ---> Select rainbow colors(R,Y,G,SB,V,P,R) and click ok.
Step 5:
Now go to Filter ---> Gaussian blur
Set the radius to "4 to 4.2". press OK. and make the hidden(Layer1 copy) layer visible.
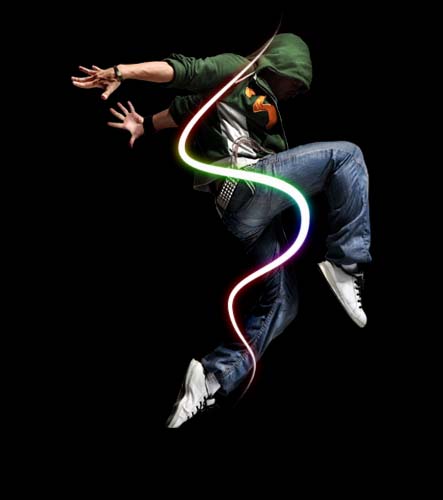
Step 6:
Now select "Layer1 copy" layer.
Go to Blending Options ---> Outer Glow ---> set the Blend Mode to "Color Dodge".
Go to Blending Options ---> Outer Glow ---> set the Blend Mode to "Color Dodge".
Set Opacity to 50%.
Set size to 20px.
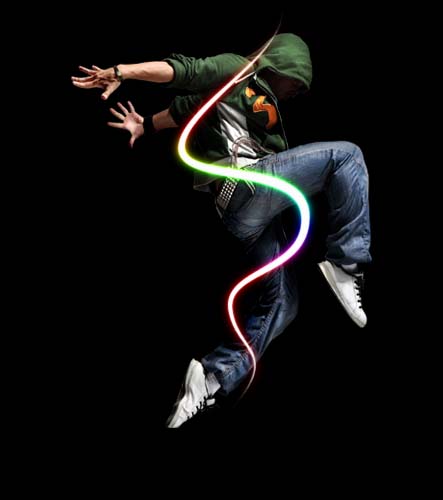
Step 7:
Now Merge bote Path layers (Layer1 + Layer1 copy).
select Eraser tool and erase the the area of path.
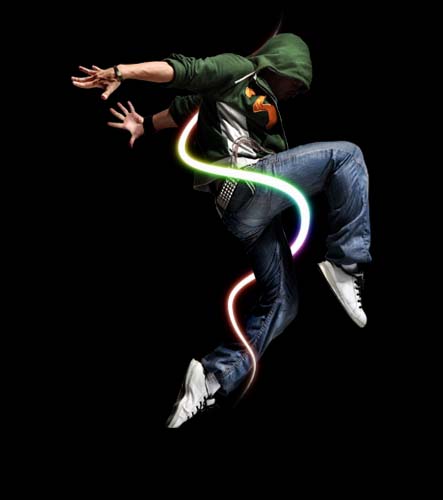
Now You can create one more path like this..
Note : Make New layer While Creating another path. so that it doesnt affect on old one..
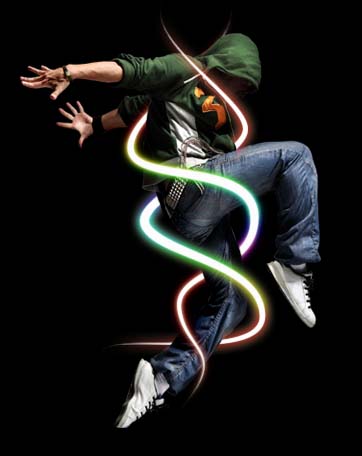
Sparkle Lightning Effect
Final view

Step 1:
Create new file background with Gradient tool (Gray shades).
Create new file background with Gradient tool (Gray shades).

Step 2:
Take the image which is to be used. make stature (Image ---> adjustment ---> Sature )
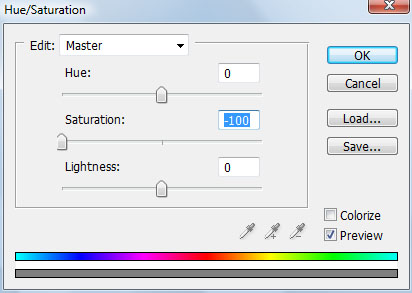
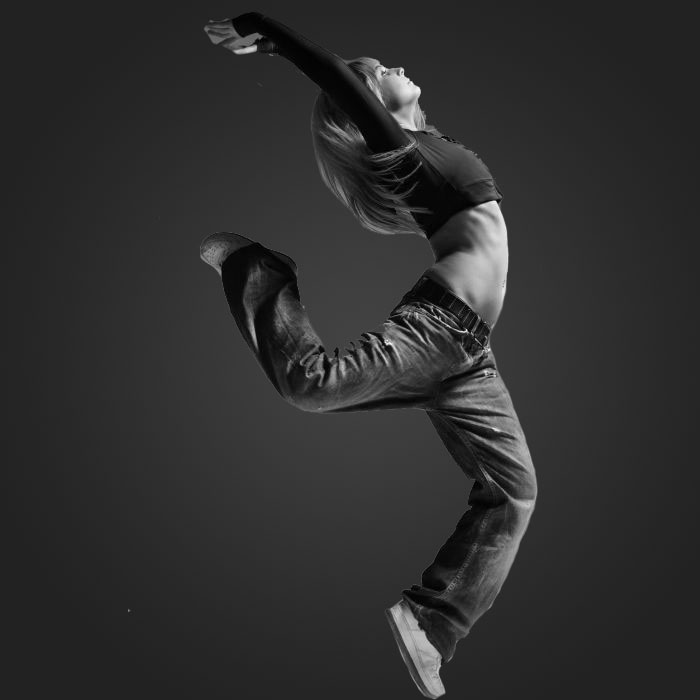
Double click on layer and name the layer as "Object".
Step 3:
Now make a new layer below the object layer.
Here we use the splatter brushes.(download spatter brushes set).
Select the white/black color and make clicks on the layer .Now Go to Filter ---> Blur ---> Gaussian Blur and set radius to 2% - 3%.
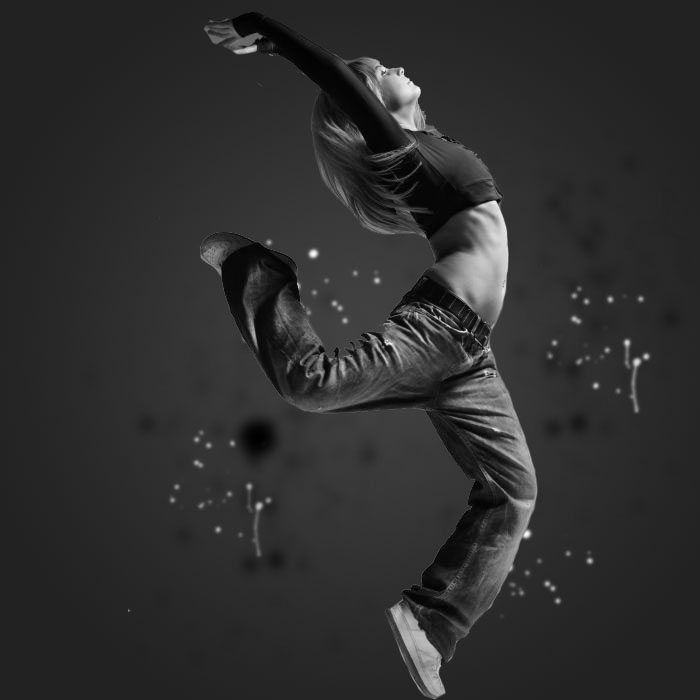
Here we use the splatter brushes.(download spatter brushes set).
Select the white/black color and make clicks on the layer .Now Go to Filter ---> Blur ---> Gaussian Blur and set radius to 2% - 3%.
Now Make new layer (Ctrl+Shft+N) .
and select black color and spatter brush, Make some clicks on Image.
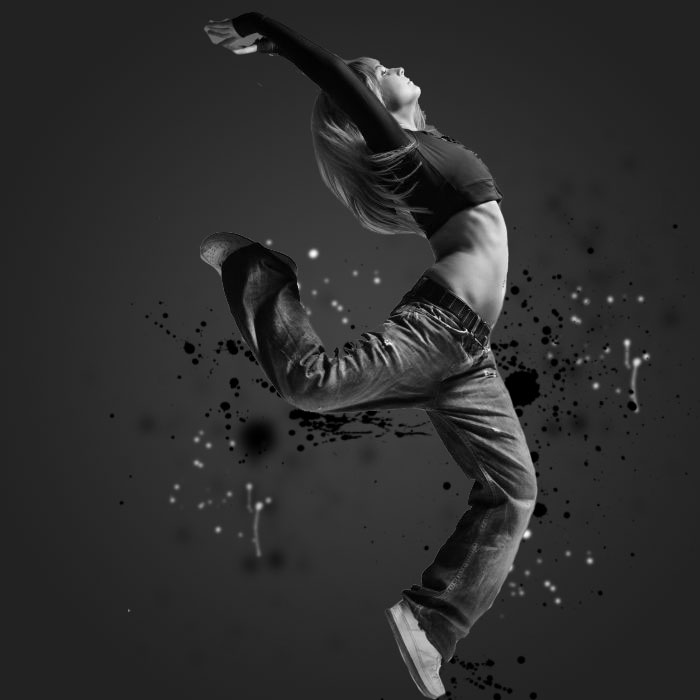
Step 4:
Again Make new layer (Ctrl+Shft+N).
and select whitecolor and spatter brush, Make some clicks on Image.
Again Make new layer (Ctrl+Shft+N).
and select whitecolor and spatter brush, Make some clicks on Image.

Now Go to Blending Options ---> Outer Glow and make following changes.
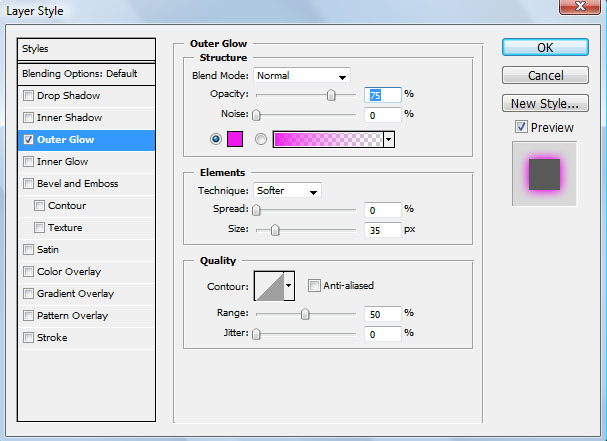

Step 5:
Now Make a new layer again (Ctrl+Shft+N). select splater brush and white color and click on layer. and give outer glow from blending options (Red color).


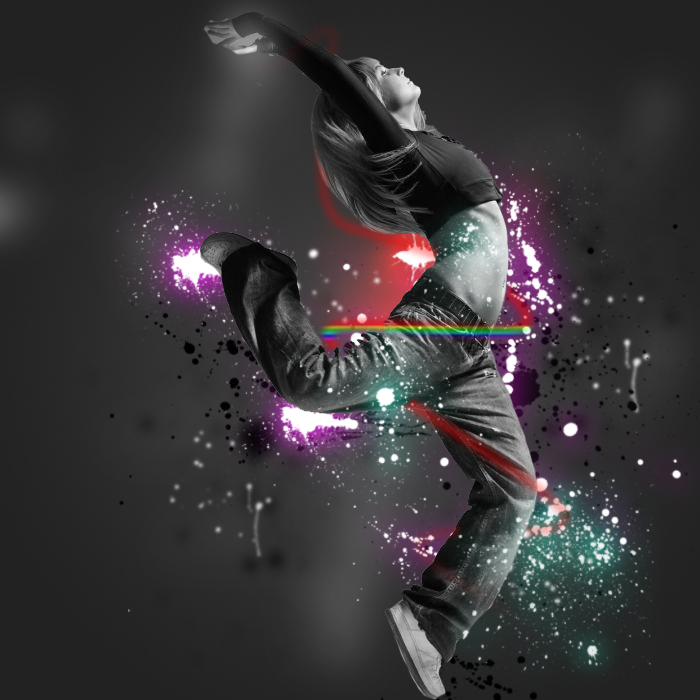
We discus all these layers below the "object" layer.
Now make the new layer above the Object layer and repeat same procedure.
Step 6:
Make a new layer and select Pen tool. and make the path around the object, right click on path and select Stroke Path ---> Brush.
While selecting Brush option make sure that your brush color is set to white and radius to 3 to 4.
Click OK.
select eraser tool and remove the some area of pathso that it looks like rounded to the object.
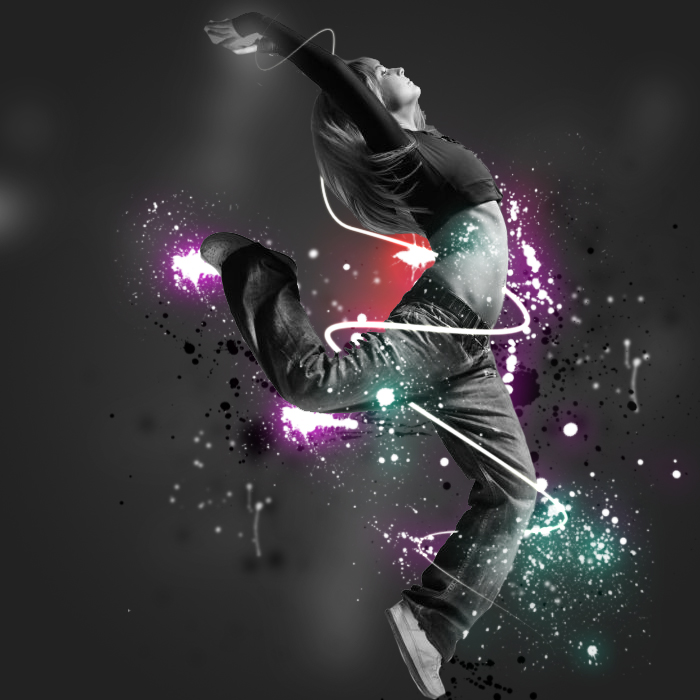
While selecting Brush option make sure that your brush color is set to white and radius to 3 to 4.
Click OK.
select eraser tool and remove the some area of pathso that it looks like rounded to the object.
Make a duplicate layer of path(Ctrl+j) and hide duplicate layer.
Select original path layer and go to Blending Options ---> Gradient Overlay ---> Select rainbow ---> OK.
Now go to Filter ---> Blur ---> Gaussian blur and make the radius to 4%.
Now visible the hidden path layer and go to Blending Options ---> Outer Glow.
Set mode to Color Dodge and increse the size ---> OK
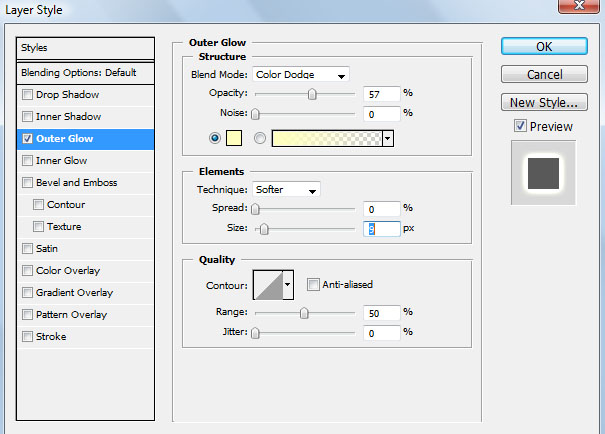

Step 6:
Make new layer and drop some stars and Give the outer glow to them..

Done..!!
Subscribe to:
Posts (Atom)


- Follow Us on Twitter!
- "Join Us on Facebook!
- RSS
Contact