Showing posts with label flaming. Show all posts
Showing posts with label flaming. Show all posts
Thursday, April 30, 2015
adobe,
an,
ball,
create,
flaming,
glossy,
how,
illustrator,
in,
to,
ultra
0
comments
How to Create an Ultra Glossy Flaming Ball in Adobe Illustrator
Tutorial Details
- Program: Adobe Illustrator CS5
- Difficulty: Intermediate
- Length: 22:58 mins
Final Product What Youll Be Creating


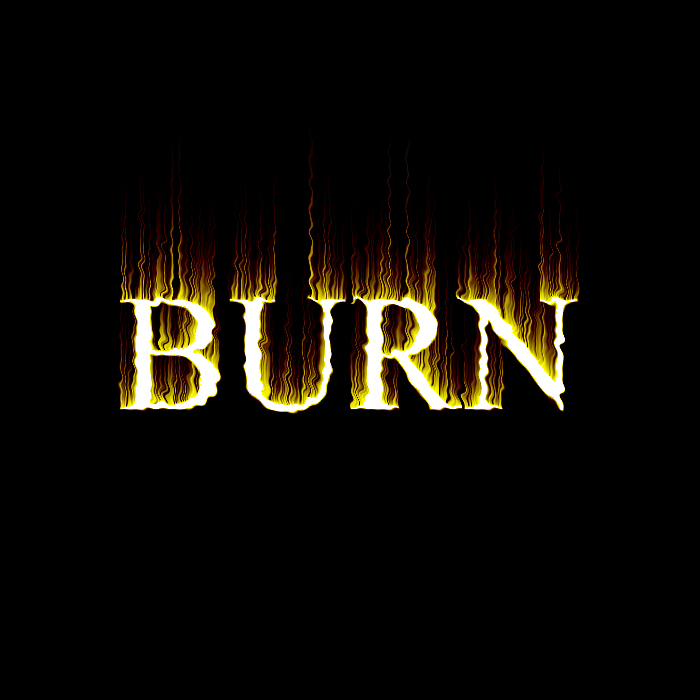
Making Flaming OR Burning Text
Burning text effect is mostly used in Advertising and Banner Designing.. When you have to Use the burning images in project, you may put the title of the project using this text effect..
Also there are many text effects used in banner designing at different positions.. some of the effects are Glossy Metal Text, Shiny Text and more..
Final view
Step 1:
Create new file and fill background with black color (Shft+f5 ---> color ---> Select Black color---> OK).

select Horizontal Type Text tool and write your text with white color.
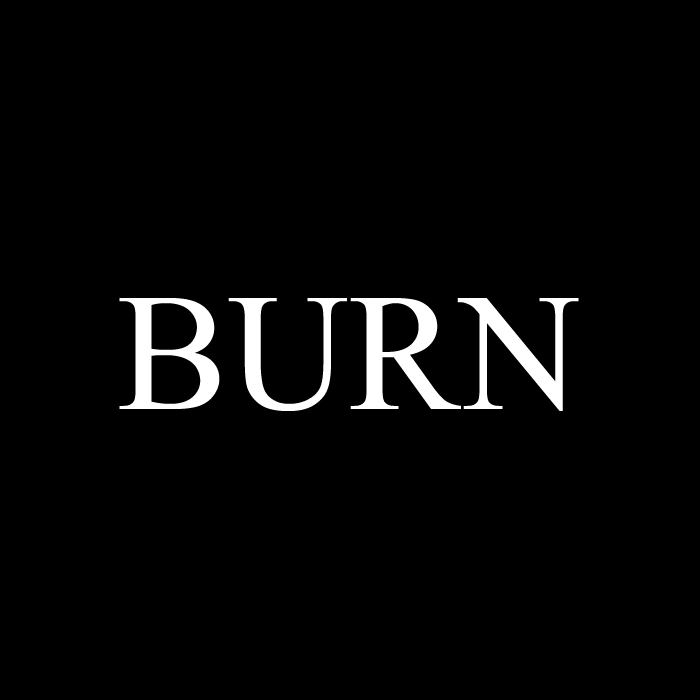
Create new file and fill background with black color (Shft+f5 ---> color ---> Select Black color---> OK).
Step 2:
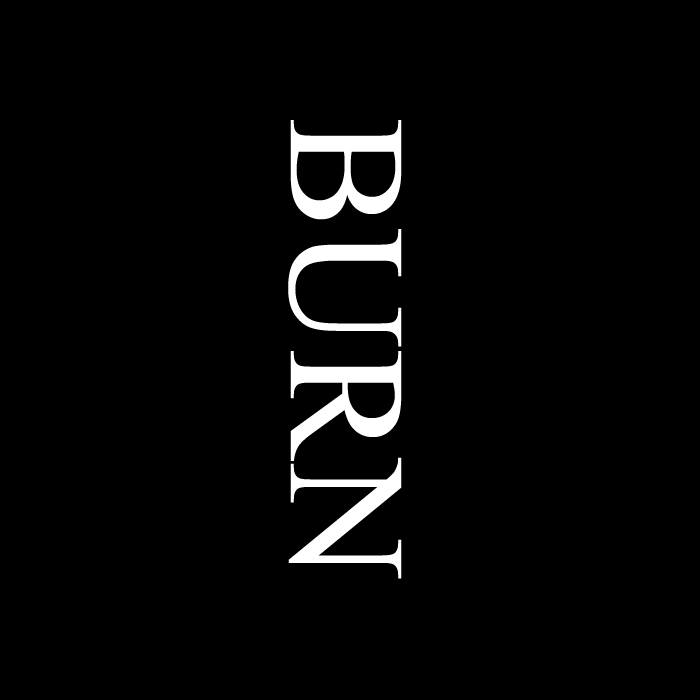
Right click on this text layer and select Rasterize this Layer.
Now Rotate your Image To clock wise 90 degree.
Go to filter ---> Stylize ---> Wind
Set "Method = Wind" and "Direction = From Left".
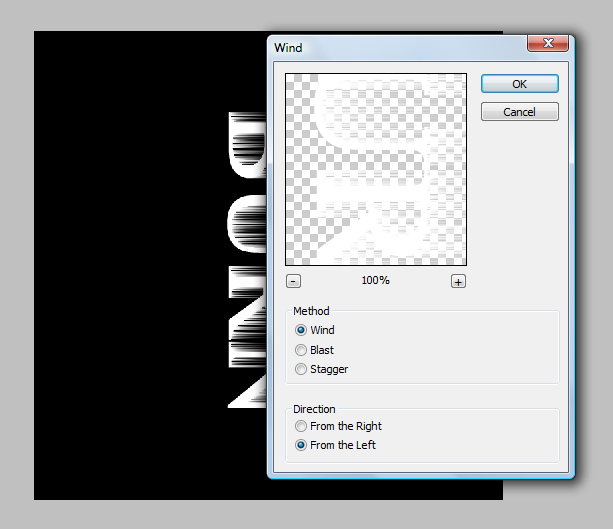
Hit Ok..
Repeat this process 3 times for better wind effect.
Step 3:
Now Go to Filter ---> Distort ---> Ripple
Set Amount between 100 to 110.
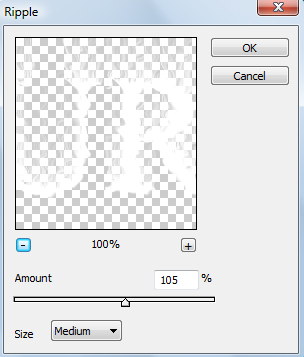
Hit OK.
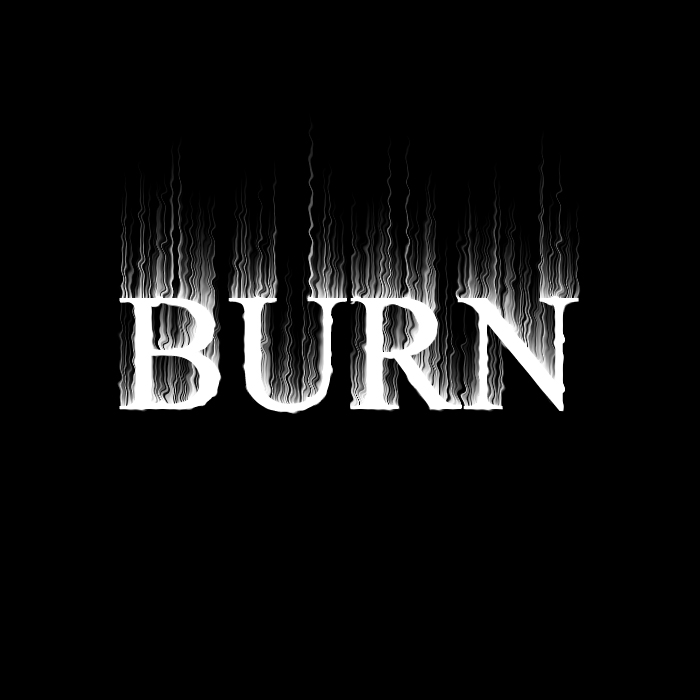
Step 4:
Make new Layer (Ctrl+Shft+N)
Select Brush Tool and Select Orange color to fill .
fill the area of text with orange color by brush..

and set the mode of this layer to "Color Burn".
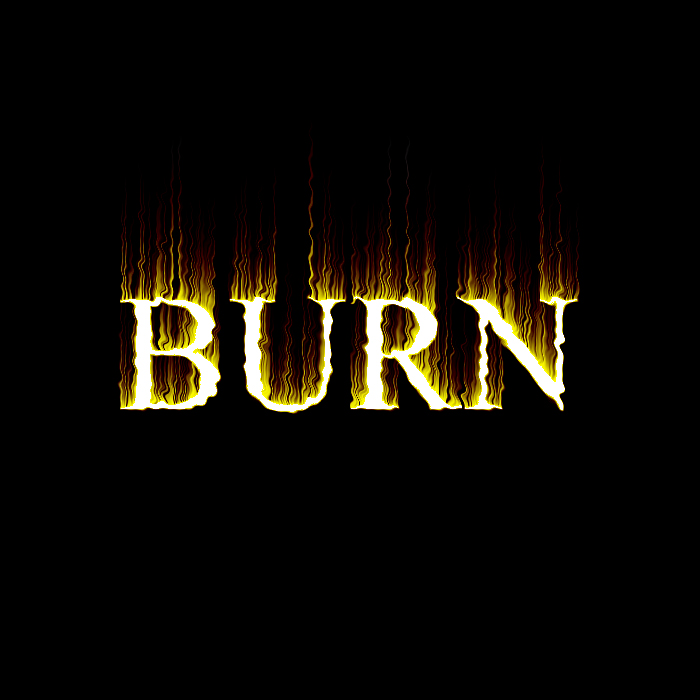
Done..!!
Photoshop Tutorials
Step 1
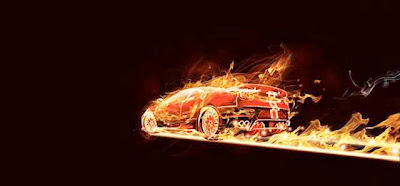
Open Photoshop and create a new document. Make the background with a mix of black and red (#160000). Then with the image of a car with no background. For this first step the idea is get the outlines of the car for our image. To do that, its pretty easy. Create a new layer by duplicating the cars layer. Rename it to "Base" and hide the original. Go to Image>Adjustments>Invert.
After that go to Filter>Stylize>Find Edges. Repeat the same thing again in order to have another layer but for the Blend Mode use Hard Light. After that you can merge those 2 layers into one.

Step 2
Your image will look like this:

Step 3
Now that weve gotten the cars outline we will have to apply the light effect on it so it will look like a flaming car.
In the same layer that we created in the step 1, lets apply a Gaussian Blur. Go to Filter>Blur>Gaussian Blur. The value will vary depending on the resolution you are working on. In my case I used 1.6 for the Radius. After that change the Blend Mode to Scree.
Duplicate the the layer keeping the same blend mode, however lets apply a Gaussian Blur again, go to Fitler>Blur>Gaussian Blur and use 3.6 pixels. Rename this layer to "Top". Duplicate the layer we created in the first step and merge it down with this one. Then duplicate the first layer again and rename it to Red and go to Image>Adjustments>Hue and Saturation. Select Colorize and change the Saturation to 100. The Blend Mode of this layer will be Overlay.
Lets repeat this again to create the yellow version. Go to Image>Adjustments>Hue and Saturation and use 40 for the Hue. Do the same again to create an orange version, then for the Hue and Saturation use -22.
After that change the Opacity of the yellow and orange layers to 50% and put them inside a folder. You can do that by selection both and going to Layer>Group Layers. Then with the group select go to Layer>Vector Mask and then delete the outlines on the rear part of the car.

Step 4
Our effect is pretty much done. Now lets duplicate the original layer that we hid on the step 1. Select it and go to Image>Adjustments>Hue an Saturation. Select colorize and change the Saturation to 100. Put this layer in a folder and rename it to Car.

Step 5
Add a new layer and name it "Superior Line" before starting adding flames and other light rays. With the Brush Tool (B) with Hardness 0 add a line following the tires skid marks and go to Filter>Blur>Gaussian Blur. I used 4.5 pixels for the radius. After that go again to Image>Adjustments>Hue and Saturation. Use +76 for the Hue. Tip: You will have to do that for the right side tires and the left ones as well.

Step 6
Now lets start mixing some images in our composition. Get some flame images ad start adding them in your image. Notice that the flame images I have they are all in black background, that way you can use Screen for the Blend Mode and the black will be transparent.

Step 7
Keep adding more flames.

Step 8
Here I added another flame image. You can change the perspective of the image by going to Edit>Transform>Perspective. Once again use Screen for the Blend Mode, and if you wan the effect to be stronger, just duplicate the layer.
Img8
Step 9
Select one of the flames that you used for the skid mark and move it so it is underneath the car. Do that for the front and rear part of the car.

Step 10
Almost done. Lets add a few more details. Add a new layer and then with the Brush Tool (B), use a rounded brush with 0% Hardness to create some little spots of fire following the skid marks. Make sure you use different sizes for the spots like the image below.

Step 11
Duplicate the layer and go to Image>Adjustment>Hue and Saturation. Select Colorize and change the Saturation to 100 and the Lightness to -50. After that change the Blend Mode to Overlay. Duplicate that layer again and go to Image>Adjustments>Hue and Saturation. Change the Hue to 76.
Subscribe to:
Posts (Atom)


- Follow Us on Twitter!
- "Join Us on Facebook!
- RSS
Contact