Showing posts with label splash. Show all posts
Showing posts with label splash. Show all posts
Friday, April 3, 2015
a,
create,
effect,
glowing,
in,
liquid,
photoshop,
splash,
text,
water,
with
1 comments
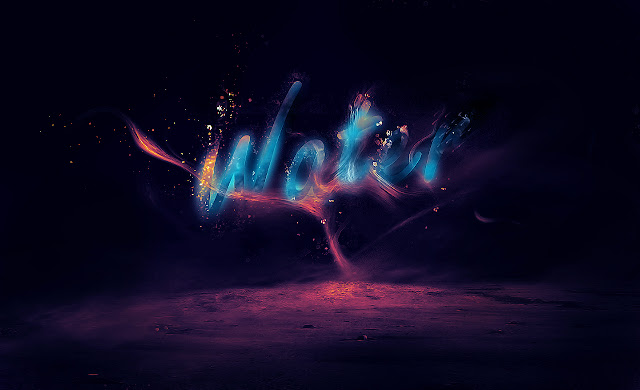
Create a Glowing Liquid Text with Water Splash Effect in Photoshop
Ground texture
Water pattern image
Water splash brush
Step 1
Create a new document sized 1280px * 800px with black background. Load the Ground Texture stock image into Photoshop, and select a piece of the ground as shown below:

Copy and paste the selection onto our document, use a soft eraser to remove the edges and some parts of the ground as shown below:

Add the following 3 adjustm
ent layers on top of the ground texture layer:
Black and White

Levels

Curves

Create a new layer on top and add some cloud effect over the ground with either a cloud brush or the cloud filter – this adds some dramatic effect into it:

Step 2
We will now add some text onto the document – I used the “Freestyle Script” font (should come with Photoshop):
Apply the following layer blending options to this text layer:
Bevel and Emboss

Color Overlay

Outer Glow

and you will have the following effect:

Step 3
We add some water pattern over the text – download the water pattern pack and choose one of the images, select a portion of it with any selection tool:
Copy and paste the selection over the text and set it as a clipping mask to the text layer:

We will go back to the water images and select a piece again, then copy and paste the selection and put it below the text layer, use the liquify filter’s forward warping tool to make it into a pattern as shown below:

This step can be a bit and you will probably need to have a few tries before getting it right. The effect below is the one you’re aiming to achieve:

Step 4
Load the water splash brush into Photoshop and paint some splash around the text, use a soft eraser to fade the edges of the splash for depth:
We will fine tune the colour effect a bit with the following image adjustment layer on top:
Selective Color
Cyans

Whites

Neutrals

Layer mask on the selective colour adjustment layer:

Curves

Layer mask on this curves adjustment layer:

Color Balance


and you will have the following final image: (click to enlarge)

That’s it for this tutorial! Hope you enjoy it and find it useful! Till next time, have a great day!
 Writer : Tommy Kurniawan
Hello! My name is Tommy. Im a blogger, I love graphics design and now i went to Architechture Technical Senior High School. | Facebook |
Source : PSDVault

Subscribe to:
Posts (Atom)


- Follow Us on Twitter!
- "Join Us on Facebook!
- RSS
Contact