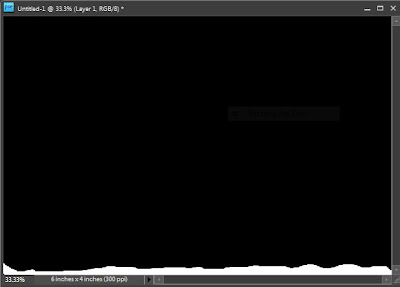
1. Open a blank document with black background.
2. Create a new blank layer and paint the lower bottom area as white with brush tool as shown below
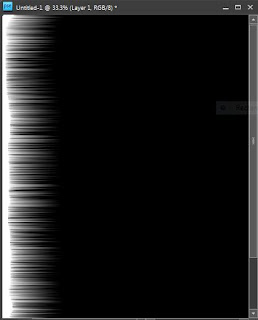
3. Now rotate it right by 90 from Image>Rotate > 90 Right.
5. Filter> Stylize> Wind . Repeat it thrice using Control+F to achieve the following result
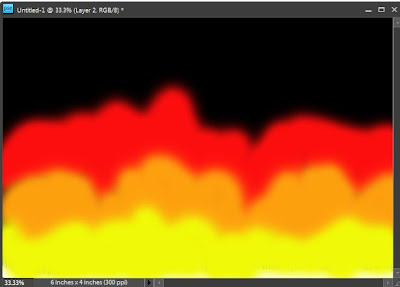
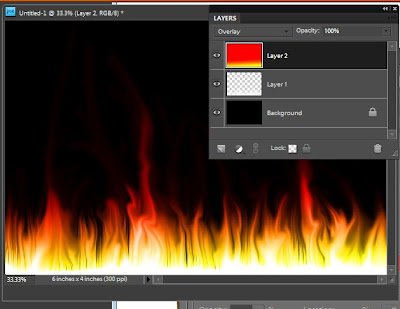
6. Now create another blank layer and use hard brush to paint the area with red, orange and yellow as shown in the figure below. Select topmost layer and go to Filter>Gaussian Blur. Set the radius to 8. Here is how it looks like after this step.
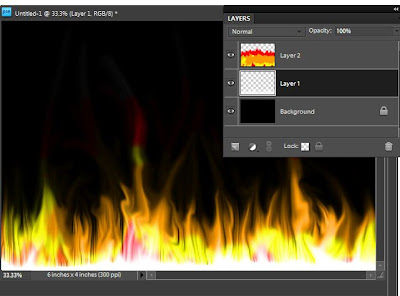
7. And now change the blending mode of this layer to Overlay (from Blending modes dropdown in layer palette). The output looks as shown below :

8. Now select the layer below(with wind effect, 2nd layer from bottom) and select Smudge tool from the left toolbar and start smudging it from bottom through up. It looks like this :
9. Now select the gradient tool and click on Edit button on topbar to define three gradient colors as shown in figure. Move the color stops such that left most is yello, middle stop is at Orange and right most at Red.
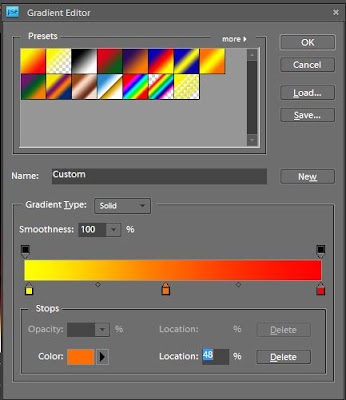
10. Now select the topmost layer in the layer palette and strike the gradient from bottom to middle.
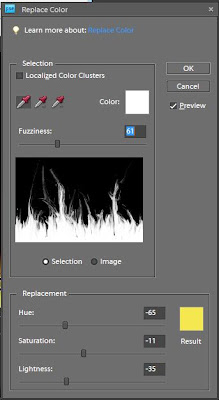
11. Now Control+click on the middle layer(Wind layer) and go to Enhance> Adjust Color> Replace Color. Replace the white color with yellow by selecting respective colors from the color swatches in the dialog.
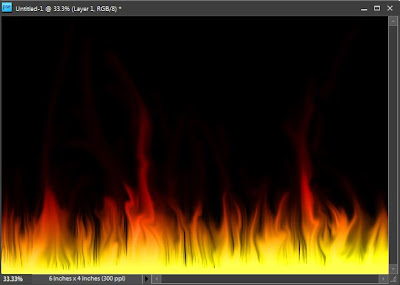
12. Click Ok and here is the final output which I got.
Subscribe to:
Post Comments (Atom)


0 comments:
Post a Comment