Interactive Distortion Tool – Corel X3 Tutorial
In this tutorial we will show you how to use the interactive distortion tool for you to make designs for your envelopes, letters, etc in Corel X3.
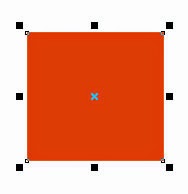.jpg)
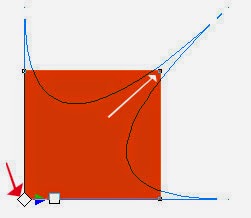
Then, select the Interactive distortion Tool:

After that select the down left corner of the rectangle and start releasing it to the top, look:
Keep releasing until you have the shape you desire:

Now you can apply this shape to letters, envelopes, etc.

Just use your imagination =)
Download the original source files from this tutorial in Zip format Here
Subscribe to:
Post Comments (Atom)


0 comments:
Post a Comment