Showing posts with label fashion. Show all posts
Showing posts with label fashion. Show all posts
Easy Retro Style Fashion Touch
Final view
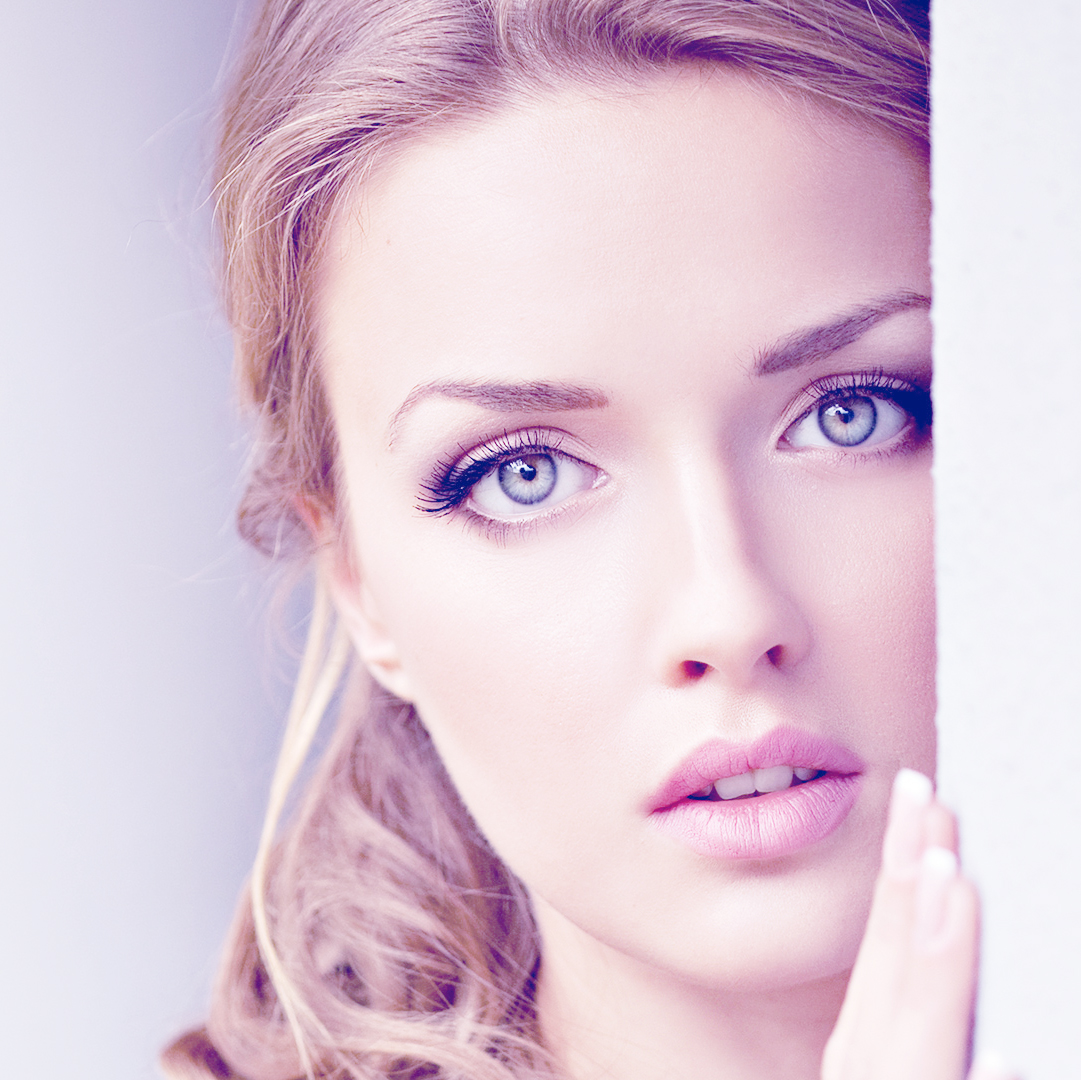
Step 1:
Take a image/photo to edit.
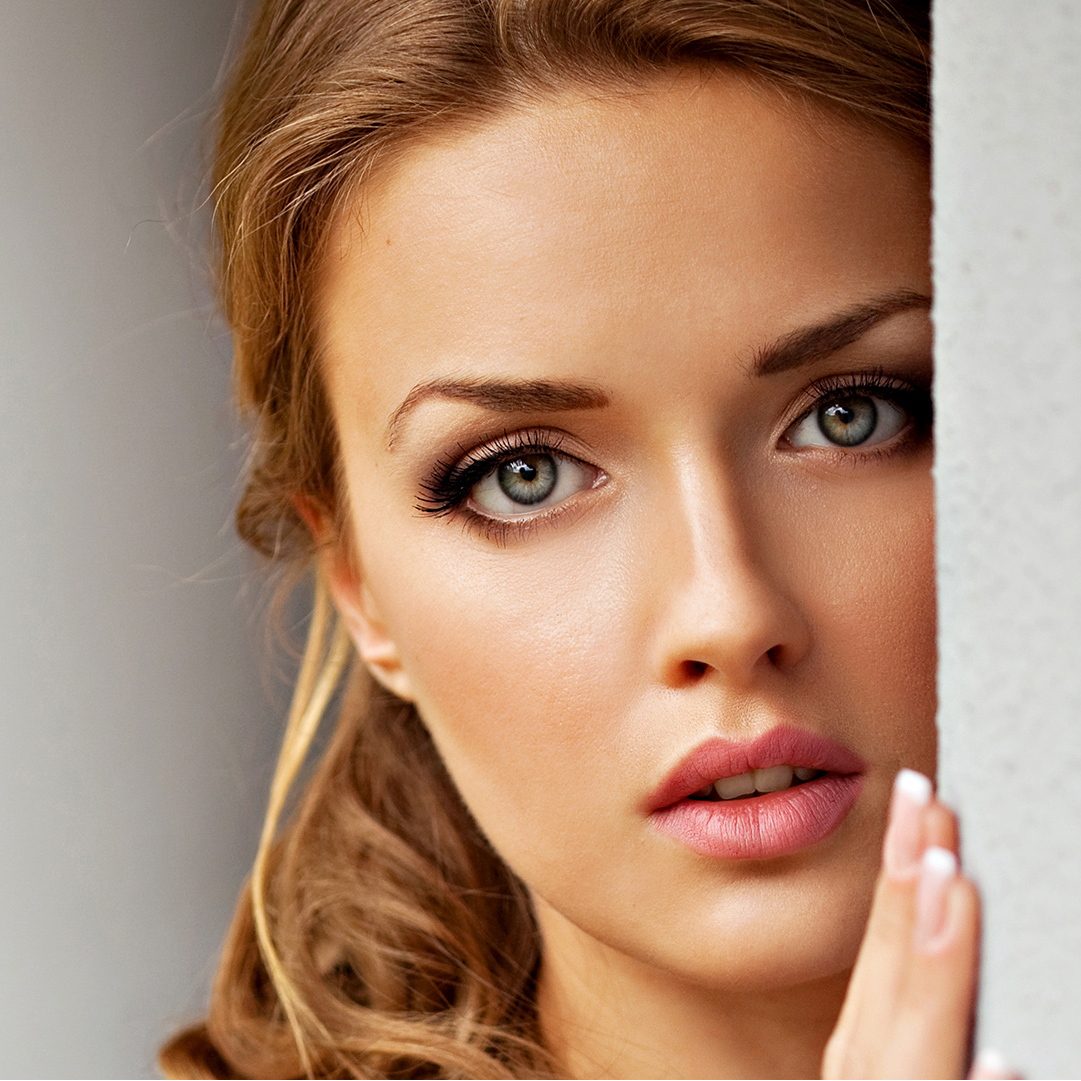
Take a image/photo to edit.
Step 2:
Press Ctrl+M (Curves), increase brightness of the photo.
Set Input = 113 and Output to 150.
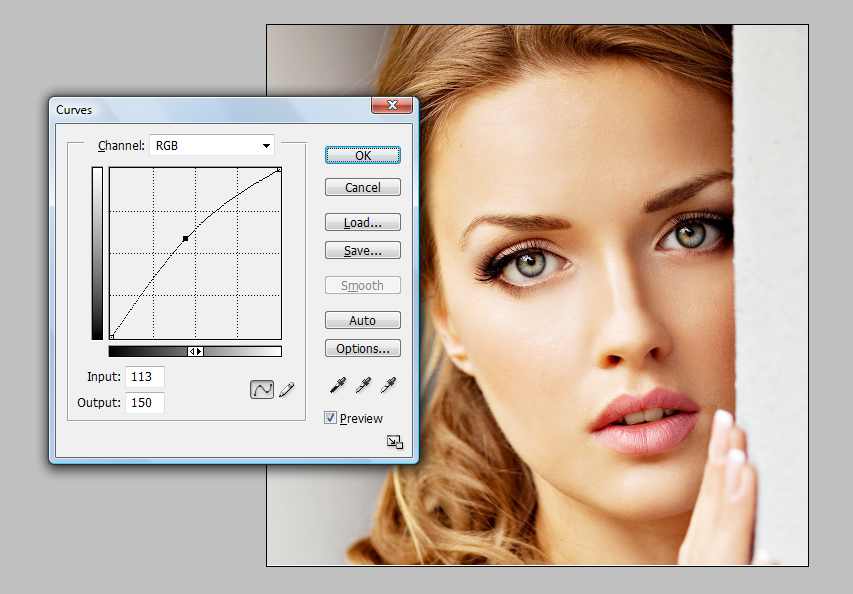
Hit OK.
Step 3:
Make a New Layer (Ctrl+Shft+N).
Fill it with white color (Shft+f5 ---> Color ----> Select white color ---> OK).
And set the Mode Of this Layer To "Soft Light"
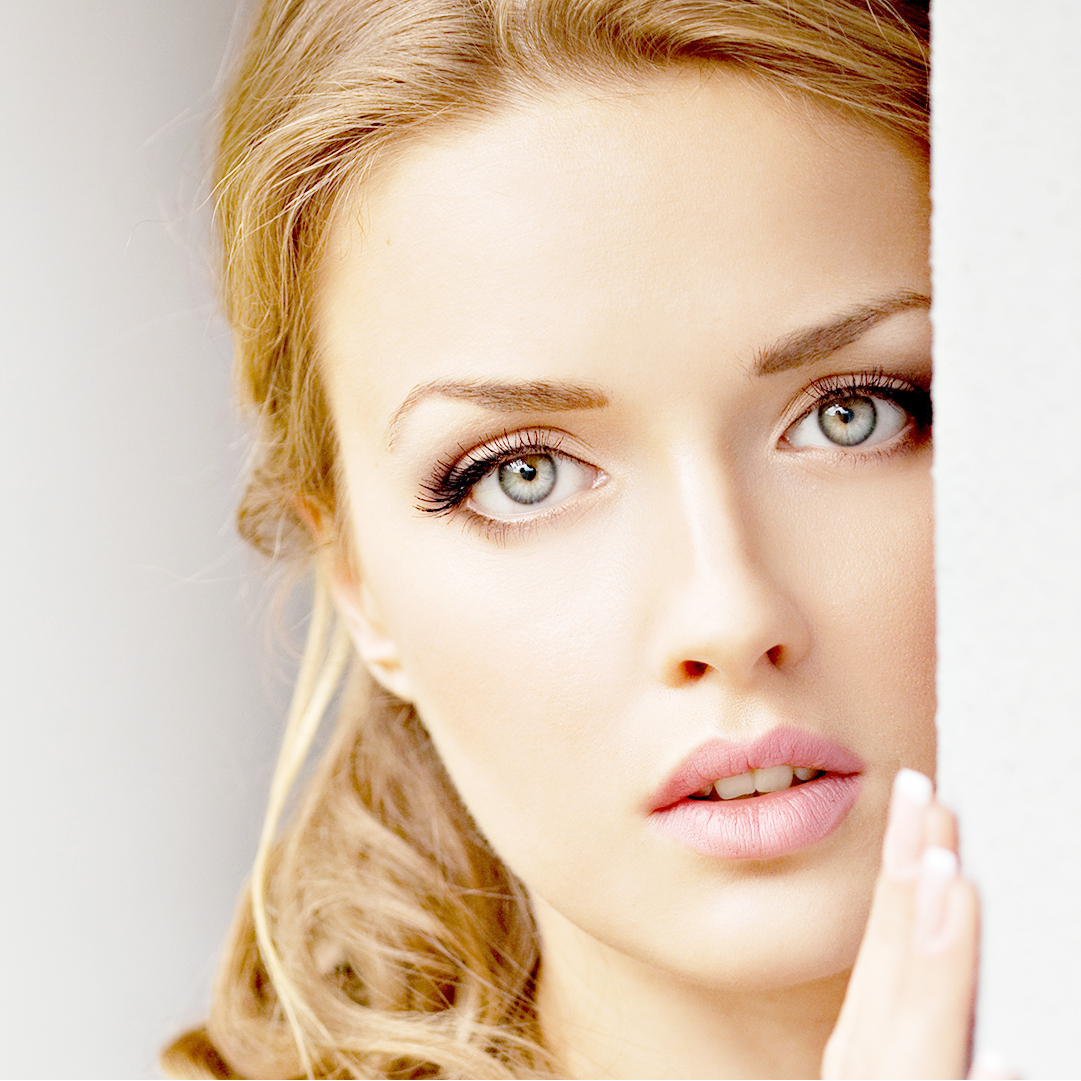
Step 4:
Again make a New Layer (Ctrl+Shft+N).
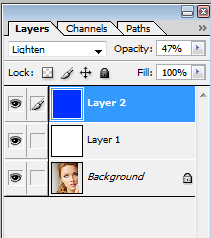
Fill it with Blue color (Shft+f5 ---> Color ----> Select Blue color ---> OK).
And set the Mode Of this Layer To "Lighten" and Opacity to "45%".
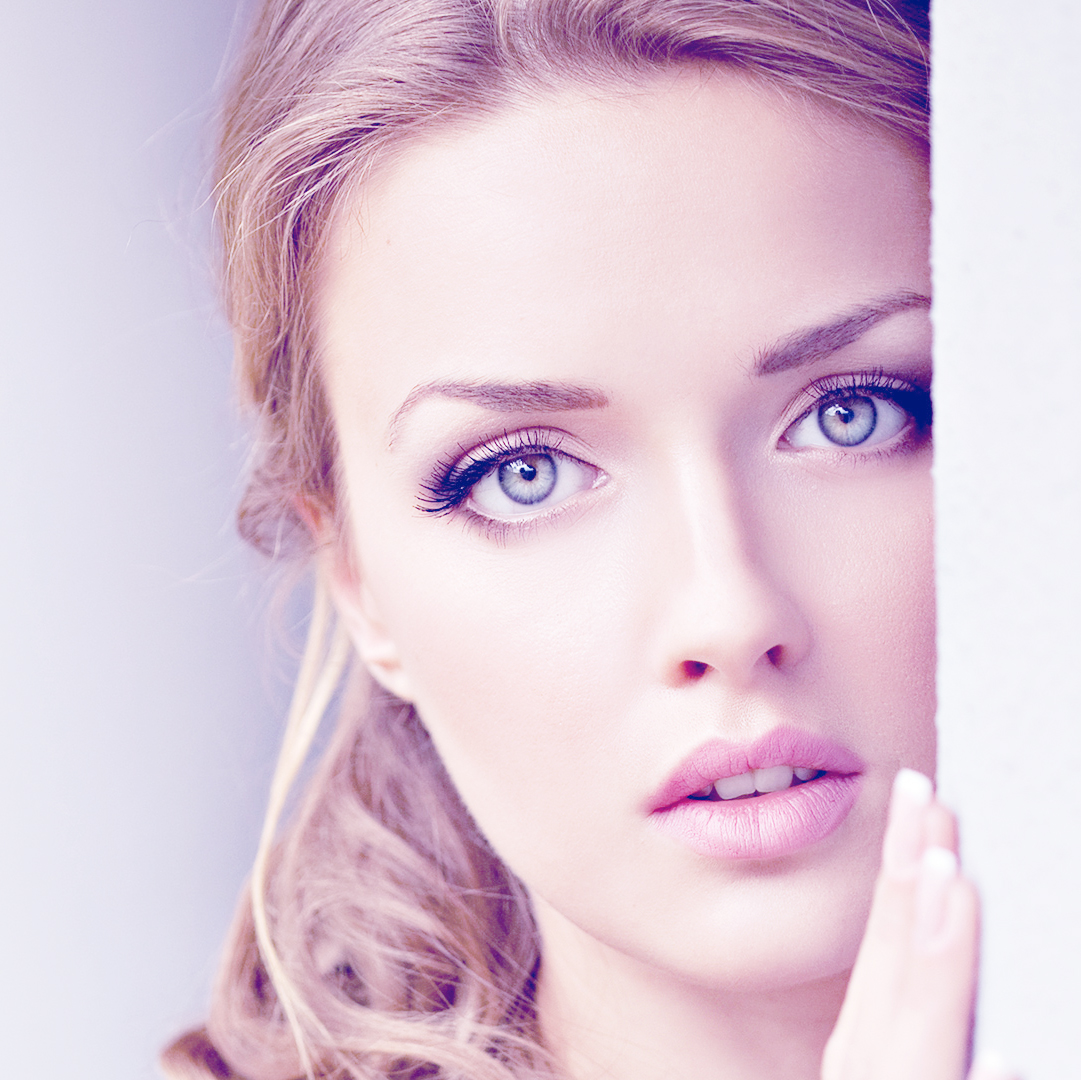
Your Layers will be like this.
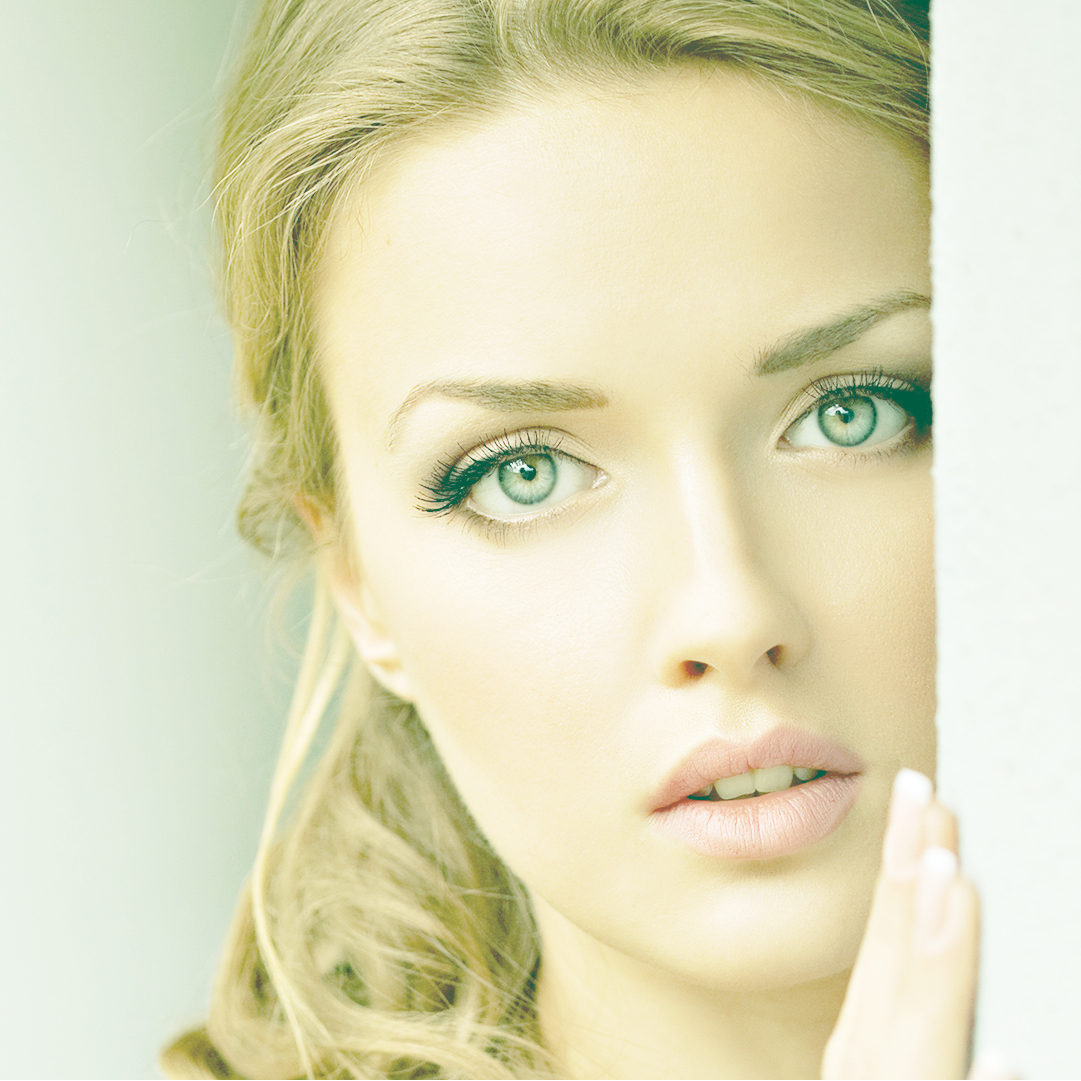
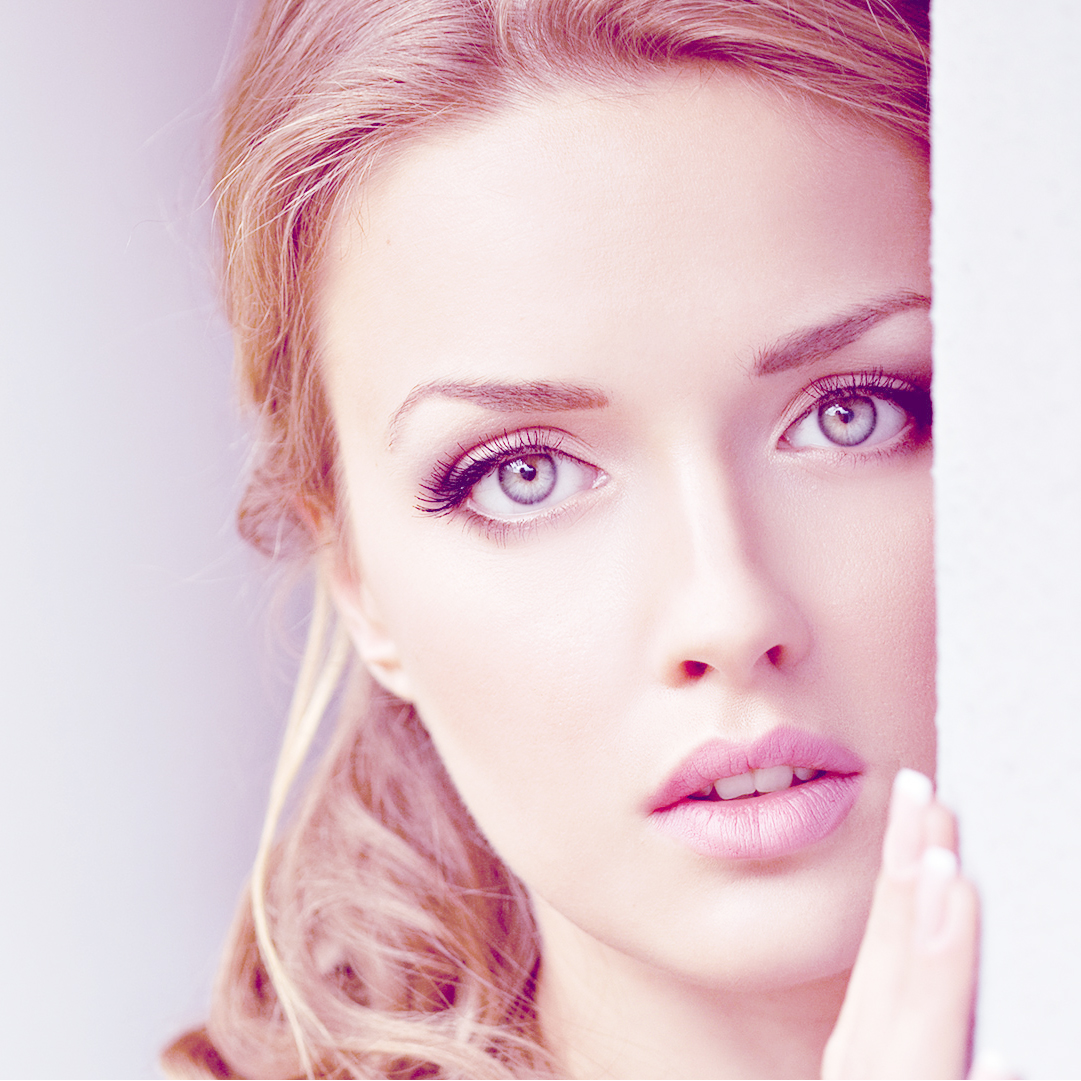
Instate of Blue You can Use any color..
Some sample --
Done..!!

Wednesday, March 18, 2015
fashion,
lomo,
photoshop,
tutorial
0
comments
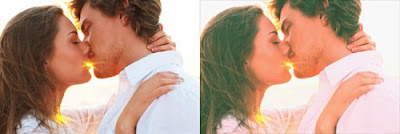
Fashion Lomo Photoshop Tutorial
You may have noticed that many clothing stores use images with the same photo effect that looks somewhat like Lomography. In this Photoshop tutorial, well show you how to add the washed out Lomo effect to your photos using all adjustment layers.
Step 1
Open any photo into Photoshop.
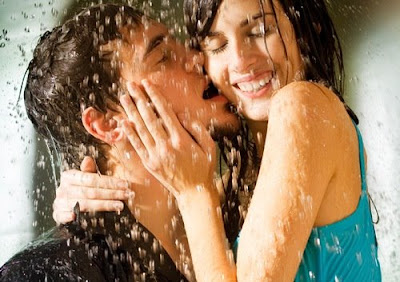
Step 2
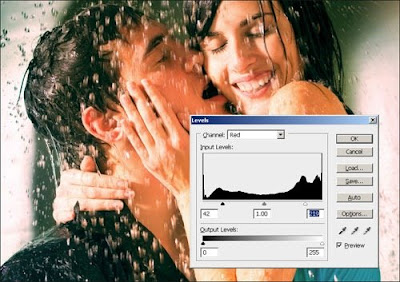
First, well compress the histogram in the red channel to add more contrast to the reds. Choose Layer > New Adjustment Layer > Levels. In the Channel drop down menu, select Red. Drag the black and white input slider towards the middle to increase the contrast in the reds.
Step 3
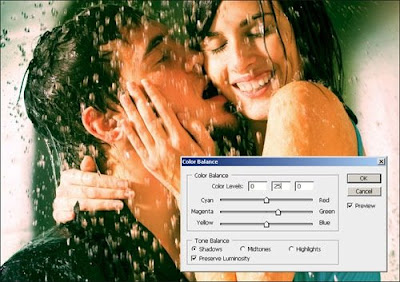
Now were going to add a green tint to the shadows and red tint to the highlights. The Color Balance tool is the perfect tool for this. Choose Layer > New Adjustment Layer > Color Balance. In the Tone Balance option, select Shadows then enter in 0, 25, 0 in the color levels settings.
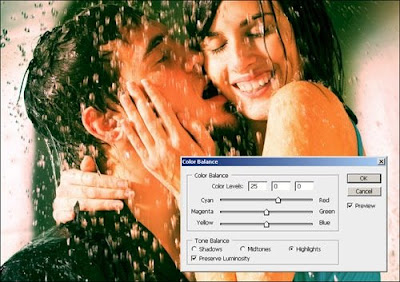
Now select Highlights on the tone balance options and enter 25, 0, 0 in the color levels settings.
Step 4
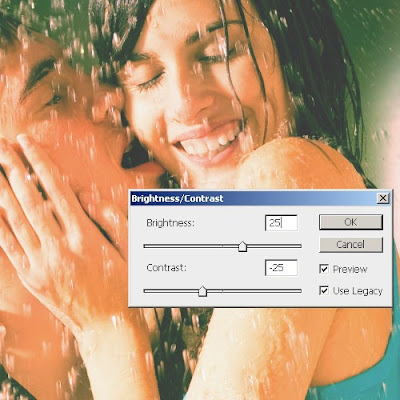
We now have the lomo effect completed and to finish it off, well add a Brightness/Contrast adjustment layer to add the washed out look. Choose Layer > New Adjustment Layer > Brightness/Contrast. If you are using Photoshop CS3, checkmark the "Use Legacy" option. Set the brightness to 25 and contrast to -25 then click OK.
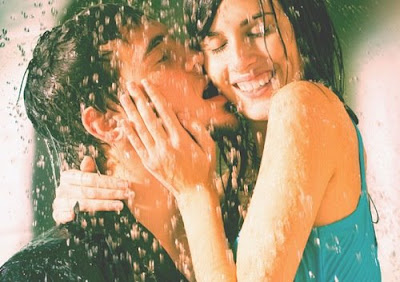
Final Results
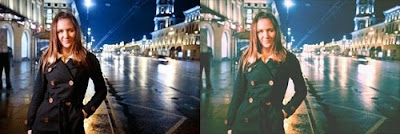
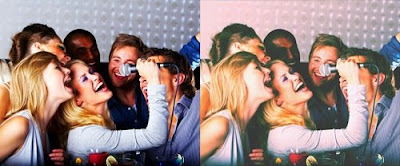
Other Examples
Read more »
Step 1
Open any photo into Photoshop.
Step 2
First, well compress the histogram in the red channel to add more contrast to the reds. Choose Layer > New Adjustment Layer > Levels. In the Channel drop down menu, select Red. Drag the black and white input slider towards the middle to increase the contrast in the reds.
Step 3
Now were going to add a green tint to the shadows and red tint to the highlights. The Color Balance tool is the perfect tool for this. Choose Layer > New Adjustment Layer > Color Balance. In the Tone Balance option, select Shadows then enter in 0, 25, 0 in the color levels settings.
Now select Highlights on the tone balance options and enter 25, 0, 0 in the color levels settings.
Step 4
We now have the lomo effect completed and to finish it off, well add a Brightness/Contrast adjustment layer to add the washed out look. Choose Layer > New Adjustment Layer > Brightness/Contrast. If you are using Photoshop CS3, checkmark the "Use Legacy" option. Set the brightness to 25 and contrast to -25 then click OK.
Final Results
Other Examples
Tuesday, March 17, 2015
advanced,
fashion,
focus,
retouching,
soft
0
comments
Fashion Retouching Advanced Soft Focus
In this tutorial I will showyou an old technique done in the digital age with much more precision and control. We will look at two techniques used in fasion retouching for a face and you will see on my example how each one looks. So lets get started!
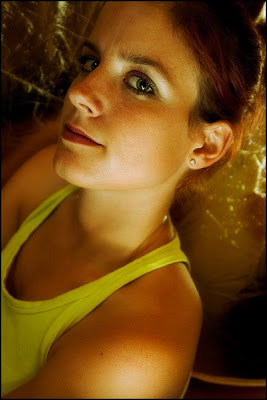
Im going to use an image I shot recently of Stasha. In case you are interested - this was shot with two flashes bounced off nearby walls and a soft gold reflector which you can see in the background. It was done for a group photography exhibition which opened recently in Slovenia.
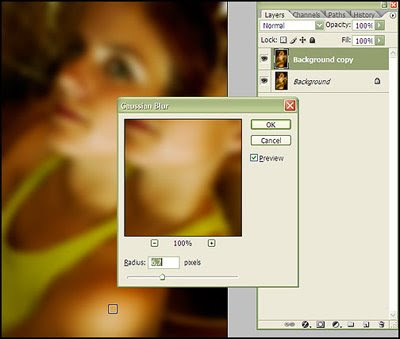
Duplicate the existing layer (Ctrl+J) and go to filter/blur/gaussian blur. Dont copy the settings I have but try to mimic the relative effect (amount of blur) I got. Since the radius number relies on how big the image is you cant really use it as a always-works setting. Hit OK.
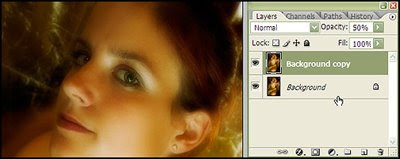
The next step is to set the opacity value to 50%. You can go lower (I usually go as low as 20%) but to make the effect apparent I am going to use this value. Leave the blending mode to normal at this point or try soft light.
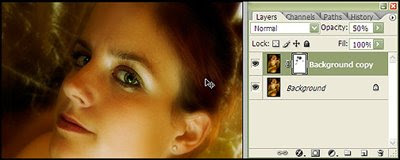
Soft focusing makes the eyes lack detail and this might be a problem for a lot of photographers using film. With digital we can get over this problem by selectively masking out areas we want to attract more attention. In my case this was the lips and both eyes. I created a show-all layer mask and with a big soft brush clicked on the parts where I wanted focus to have a bit less effect.
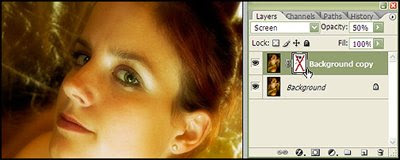
This image has the same blur layer but this time the blending mode is set to screen and the layer mask is turned off (if it wasnt it would create a skull-like effect with dark outlines around the eyes). Personally I like this effect the most so Im keeping it.
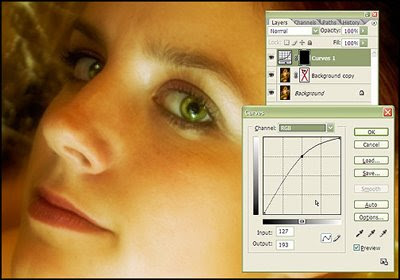
To add some extra spark to the image I have added a curves adjustment layer to brighten up her eyes a bit. And thats it, this concludes the fashion retouching tutorial, I hope you had a nice time. If you have any comments about it I would like to hear them either here as comments. Have a nice one!
Read more »
Im going to use an image I shot recently of Stasha. In case you are interested - this was shot with two flashes bounced off nearby walls and a soft gold reflector which you can see in the background. It was done for a group photography exhibition which opened recently in Slovenia.
Duplicate the existing layer (Ctrl+J) and go to filter/blur/gaussian blur. Dont copy the settings I have but try to mimic the relative effect (amount of blur) I got. Since the radius number relies on how big the image is you cant really use it as a always-works setting. Hit OK.
The next step is to set the opacity value to 50%. You can go lower (I usually go as low as 20%) but to make the effect apparent I am going to use this value. Leave the blending mode to normal at this point or try soft light.
Soft focusing makes the eyes lack detail and this might be a problem for a lot of photographers using film. With digital we can get over this problem by selectively masking out areas we want to attract more attention. In my case this was the lips and both eyes. I created a show-all layer mask and with a big soft brush clicked on the parts where I wanted focus to have a bit less effect.
This image has the same blur layer but this time the blending mode is set to screen and the layer mask is turned off (if it wasnt it would create a skull-like effect with dark outlines around the eyes). Personally I like this effect the most so Im keeping it.
To add some extra spark to the image I have added a curves adjustment layer to brighten up her eyes a bit. And thats it, this concludes the fashion retouching tutorial, I hope you had a nice time. If you have any comments about it I would like to hear them either here as comments. Have a nice one!
Monday, March 16, 2015
effect,
fashion,
magazine,
photo,
style
0
comments
Fashion Magazine Style Photo Effect
Start by opening an image of a model.

Duplicate the layer and press Ctrl+Shift+U to desaturate.

Change the color mode to screen.


Duplicate the layer.

Press Ctrl+U to open hue/saturation window. Apply settings as shown.


Read more »
Duplicate the layer and press Ctrl+Shift+U to desaturate.
Change the color mode to screen.
Duplicate the layer.
Press Ctrl+U to open hue/saturation window. Apply settings as shown.
Subscribe to:
Posts (Atom)


- Follow Us on Twitter!
- "Join Us on Facebook!
- RSS
Contact