Showing posts with label simple. Show all posts
Showing posts with label simple. Show all posts
Make a Button in two steps
Final view
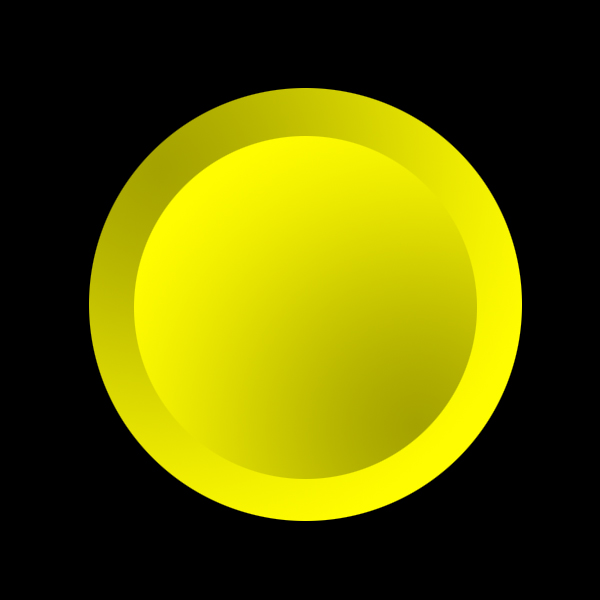
Step 1:
Create new file and fill background with black color (Shft+f5 ---> color ---> Select Black color---> OK).

select Elliptical Marquee Tool and Draw a circle. Press and hold Shift key while Drawing circle. because it will results to accurate..

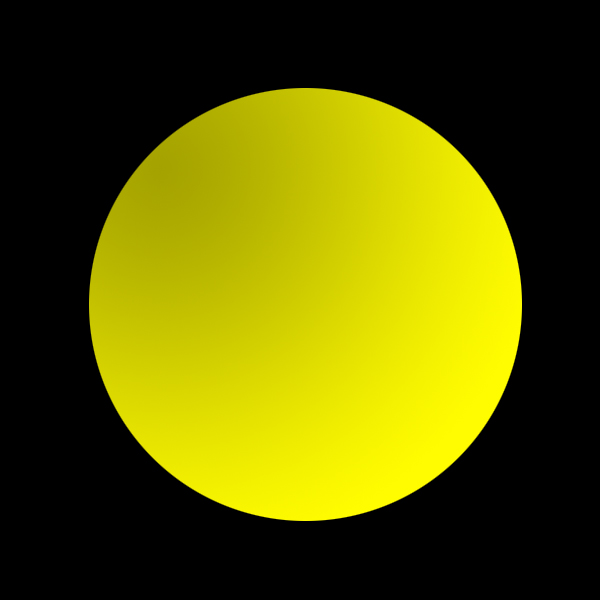
Create new file and fill background with black color (Shft+f5 ---> color ---> Select Black color---> OK).
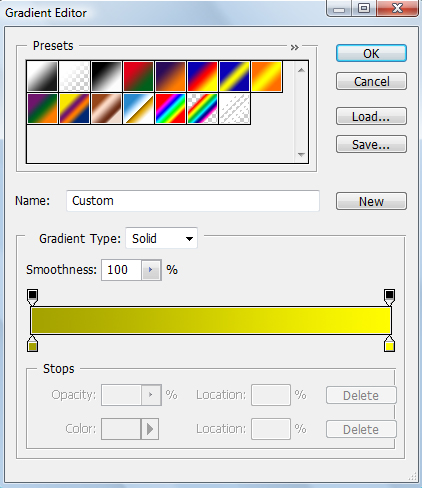
Select Gradient fill Tool and select the two color combination, here Ive choose "FFFC00" and "A5A300" colors.
Hit OK. And drag the cursor from top-left corner to right-bottom.
Step 2:
Again select Elliptical Marquee Tool and Draw a circle smaller than previously drawn. Press and hold Shift key while Drawing circle. because it will results to accurate..
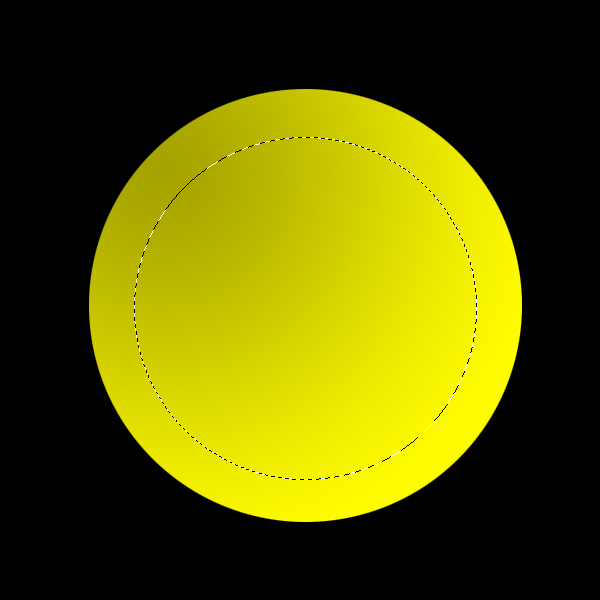
Again select Gradient Fill tool and Drag cursor from Right-Bottom corner to Left-Upper corner..
Done..!!

Wednesday, April 1, 2015
abstract,
background,
making,
simple
0
comments
Making Simple Abstract Background
Creating Simple Abstract Background For Your PC
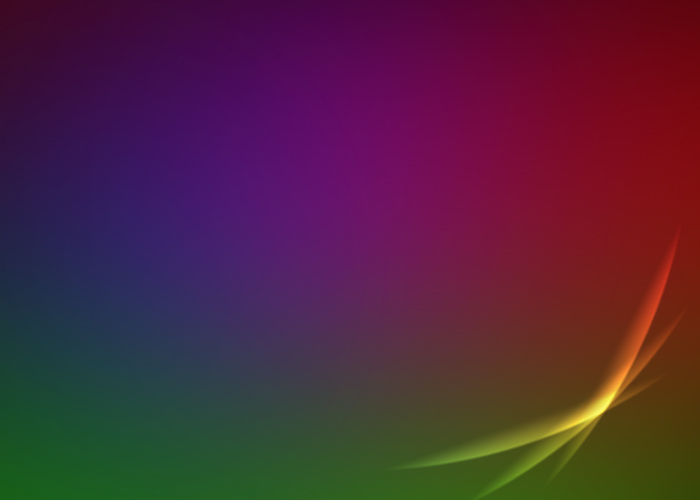
We all know that all the operating systems like XP, W7,vista, Ubantu, Mac are comes with default desktop backgrounds. Among these backgrounds 2 or 3 are abstract type, very colorful, having nice lightning effect..
Its very easy and simple to make our own background image for our PC. Lets see how to make Abstract background in Photoshop.
Final view
Step 1:
Create new file and fill the background with Black color (Shft+f5 ---> color ---> select black color ---> OK)
Create new file and fill the background with Black color (Shft+f5 ---> color ---> select black color ---> OK)

Step 2:
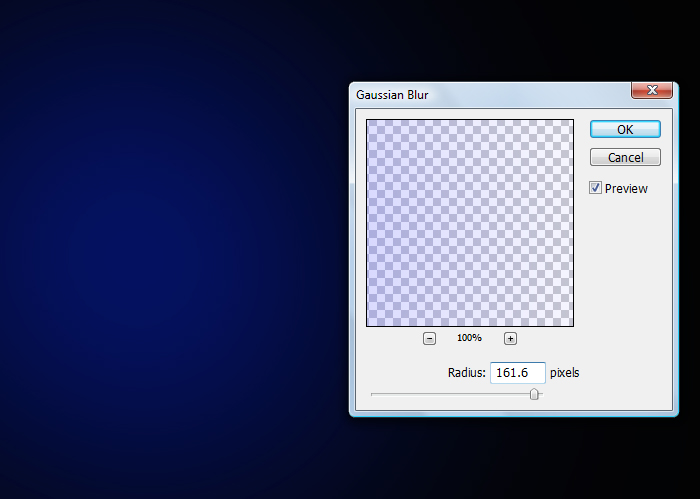
Now make a new layer (Ctrl + Shft + N) name the layer.
Select Brush tool from tool box with blue color and paint on newly created layer.

Go to filter ---> Blur ---> Gaussian Blur and make the full radius Blur. and hit OK.
Step 3:
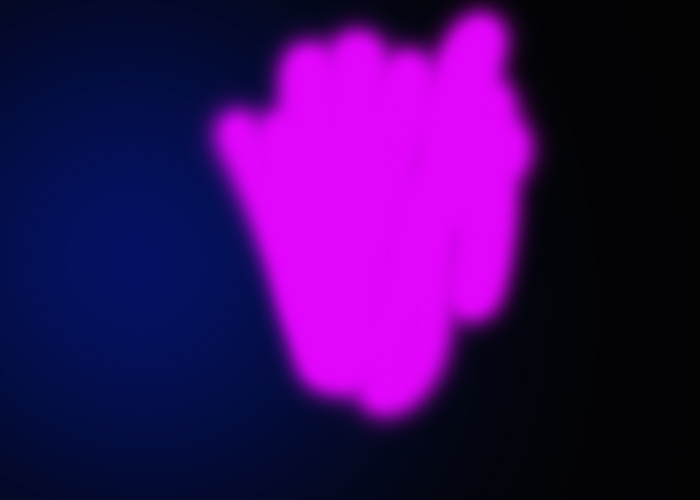
Again Make a New layer (Ctrl + Shft + N).
and now select brush with pink color. and make some rough sketch on newly created layer.
Step 4:
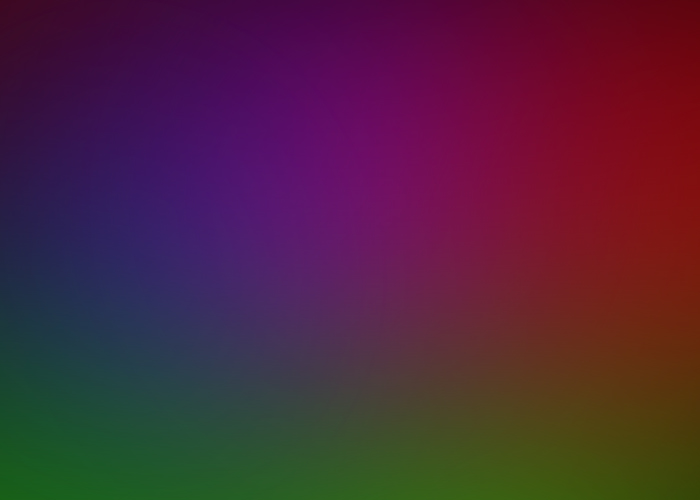
Similarly repeat process until hole background will be covered with different colors.
Similarly repeat process until hole background will be covered with different colors.
Step 5:
Now Make a new layer and Select the Ellipticle Marquee Tool from tool box. and make large circle by selecting on layer.
Now Make a new layer and Select the Ellipticle Marquee Tool from tool box. and make large circle by selecting on layer.
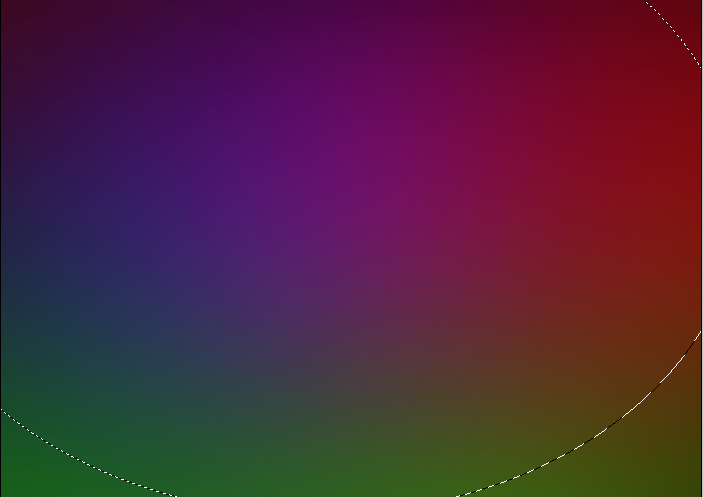
Now select the Gradient fill tool. And select only one color gradient (White color).
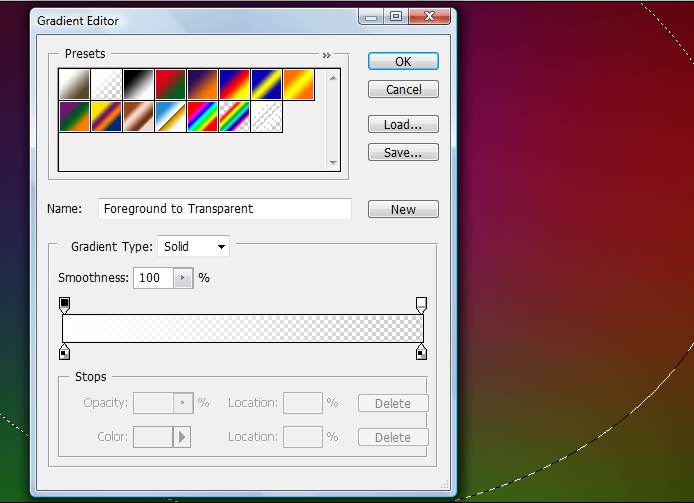
After selecting white color gradient, hit OK.
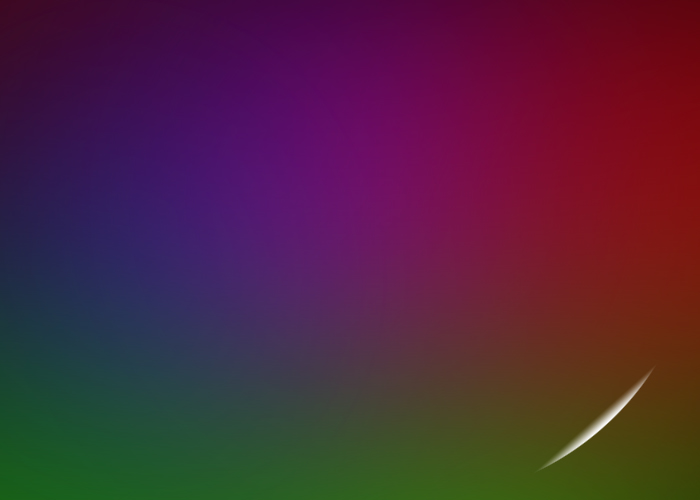
and drag cursor little bit longer from the edge of the circle.
Step 5:
Press Ctrl+T for transform this layer. adjust the layers height and width.
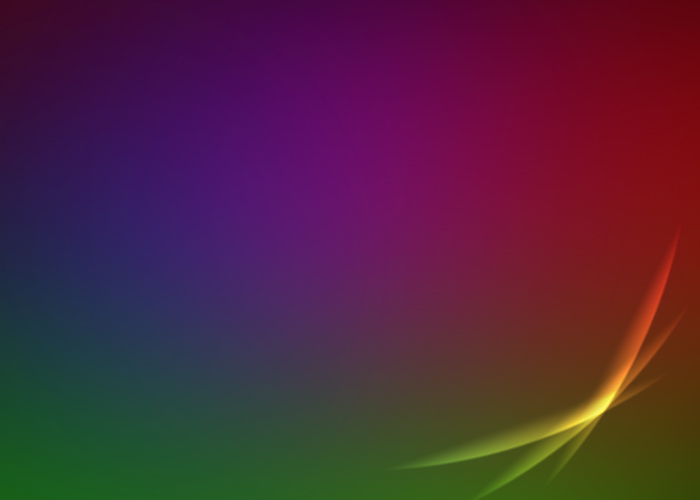
And Change the layers mode to Overlay.
make two duplicate layers of this layer by pressing Ctrl+J.
Select each individual layer and adjust it wherever you want..
Done..!!
Tuesday, March 31, 2015
making,
retro,
simple,
style,
wallpaper
0
comments
Simple Retro Style Wallpaper Making
Creating Retro Style Wallpaper
Final view

Step 1:
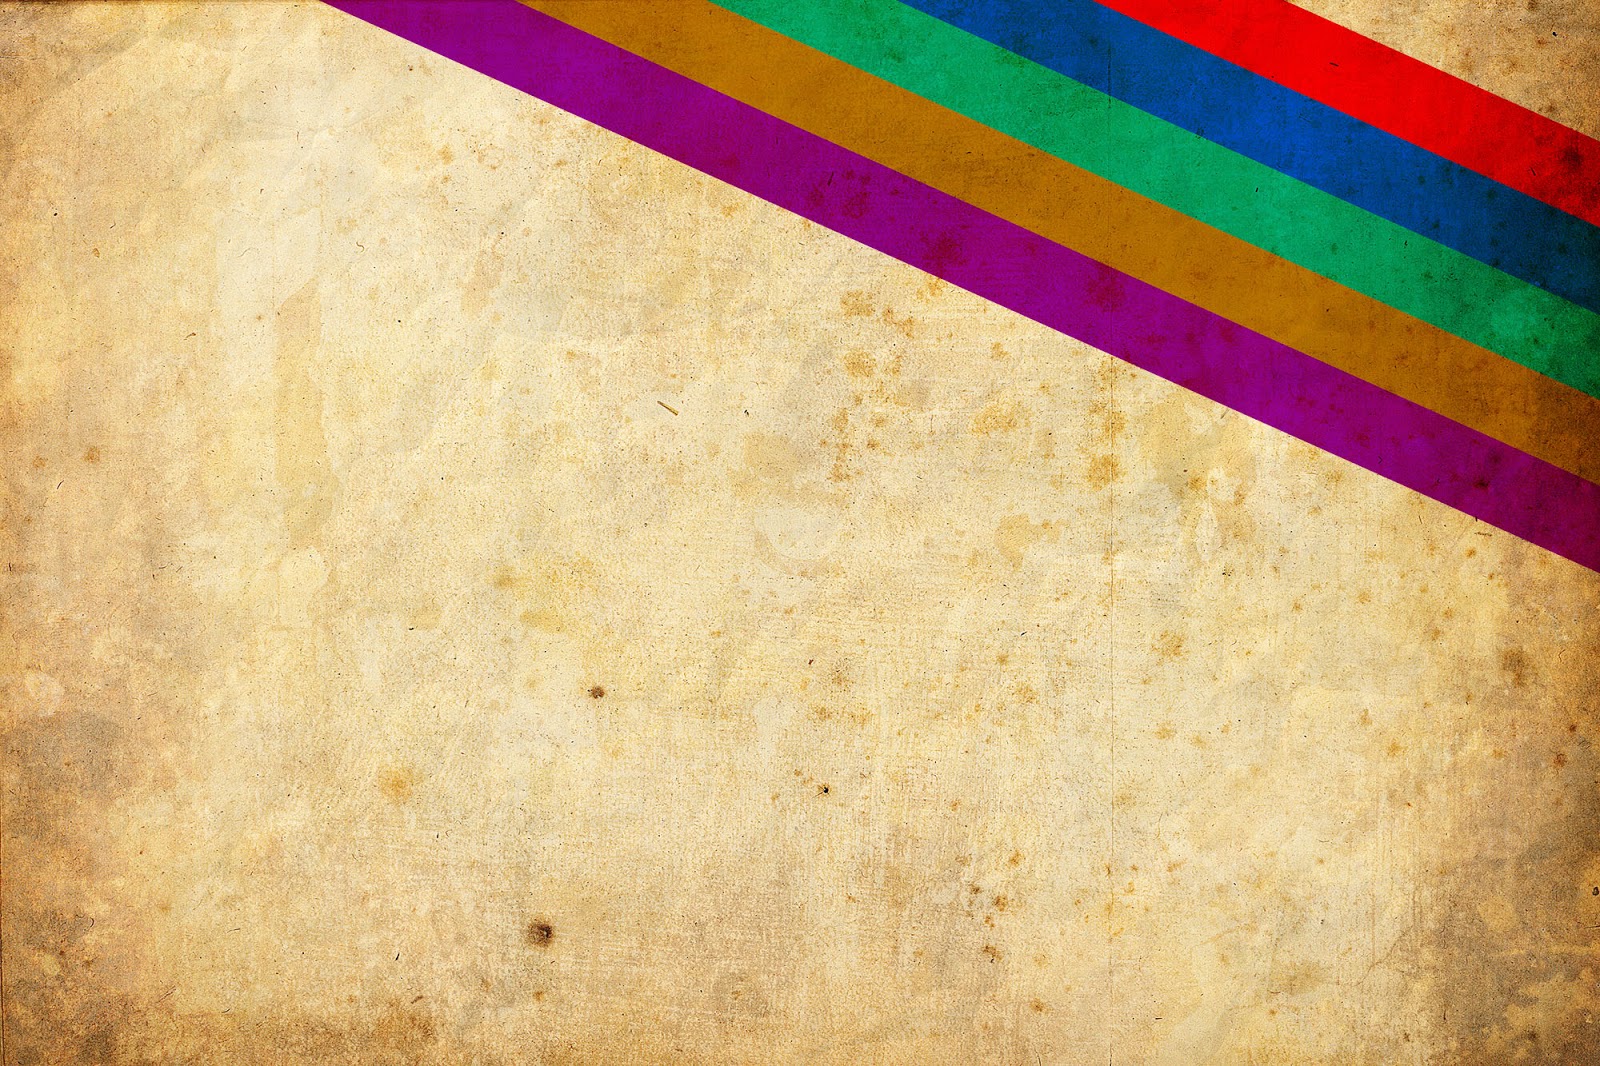
Take a old paper style image/wallpaper.
Make a new layer (Ctrl+Shft+N).
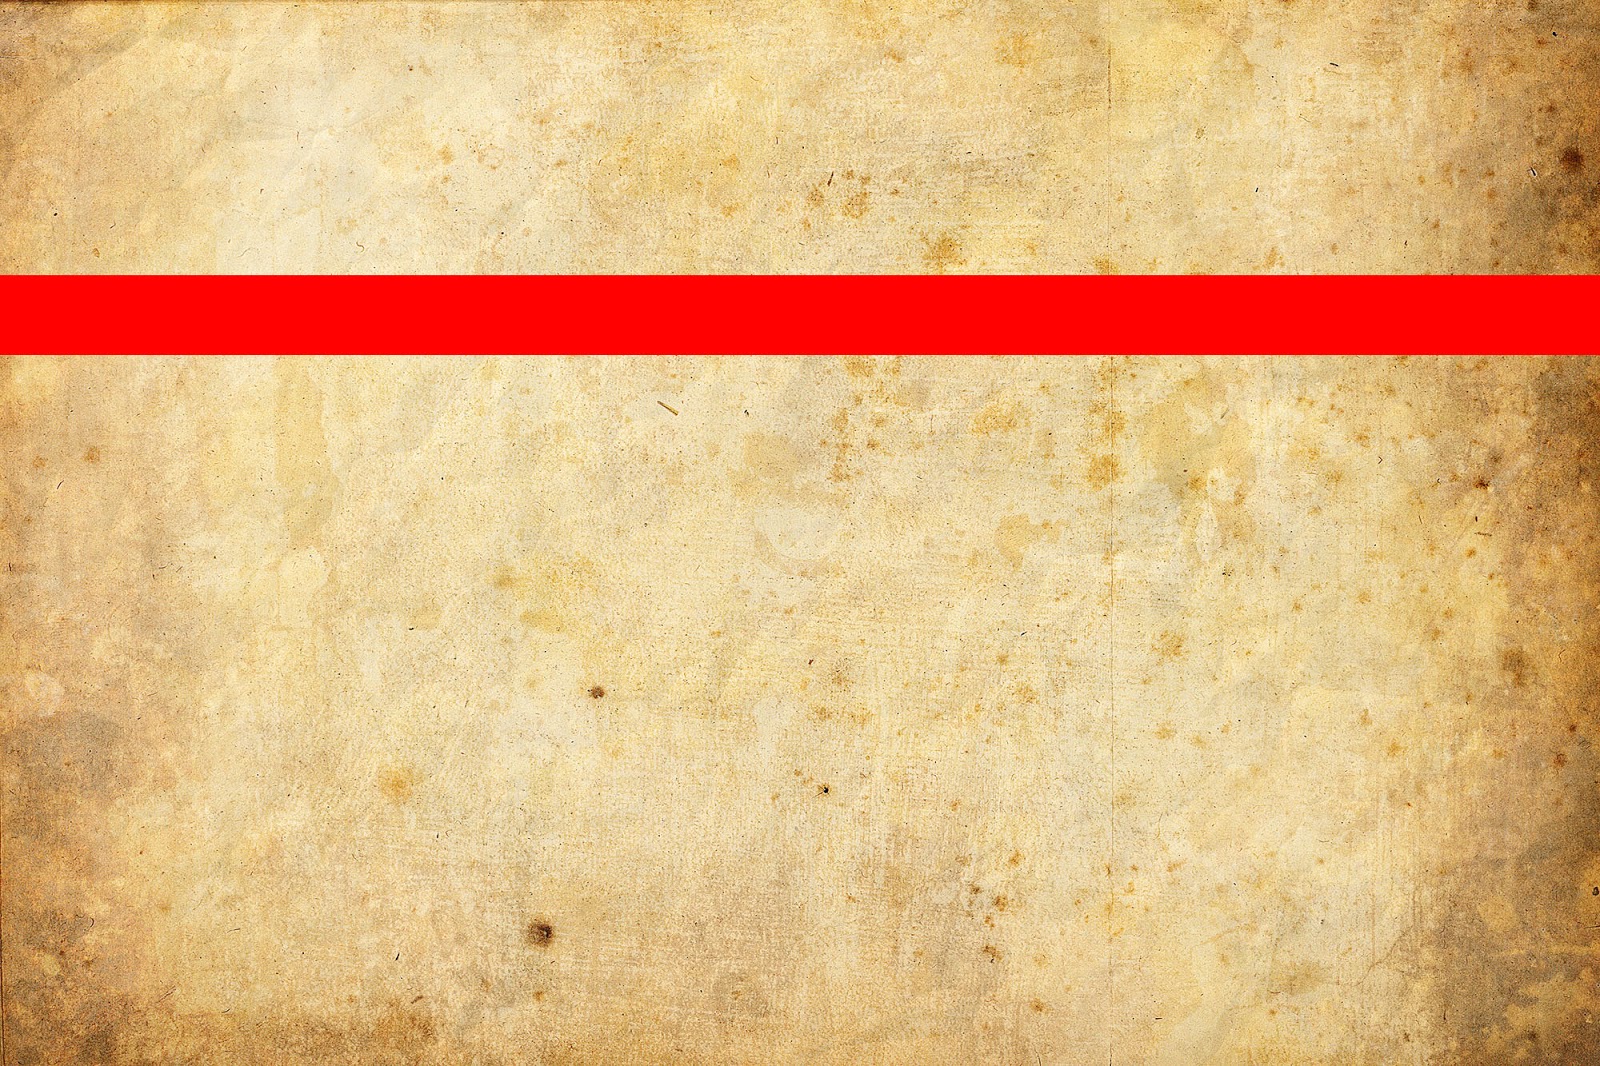
Select Rectangular Marquee Tool and make a selection. and fill the area with dark color (Shft+f5).
Take a old paper style image/wallpaper.
Make a new layer (Ctrl+Shft+N).
Select Rectangular Marquee Tool and make a selection. and fill the area with dark color (Shft+f5).
Step 2:
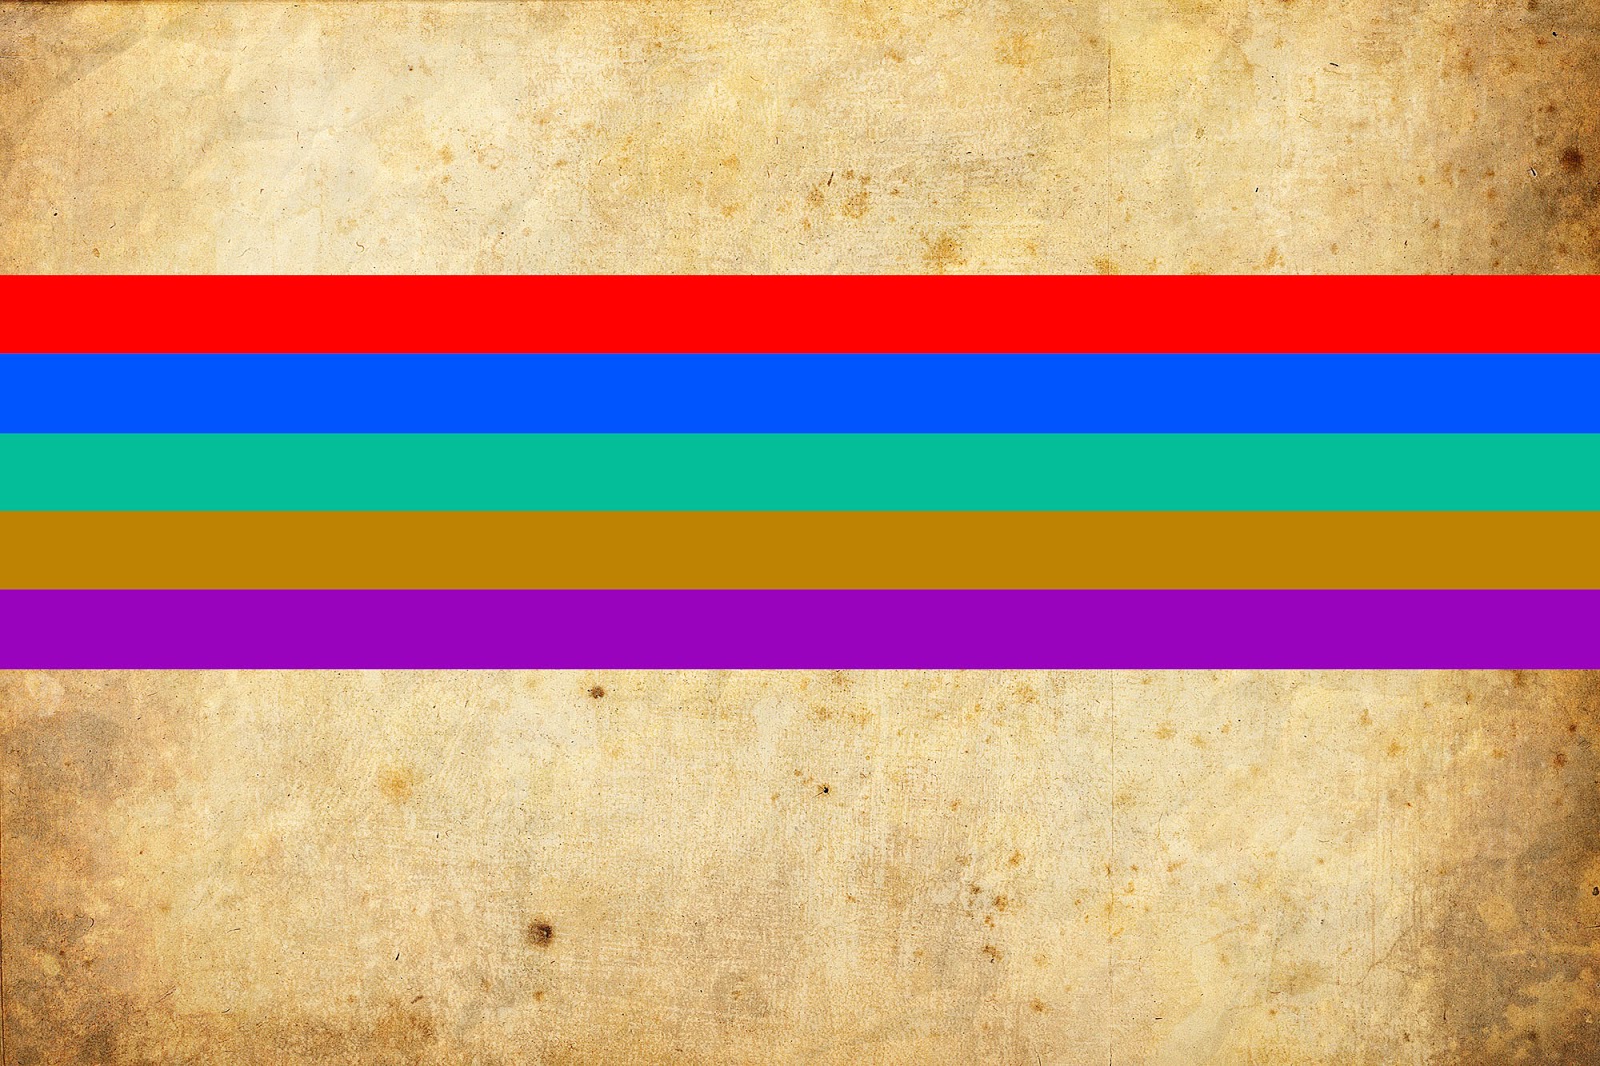
Again make a selection and fill it with different dark color...
Press Ctr+T for transform the layer..
and set this layer at the corner..
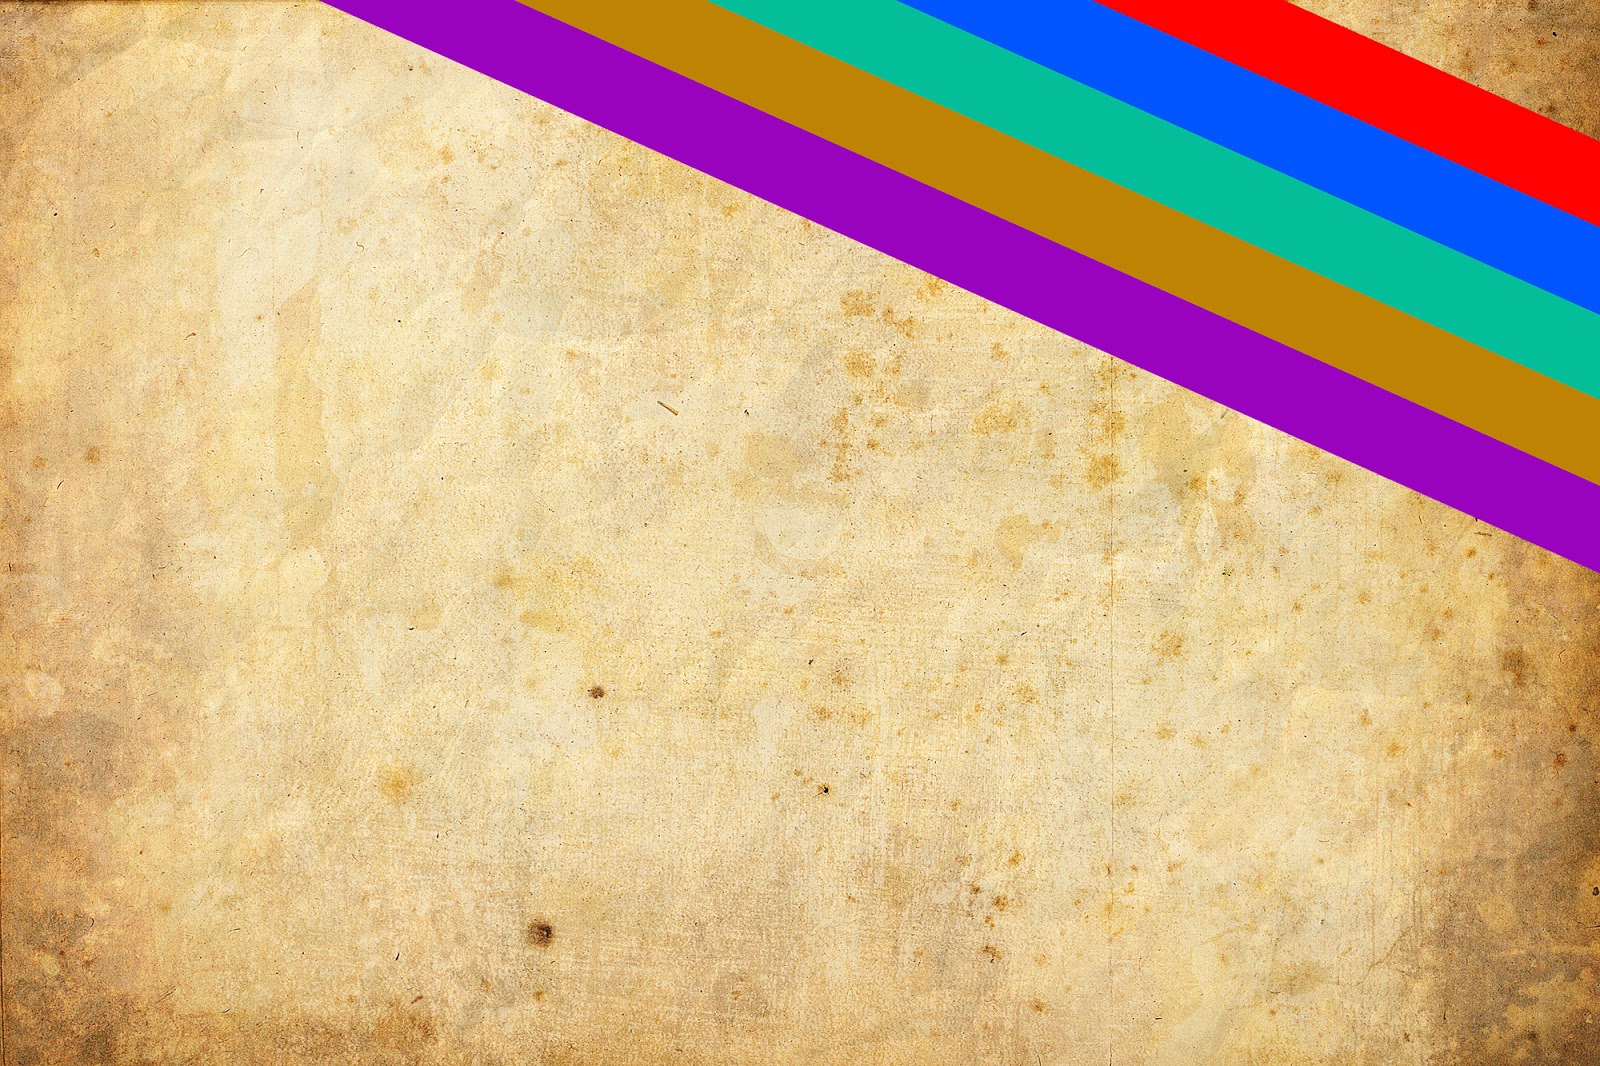
Set mode of this layer to Multiply.
Step 3:
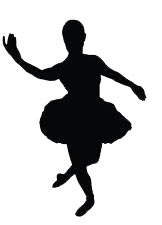
Now get some the vector dancer images..
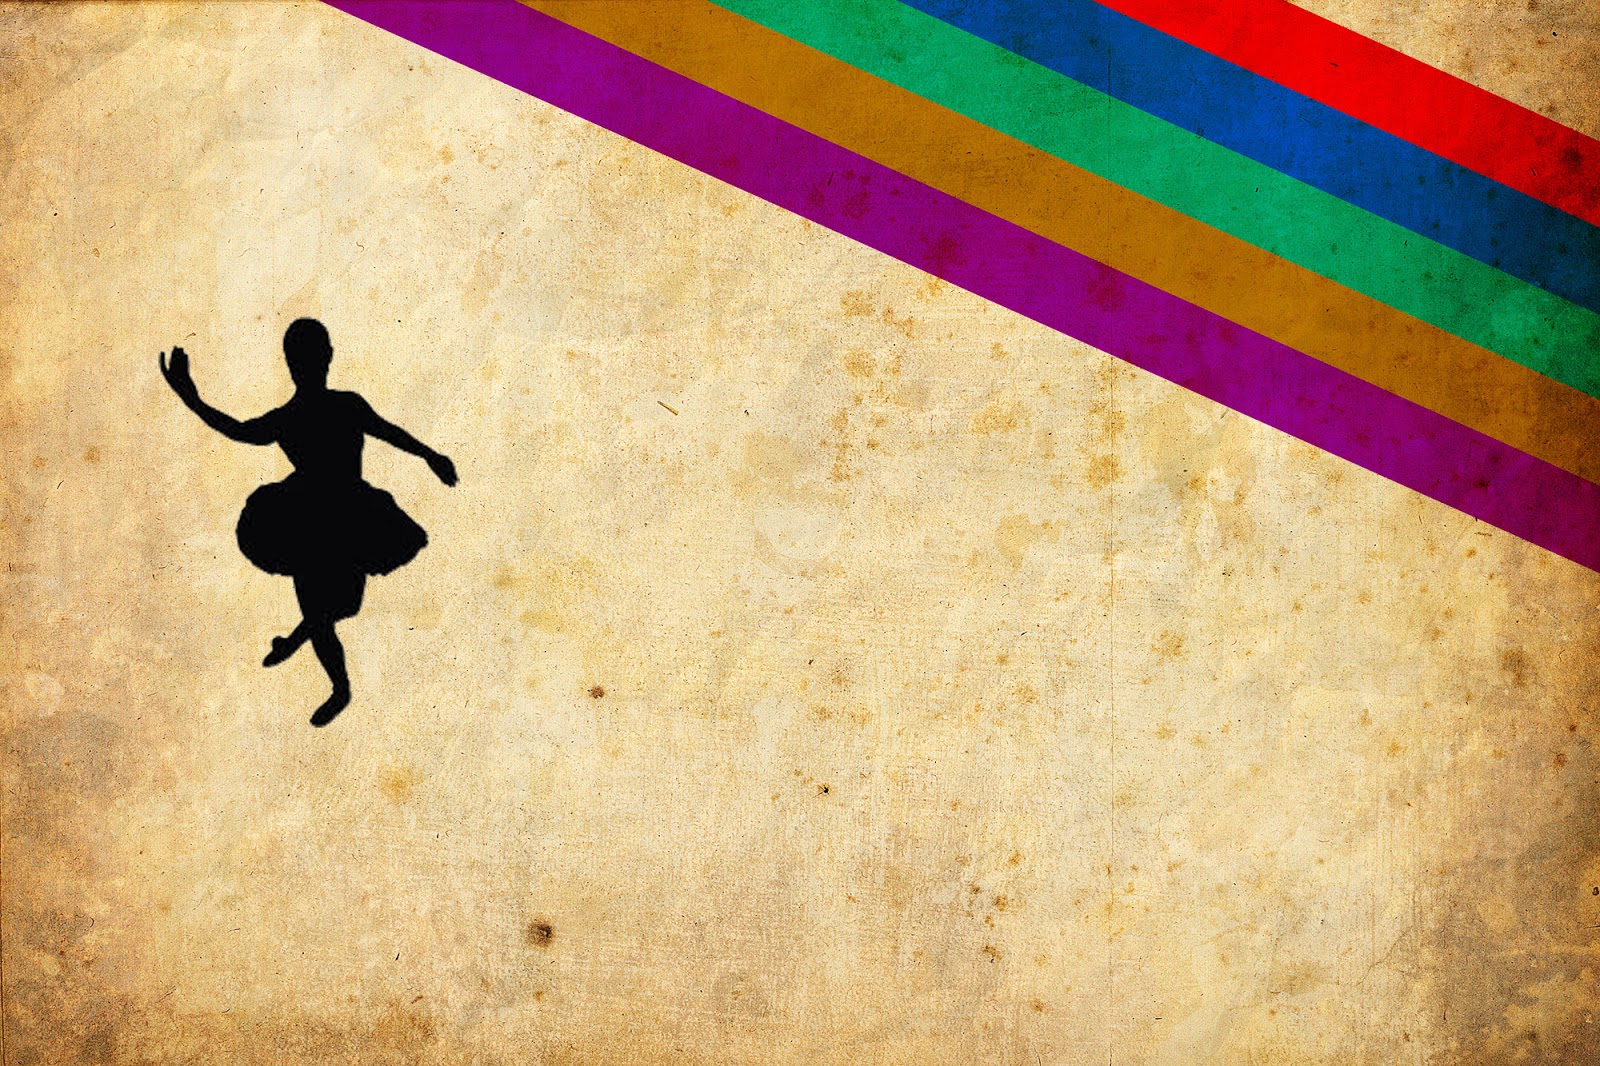
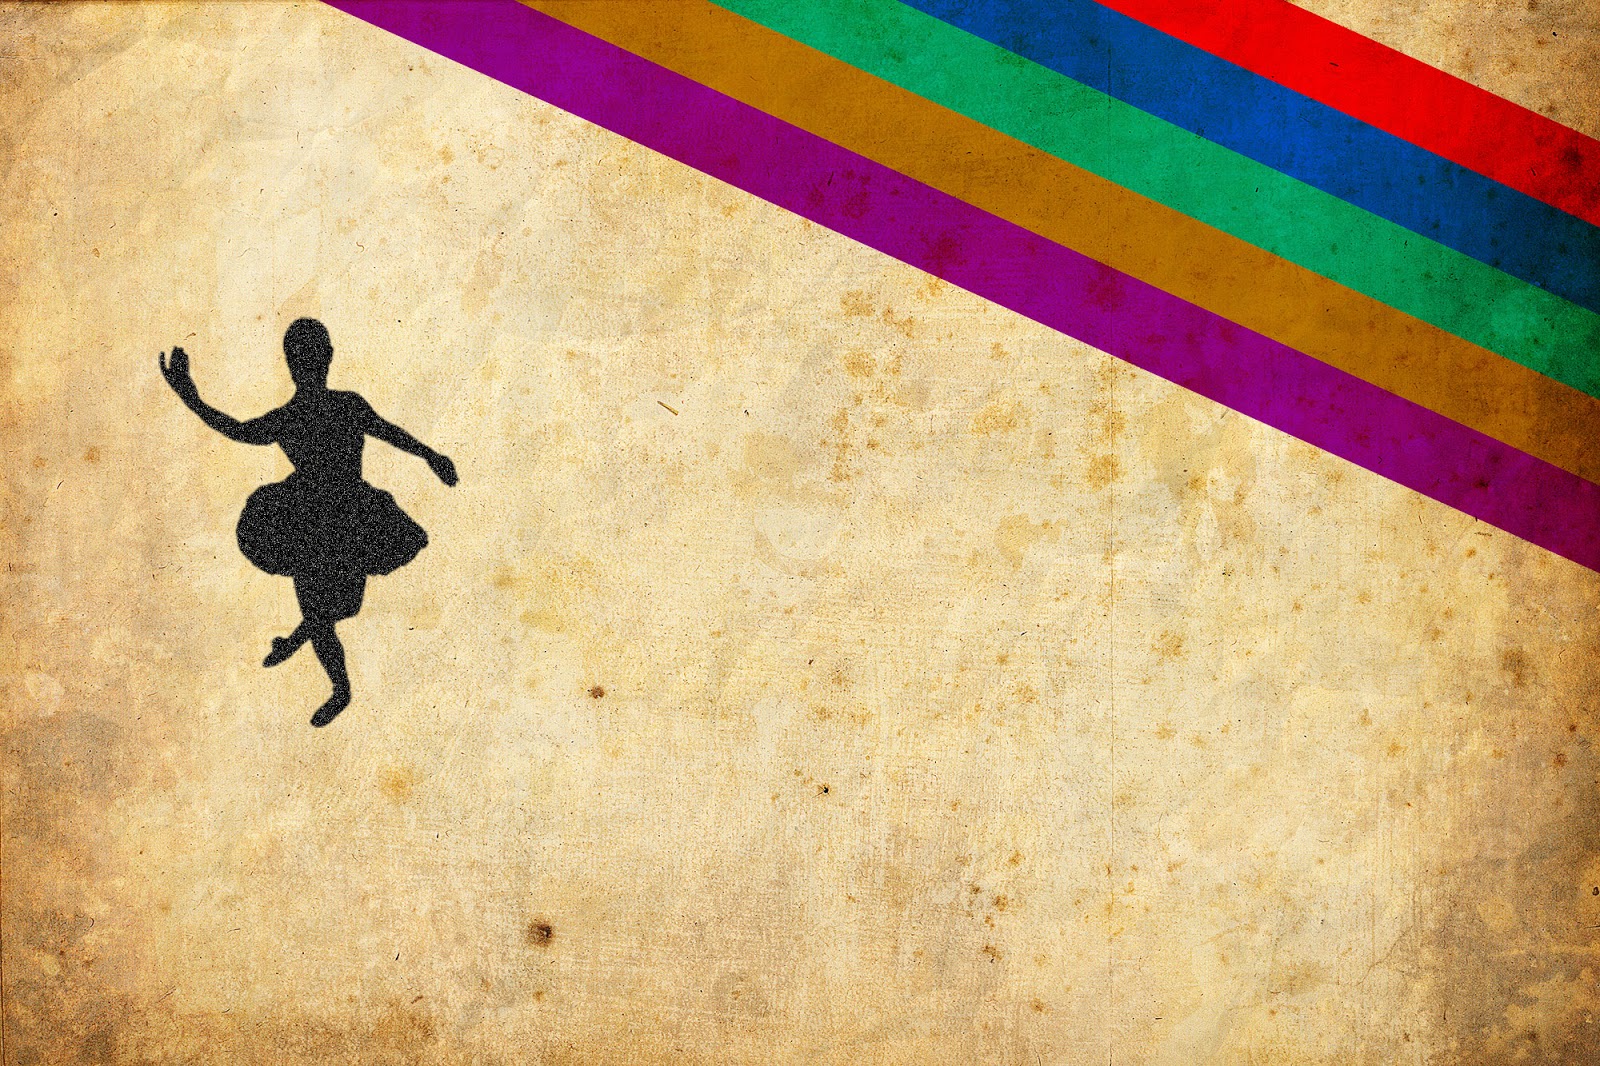
Now go to Filter ---> Noise ---> Add Noise
set amount to 15. and Distribution to Gaussian. and set mode of layer to Pin Light.
Step 4:
Add more dancer vector images and apply the effect as same..
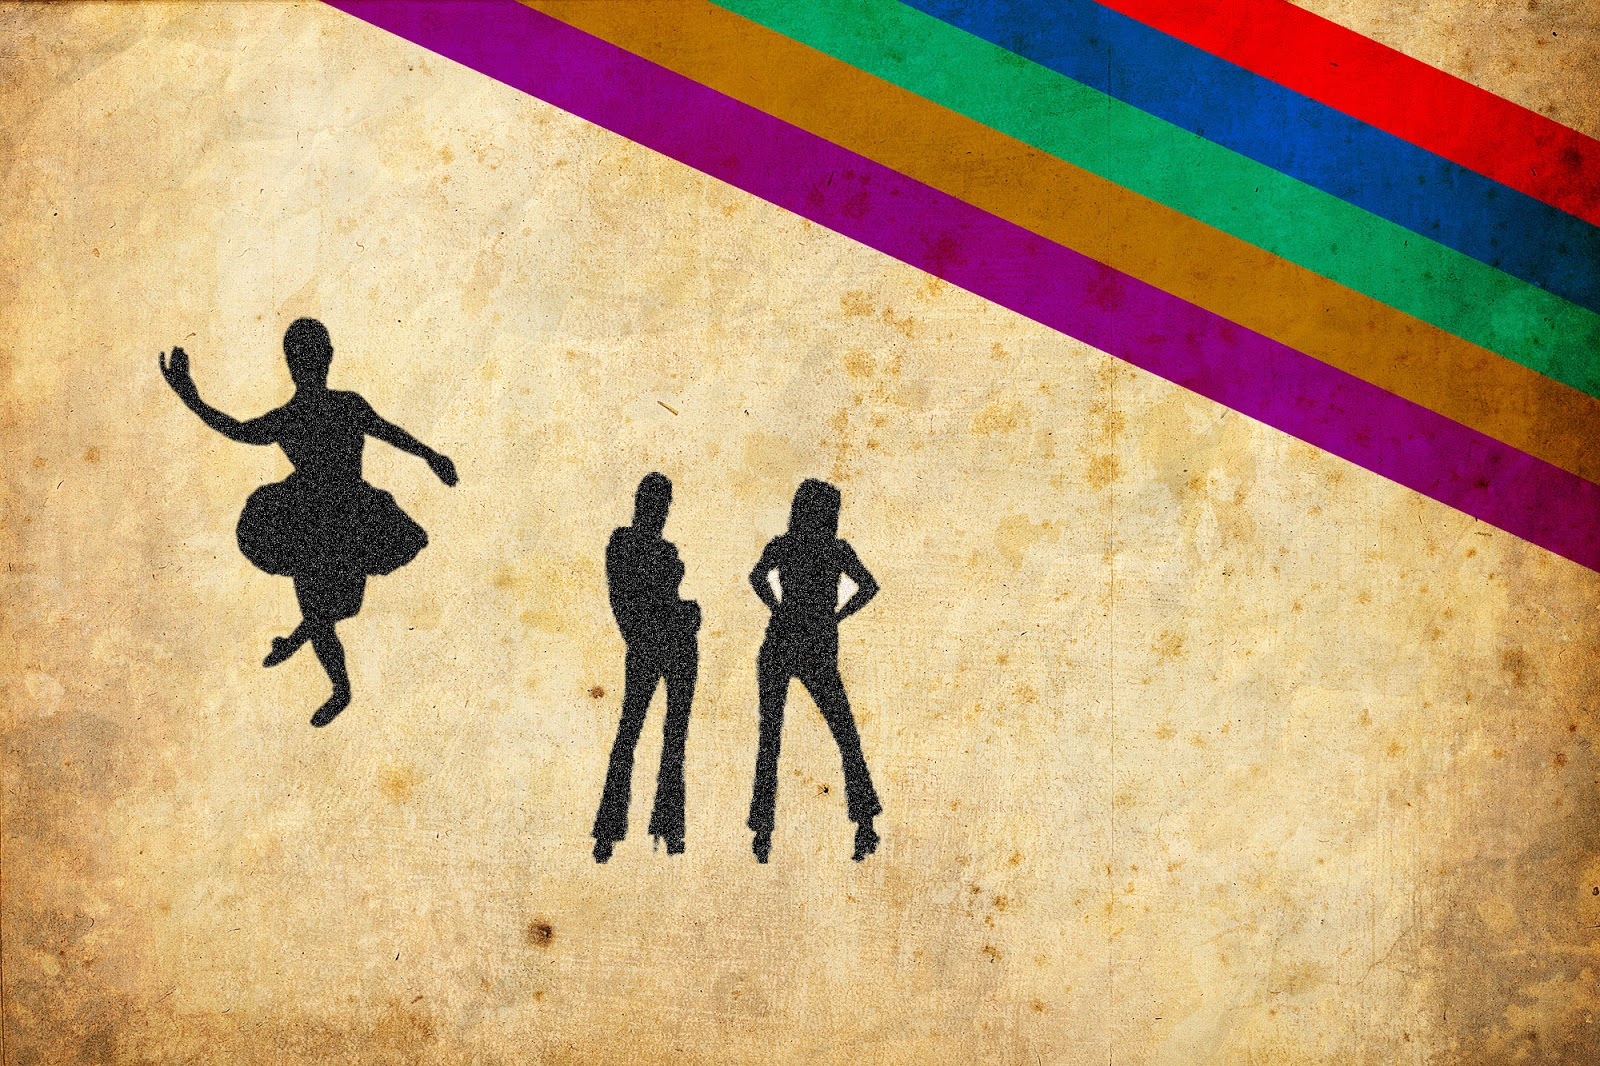
Add more dancer vector images and apply the effect as same..
Add text with white color. go to blending options and select Drop Shadow.
Hit ok.
Raster this layer and set layer to Multiply.
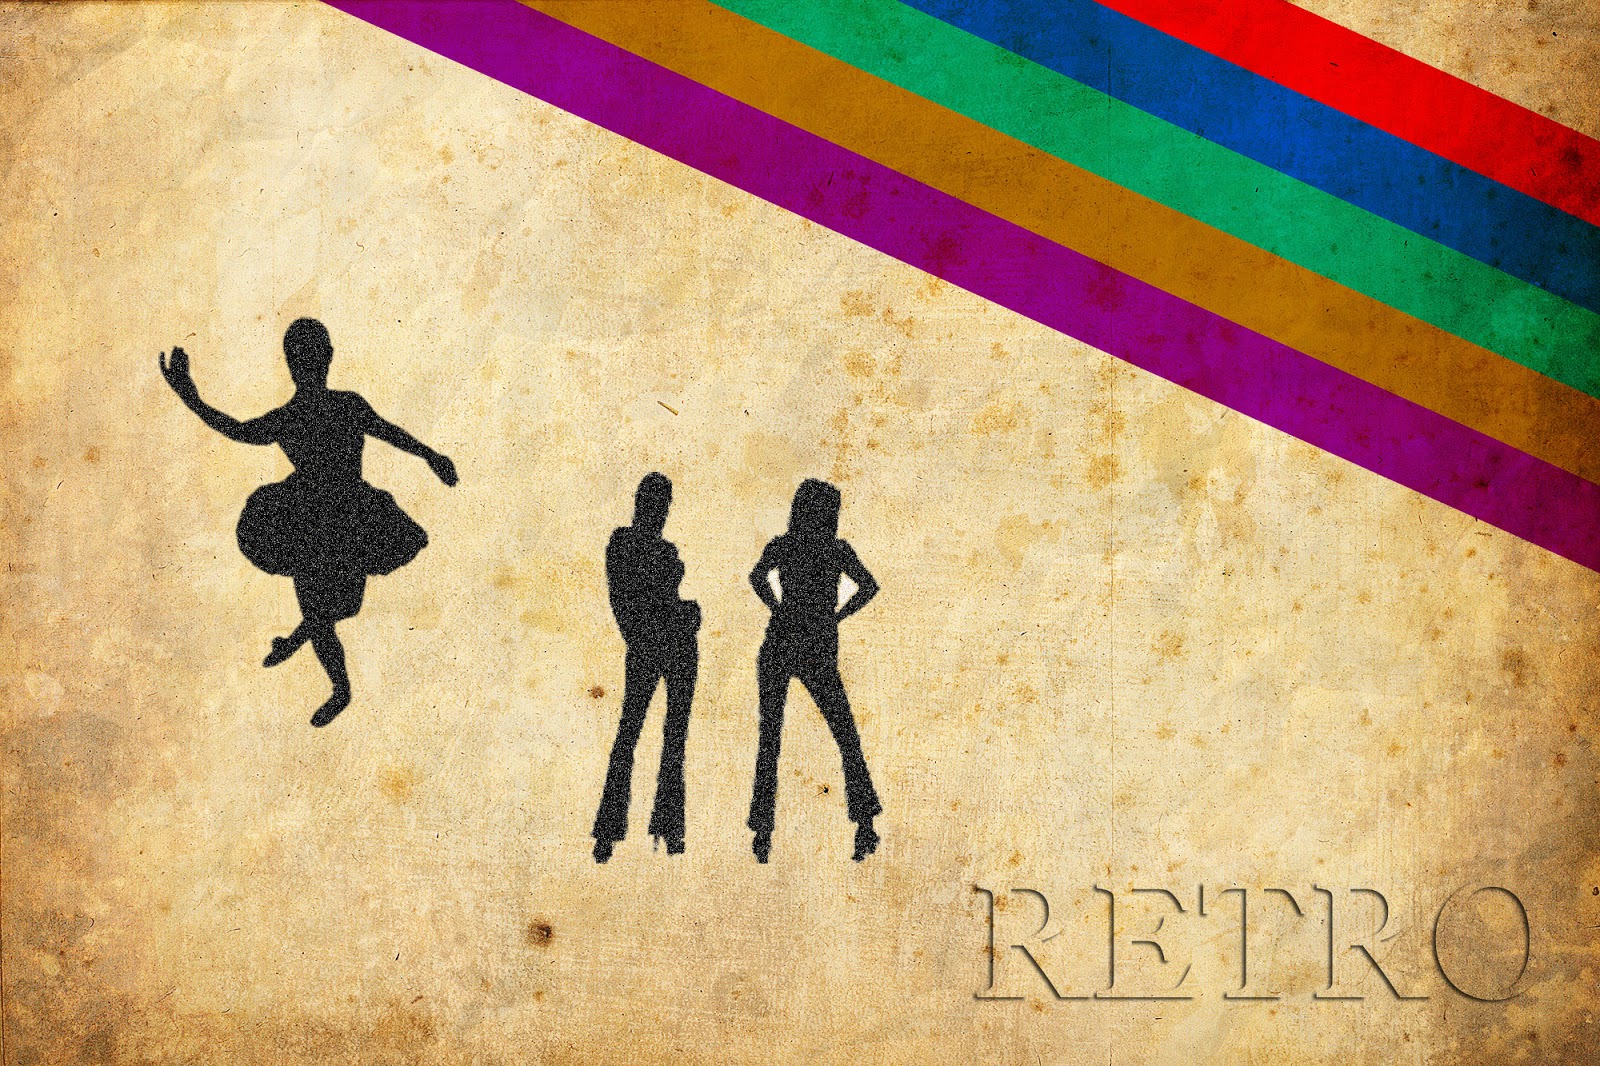
Done..!!
Create Simple Pattern
Final view
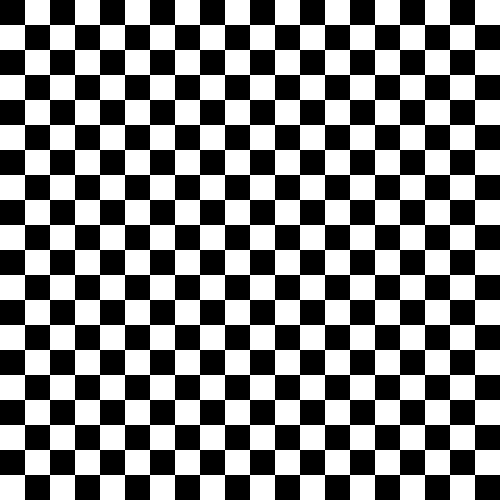
Step 1:
Create new file (50px * 50px) with white background.
Go to View ---> Rulers..
drag the cursor from rulers to the middle of the layer from both sides..
Create new file (50px * 50px) with white background.
Go to View ---> Rulers..
drag the cursor from rulers to the middle of the layer from both sides..
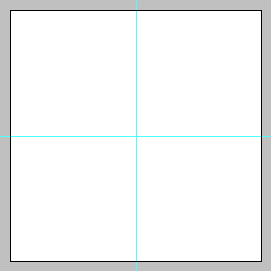
Step 2:
Select the Left-upper-half square with Rectangular marquee tool and fill it with black color.
(Use shft+f5 ---> color ---> Select Black color ---> OK).
Now select the right-lower-half square with Rectangular marquee tool and fill it with black color.

Step 3:
Now go to Edit ---> Define Pattern.
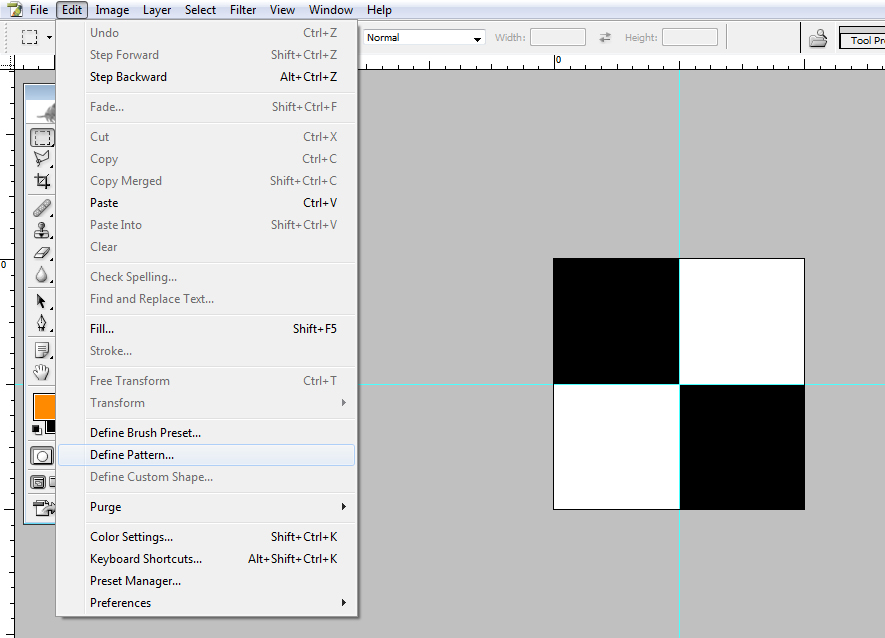
Give Name for Pattern.
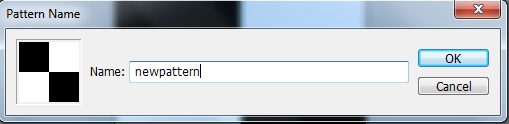
Hit OK.
Your pattern will be created..
Your pattern will be created..
Step 4:
Now Make new file (Ctrl+N)(500 px * 500 px)
Go to Blending Options ---> Pattern Overlay and select your pattern and hit OK.
Now Make new file (Ctrl+N)(500 px * 500 px)
Go to Blending Options ---> Pattern Overlay and select your pattern and hit OK.
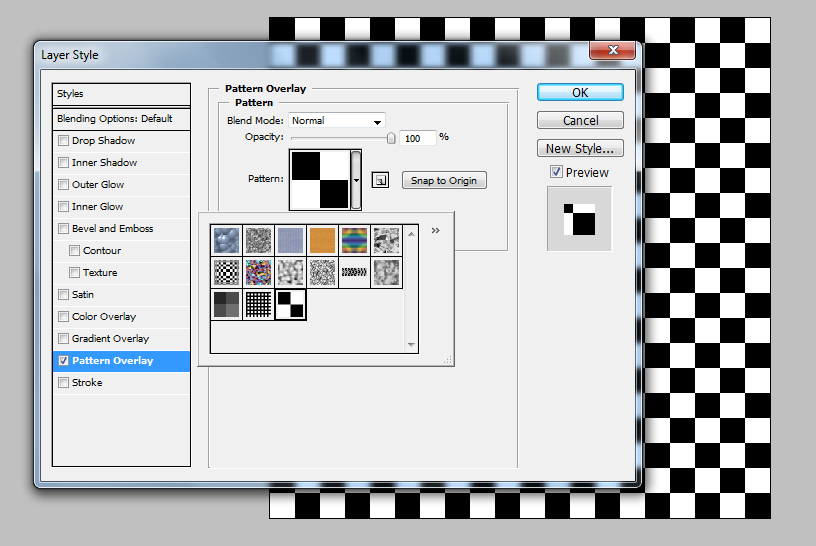
Done..!!
Making Simple Portfolio Website Home Page.
Final view

In the Last lesson we seen that how to make Blurred Background images for Web-form Design, Now we see a simple web-page Home screen design Using Blurred Background...
Step 1:
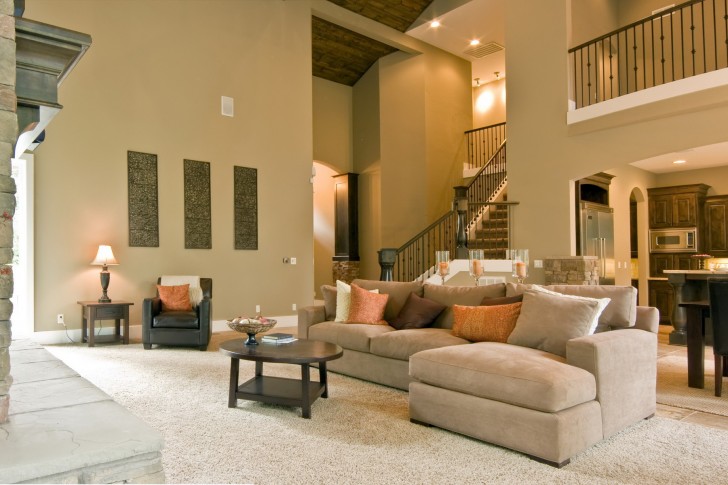
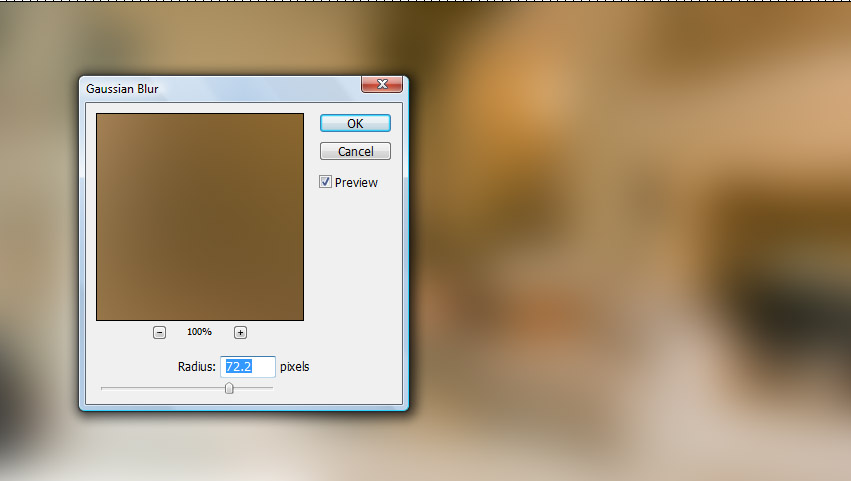
Get Image in Photoshop to Blur.. And add Gaussian Blur to the image so that it will be used as our home screen background.. (Click Here To download this image)
Step 2:
- Now we have our background..
- Go to View ---> Rulers make a arrangement of the layout columns and rows by dragging..
(You can also make web template without rulers but for accurate result, distance, spacing rulers are used).

Step 3:
- Add Your Title Or Logo between upper two rulers...

- Add Your Title Or Logo between upper two rulers...
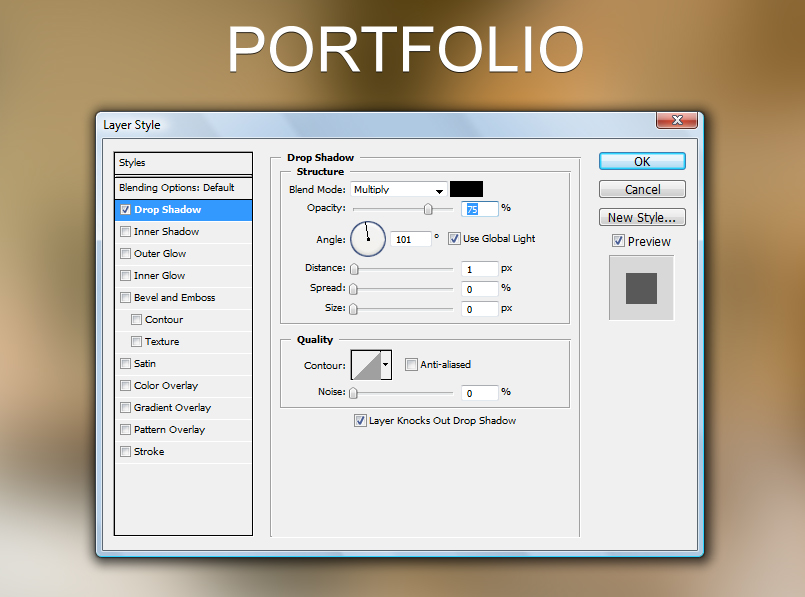
Drop Shadow to Title.. Go to Belnding Options (fx) ---> Drop Shadow.
And make following changes..
Step 4:
- Now make a new layer and Select the Custome Shape Tool From Tool box. (Right click on Shape tool)..
- Now Right Click on the Layer You will get different Shapes.. select One and Drag the cursor towards bottom.
- Note : Remember while dragging cursor press and hold Shift key for accurate Shape..
- (if necessary) Press Ctrl+T for transforming the image and adjust it in to middle two rulers..
- Add the different symbols as icons of your links..
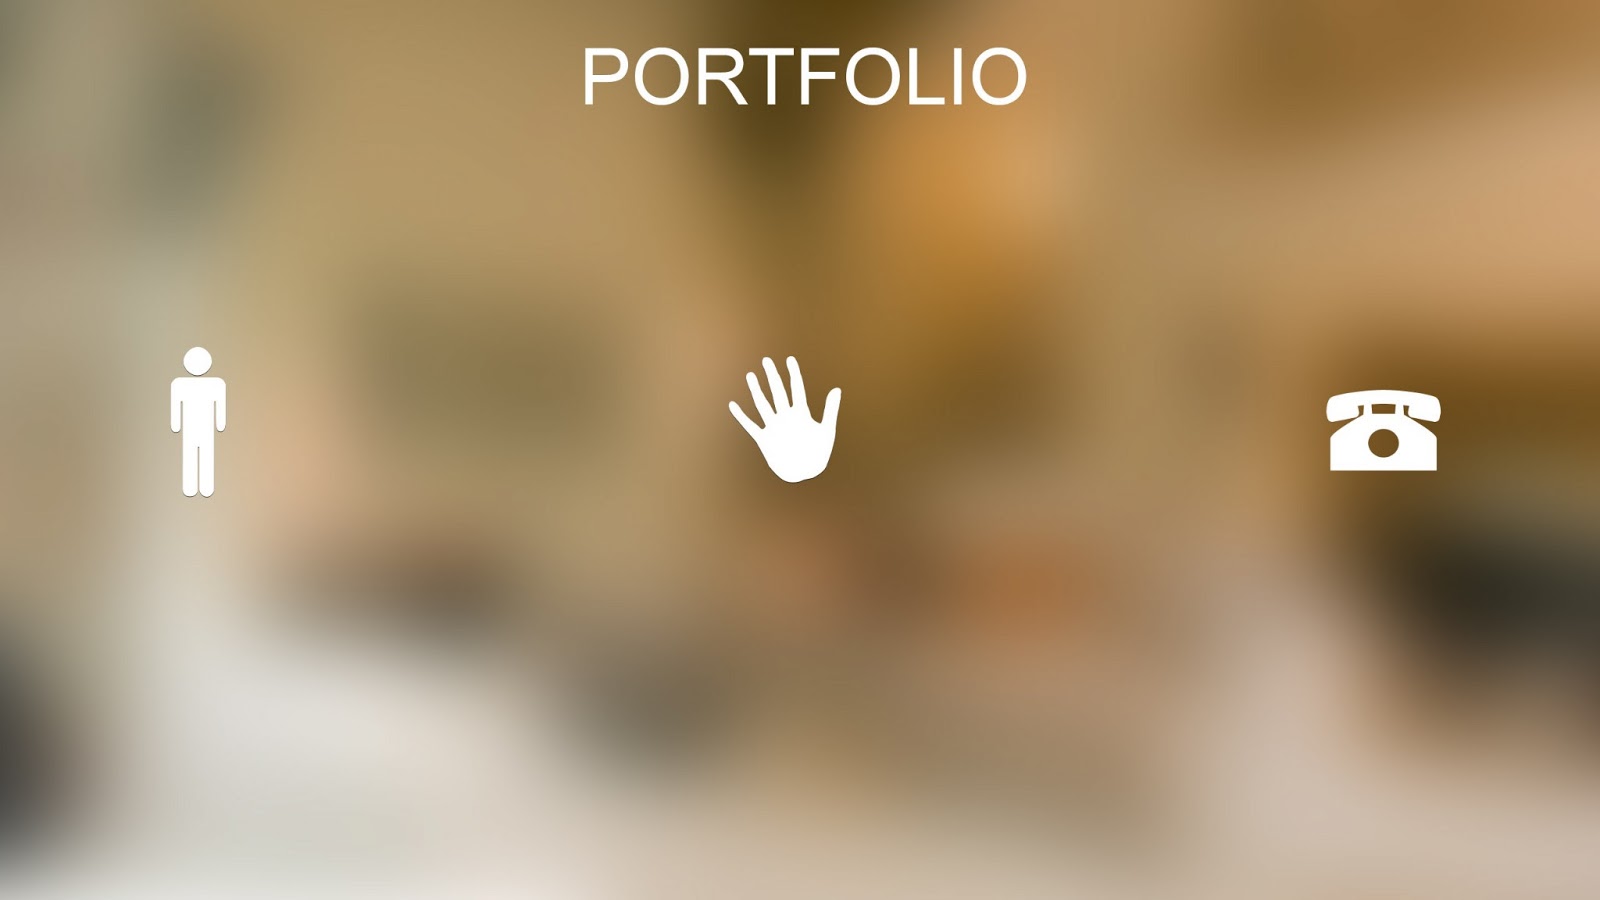
- Now Add the Link Text in the below ruler to shape we have added by selecting Horizontal Type Text tool..
- Make a new layer and select footer ruler by Rectangular marquee Tool and fill it with black color.. (Shft_f5 ---> color ---> select black color ---> OK).
- Make this layers opacity To 20%.
.jpg "Add text and Footer to home pahe")
As shown above drop shadow for each object we have added..
As this, You can also add many shapes and links to your homepage..
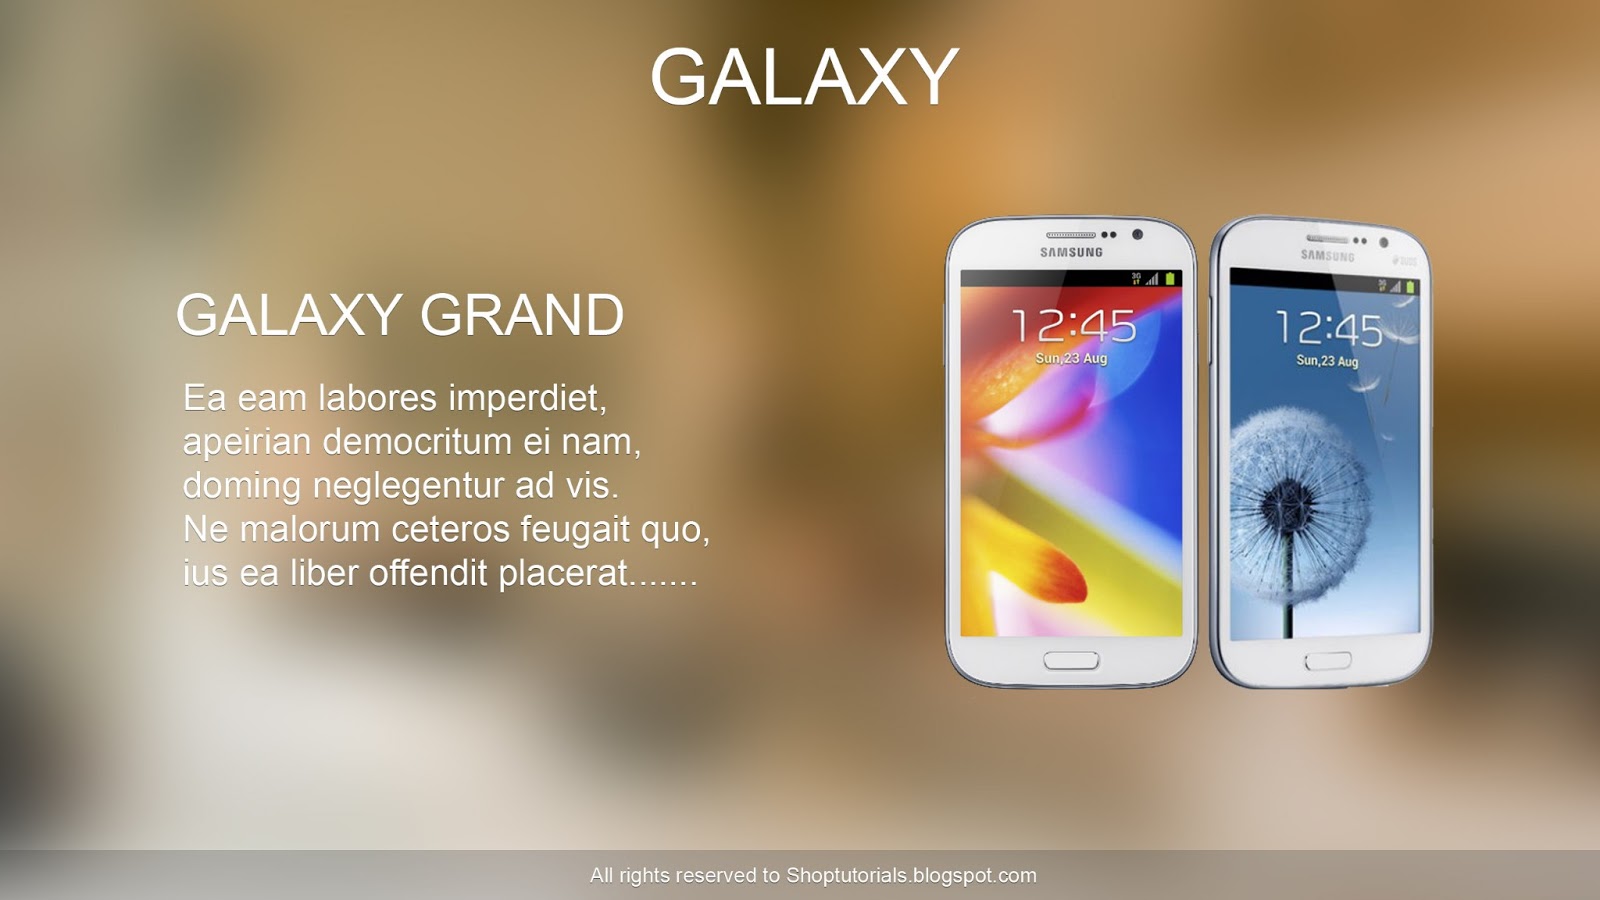
You can make any type of website home page using Blurred Images backgrounds.. The home page may have a Image in right and text in left , for better look slider etc..
Example..
Done..!!
Sunday, March 29, 2015
free,
in,
making,
photoshop,
psd,
simple,
speedometer
0
comments
Making Simple Speedometer in Photoshop Free PSD
Making Simple Speedometer
Final view
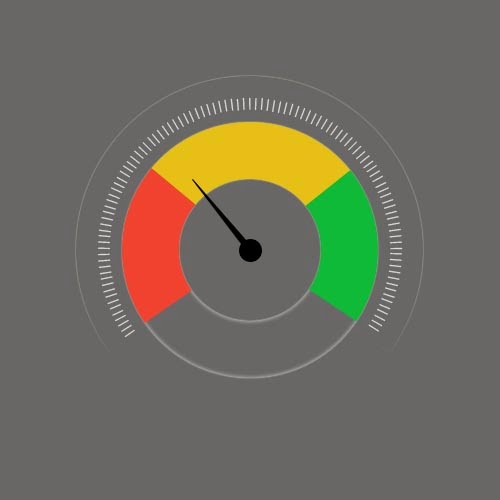
Step 1:
Create new file in Photoshop (500px - 500px).
Fill it with Gray color (Shift+f5 -> color)

Step 2:
- Select Costume Shape Tool form tool box, Select hollow circle, and draw a shape.
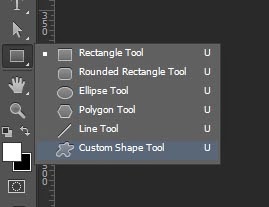
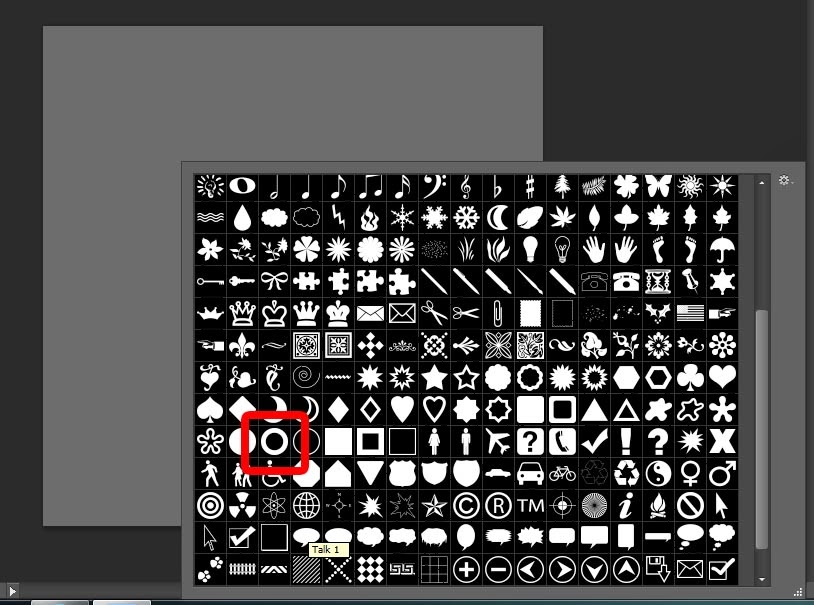

- Name it Layer 1
Step 3:
- Make a duplicate layer of this layer (Layer1_copy). and make this layer invisible.
- Select Layer1, and make Fill to 0.
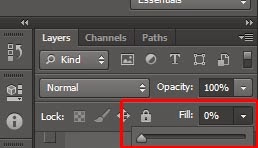
- Make a duplicate layer of this layer (Layer1_copy). and make this layer invisible.
- Select Layer1, and make Fill to 0.
- Go to layer Style, and give Inner Glow and, Outer Glow.
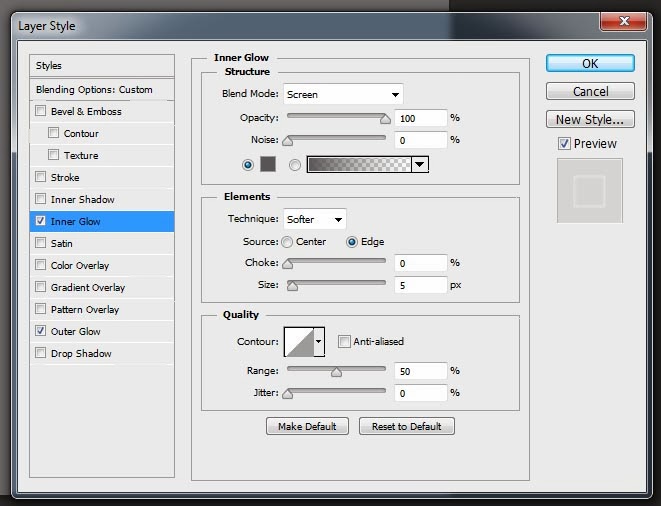
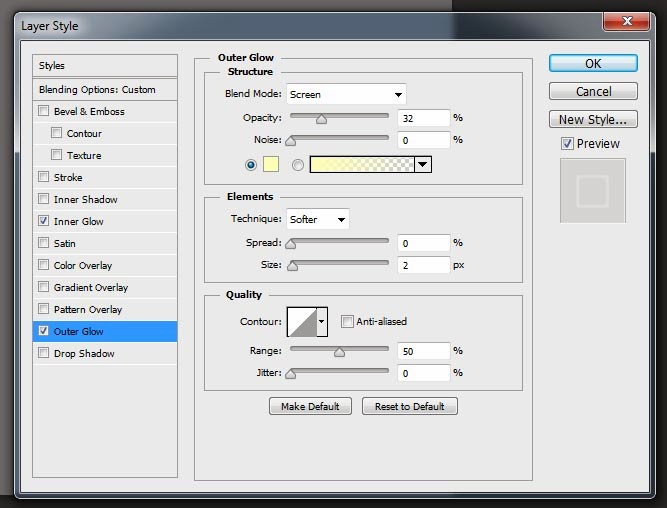

Step 4:
- Now take a round shape tool, and make circle just bit bigger than the hollow circle.
and make fill to 0.

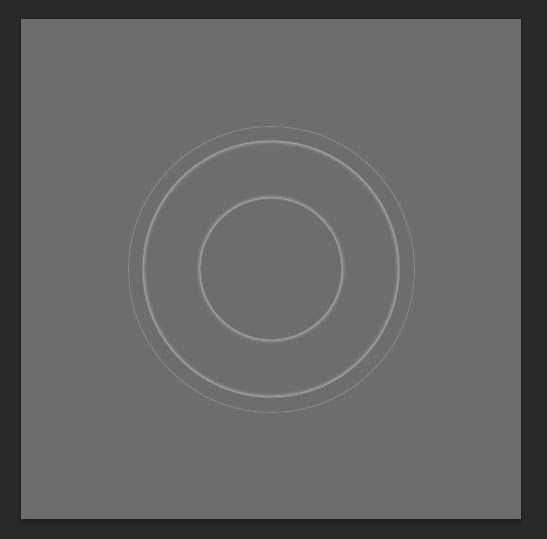
- Select Text Tool, and move courser towards edge of circle, When Courser icon changes click on it, and enter the bars. that is | .
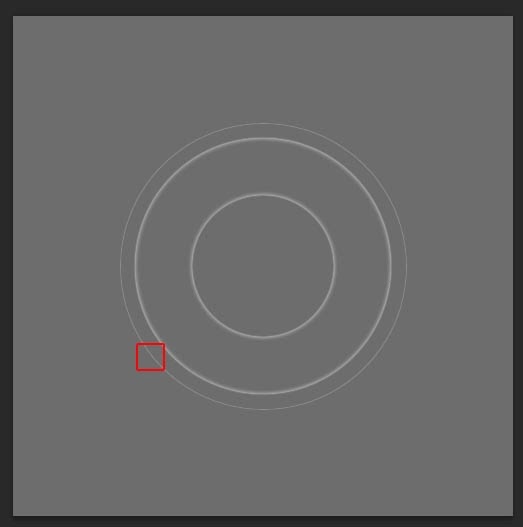
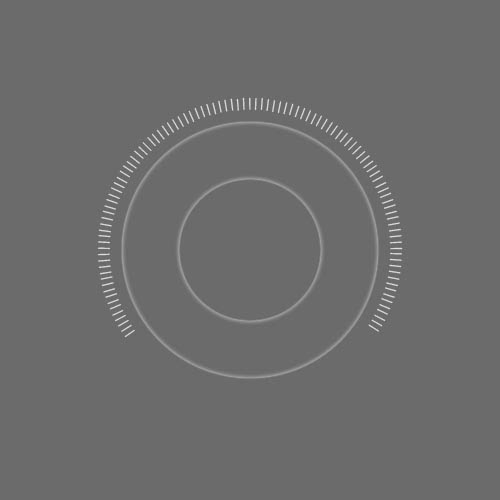
Step 5:
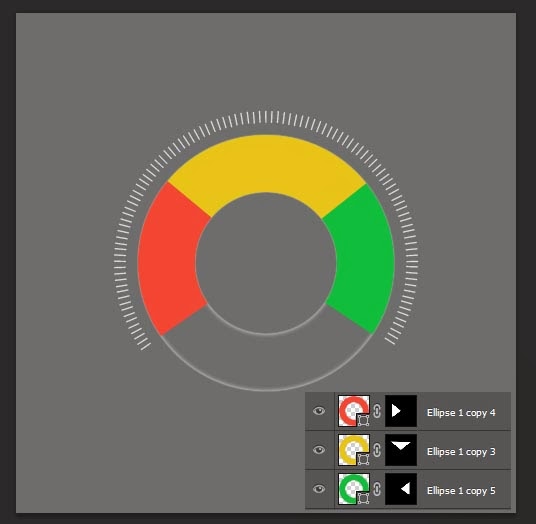
- Now select "Layer1_Copy" layer. Fill this hollow circle with "Green" color.

- Select Polygon Lasso Tool, and make the selection as shown.
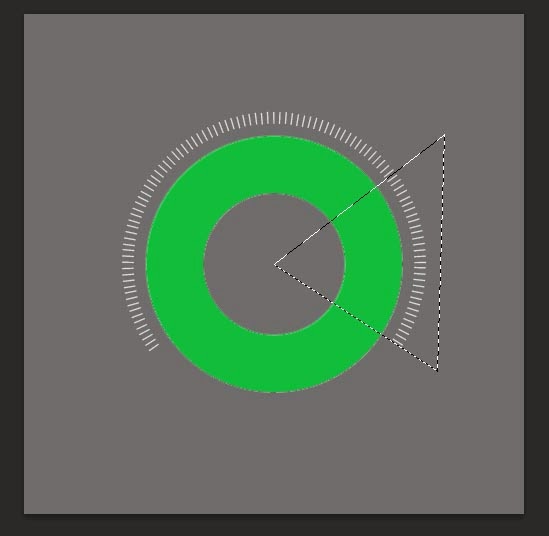
- After making selection, Click on Mask (Add layer mask).
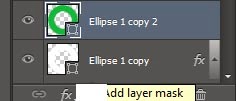
- the layer will see like this.
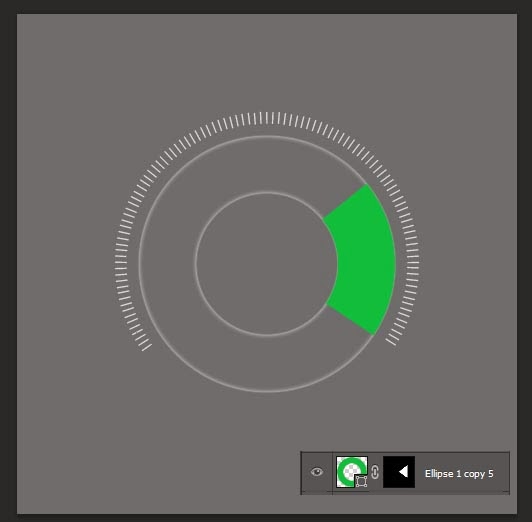
- the layer will see like this.
Step 6:
- As same, Make more 2 layers with different colors, And add layer masks to them.
Step 7:
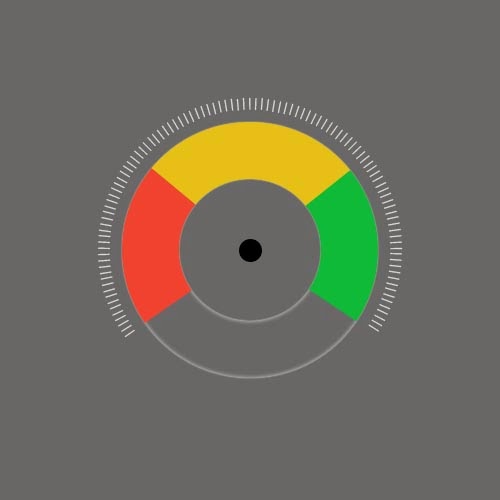
- Select Circular shape tool and draw a small circle in center, fill it with black color.
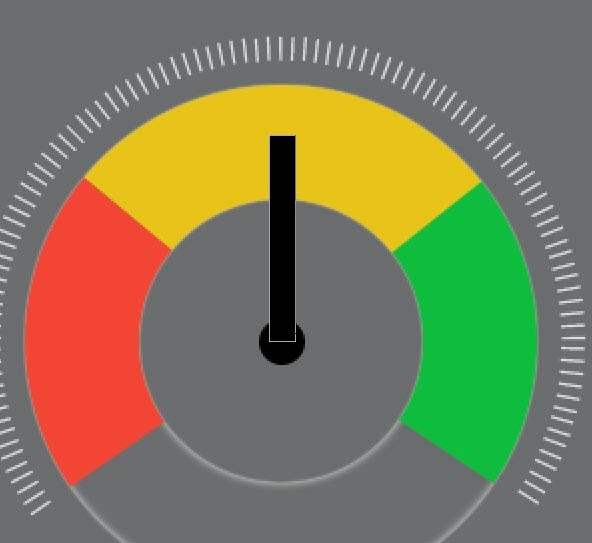
- Select rectanguler shape tool and draw a rectangle with black color for making pointer/arrow of Speedometer.
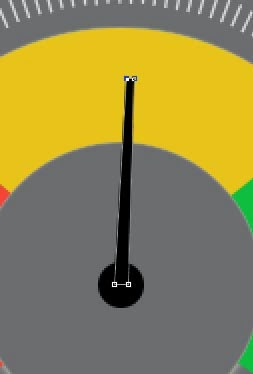
- Select Direct selection tool, By clicking on upper corner points, make them closer to look like pointer.
- press (Ctrl+T) for transform, and set the arrow position.
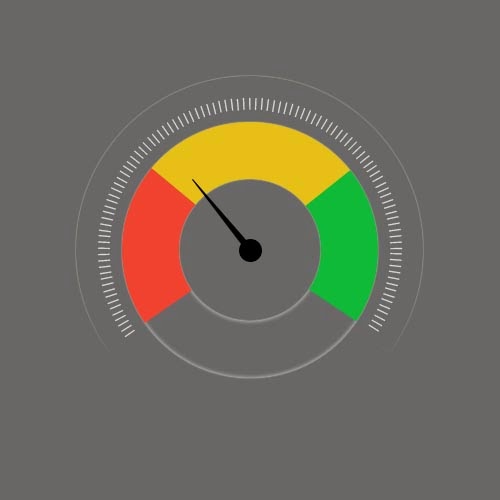
Done..!!
Download Free PSD of Speedometer.
DOWNLOAD PSD
Download Free PSD of Speedometer.
DOWNLOAD PSD
More about Author
Subscribe to:
Posts (Atom)


- Follow Us on Twitter!
- "Join Us on Facebook!
- RSS
Contact