Showing posts with label wallpaper. Show all posts
Showing posts with label wallpaper. Show all posts
Friday, April 3, 2015
create,
how,
in,
photoshop,
to,
typography,
wallpaper
0
comments
How To Create Typography Wallpaper in Photoshop
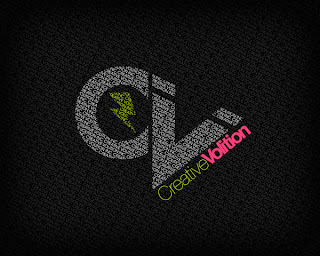
Step 1
Create a new document at 1200 x 800 pixels with a resolution of 72dpi. Start off by importing all of your vector designs separately into a Photoshop canvas. In this case we divided our vectors into 3 separate smart objects and dragged them into the Photoshop canvas.
Step 2
Hide all vectors and create a new text box. In this case I typed out the name of our company, "Creative Volition Inc.". The font we chose was "ITC Avant Garde Gothic". Keep your font in full caps, especially if your using this one! Continue to copy/paste your text across the text box.
Step 3
Text settings: 16pt font, Regular, 16pt height spacing, Color #404040.
Step 4
Continue to copy/paste the text until it fills the entire canvas. Stretch the box out using the text tool until it expands beyond the canvas size.
Step 5
Once the text box is filled completely with the copy begin to rotate the box clockwise in about a 45 degree angle.
Step 6
Make one of the smart objects visible. Command/Apple click the preview box on the layer panel to create marching ants around your object.
Step 7
Once the marching ants appear, hide your smart object so you can see the selection.
Step 8
Rasterize the type layer and with the marching ants active on your rasterized layer click Edit > Cut.
Step 9
Then click Edit > Paste and align your new layer so all the words connect. Open the Layer Style box and change the "Color Overlay" to white.
Step 10
Continue to do the same procedure with your other smart object layers but make sure to always cut from the rasterized layer.
Step 11
Lastly create a new layer and fill it with any color. Place this layer on top of all other layers. Drop the fill down to 0%. Open the Layer Styles box and change the inner glow to the following settings and click OK.

Conclusion
Thats it! You should now have a beautiful design in front of you.
Source : Abduzeedo
 About The Writer
Hello! My name is Tommy. Im a blogger, I love graphics design and now i went to Architechture Technical Senior High School. | Facebook |

Tuesday, March 31, 2015
making,
retro,
simple,
style,
wallpaper
0
comments
Simple Retro Style Wallpaper Making
Creating Retro Style Wallpaper
Final view

Step 1:
Take a old paper style image/wallpaper.
Make a new layer (Ctrl+Shft+N).
Select Rectangular Marquee Tool and make a selection. and fill the area with dark color (Shft+f5).
Take a old paper style image/wallpaper.
Make a new layer (Ctrl+Shft+N).
Select Rectangular Marquee Tool and make a selection. and fill the area with dark color (Shft+f5).
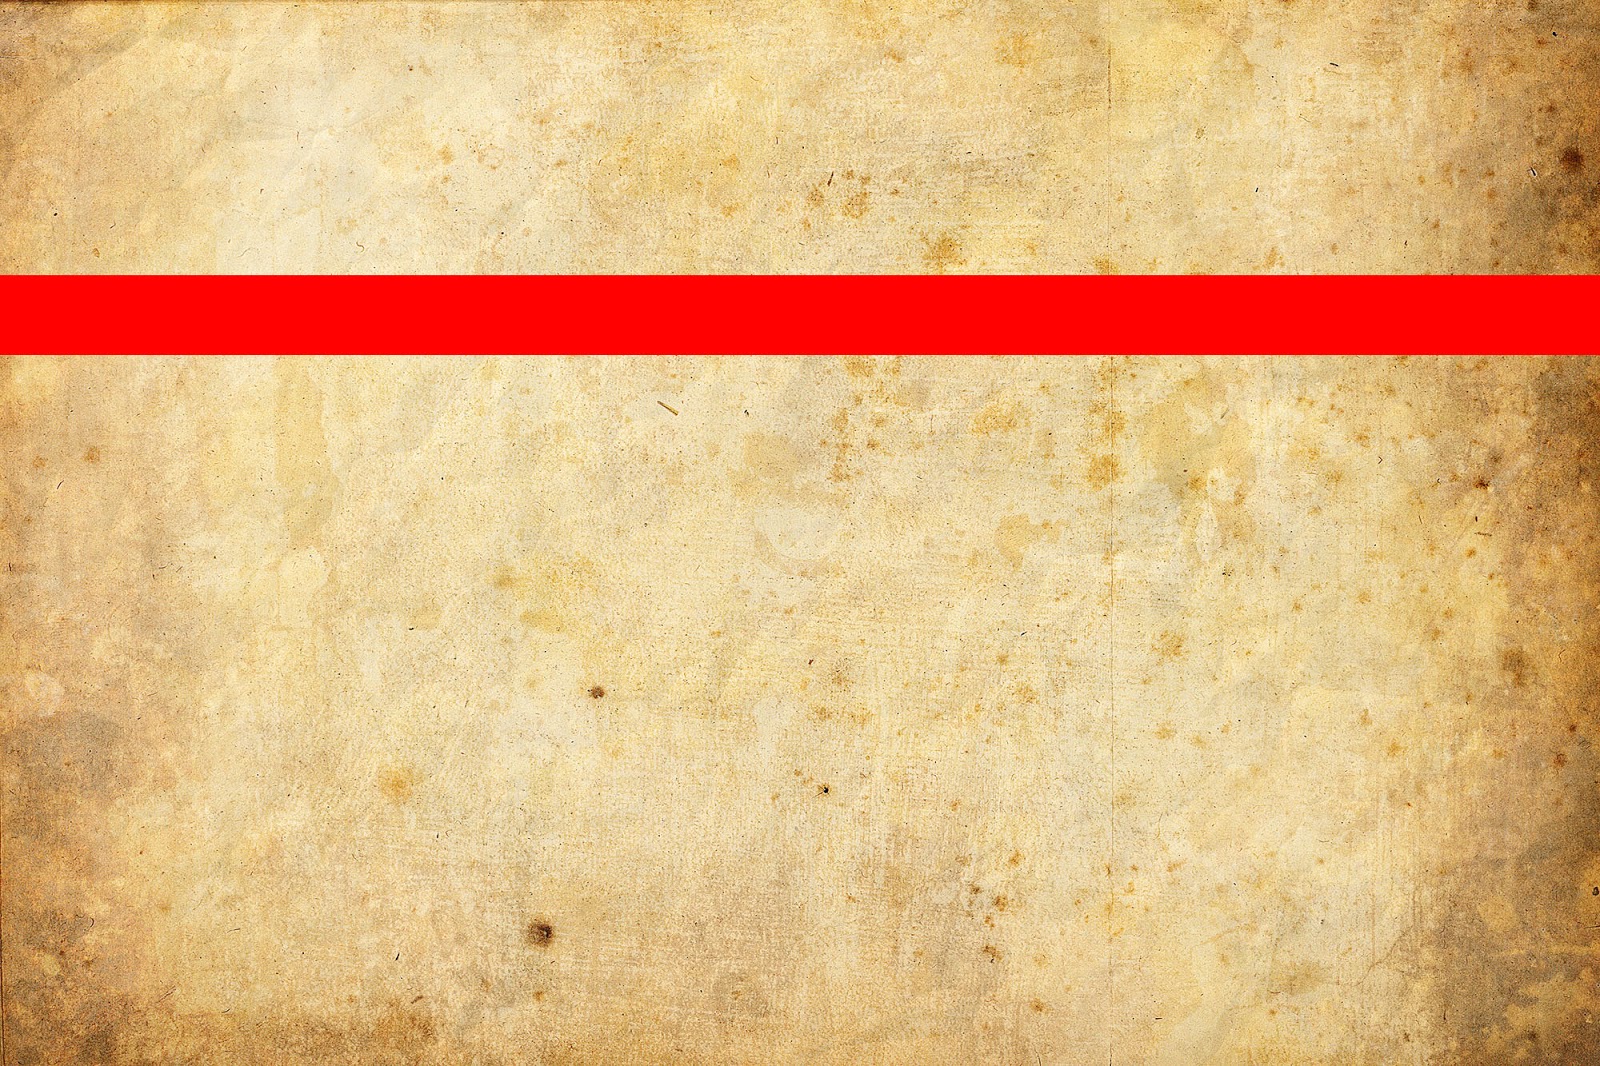
Step 2:
Again make a selection and fill it with different dark color...
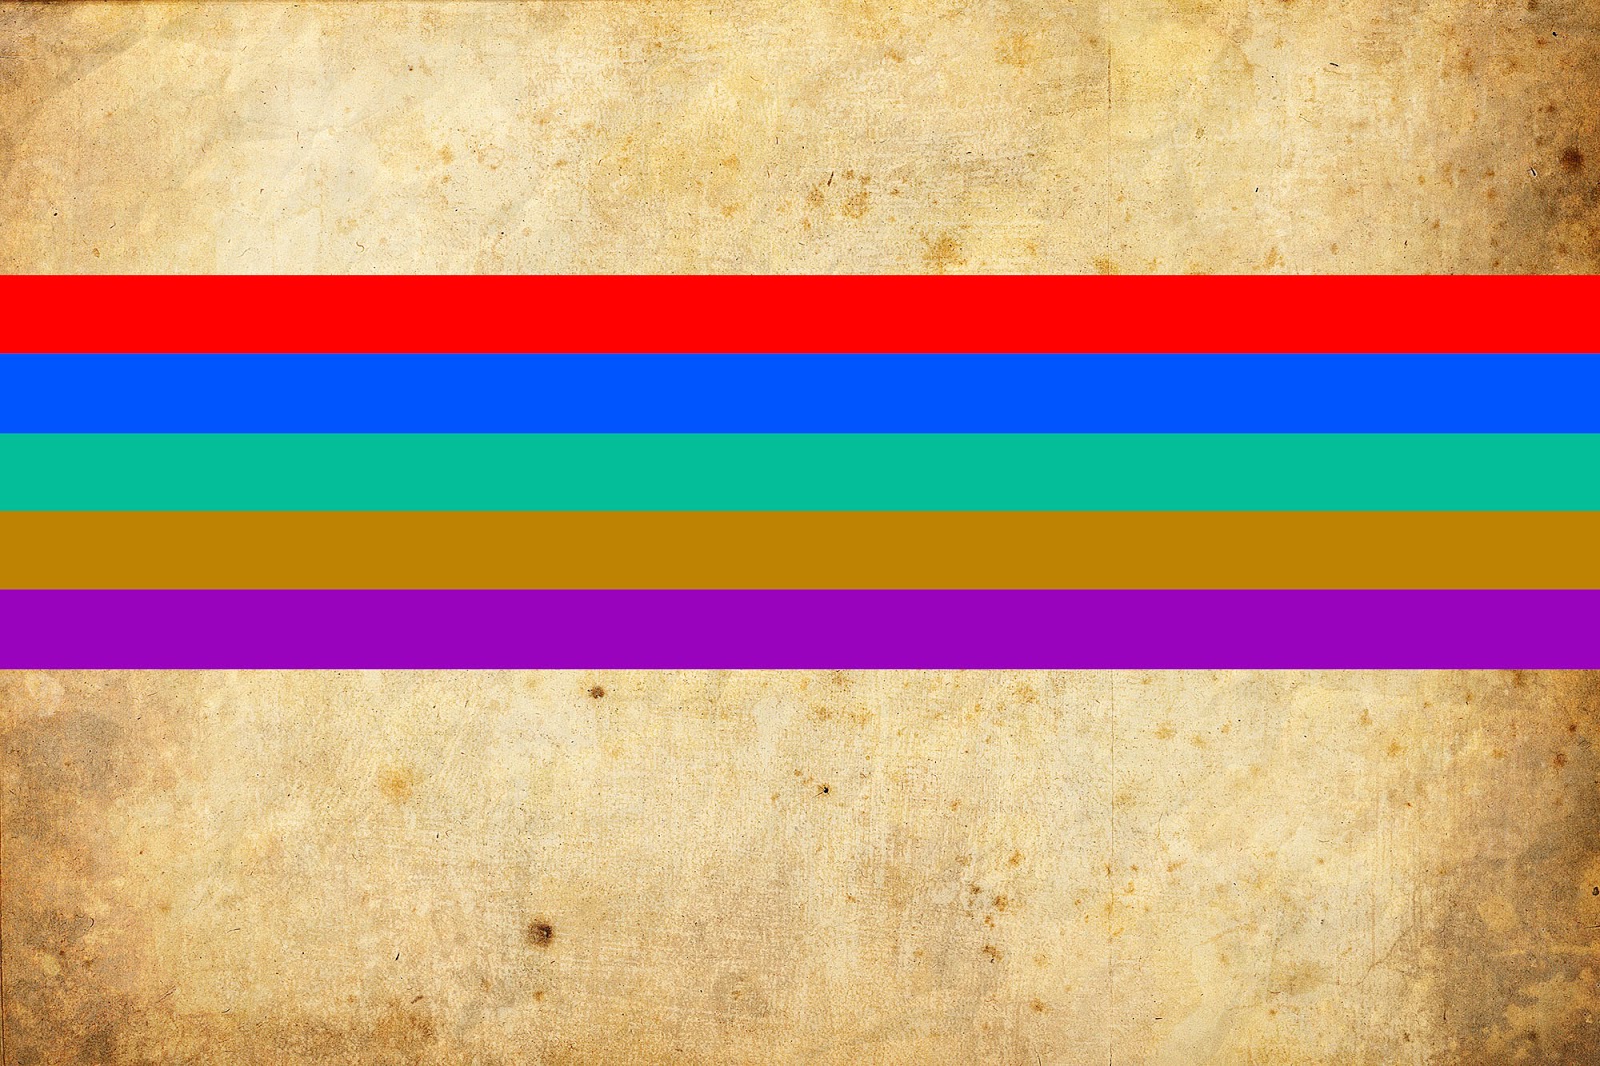
Press Ctr+T for transform the layer..
and set this layer at the corner..
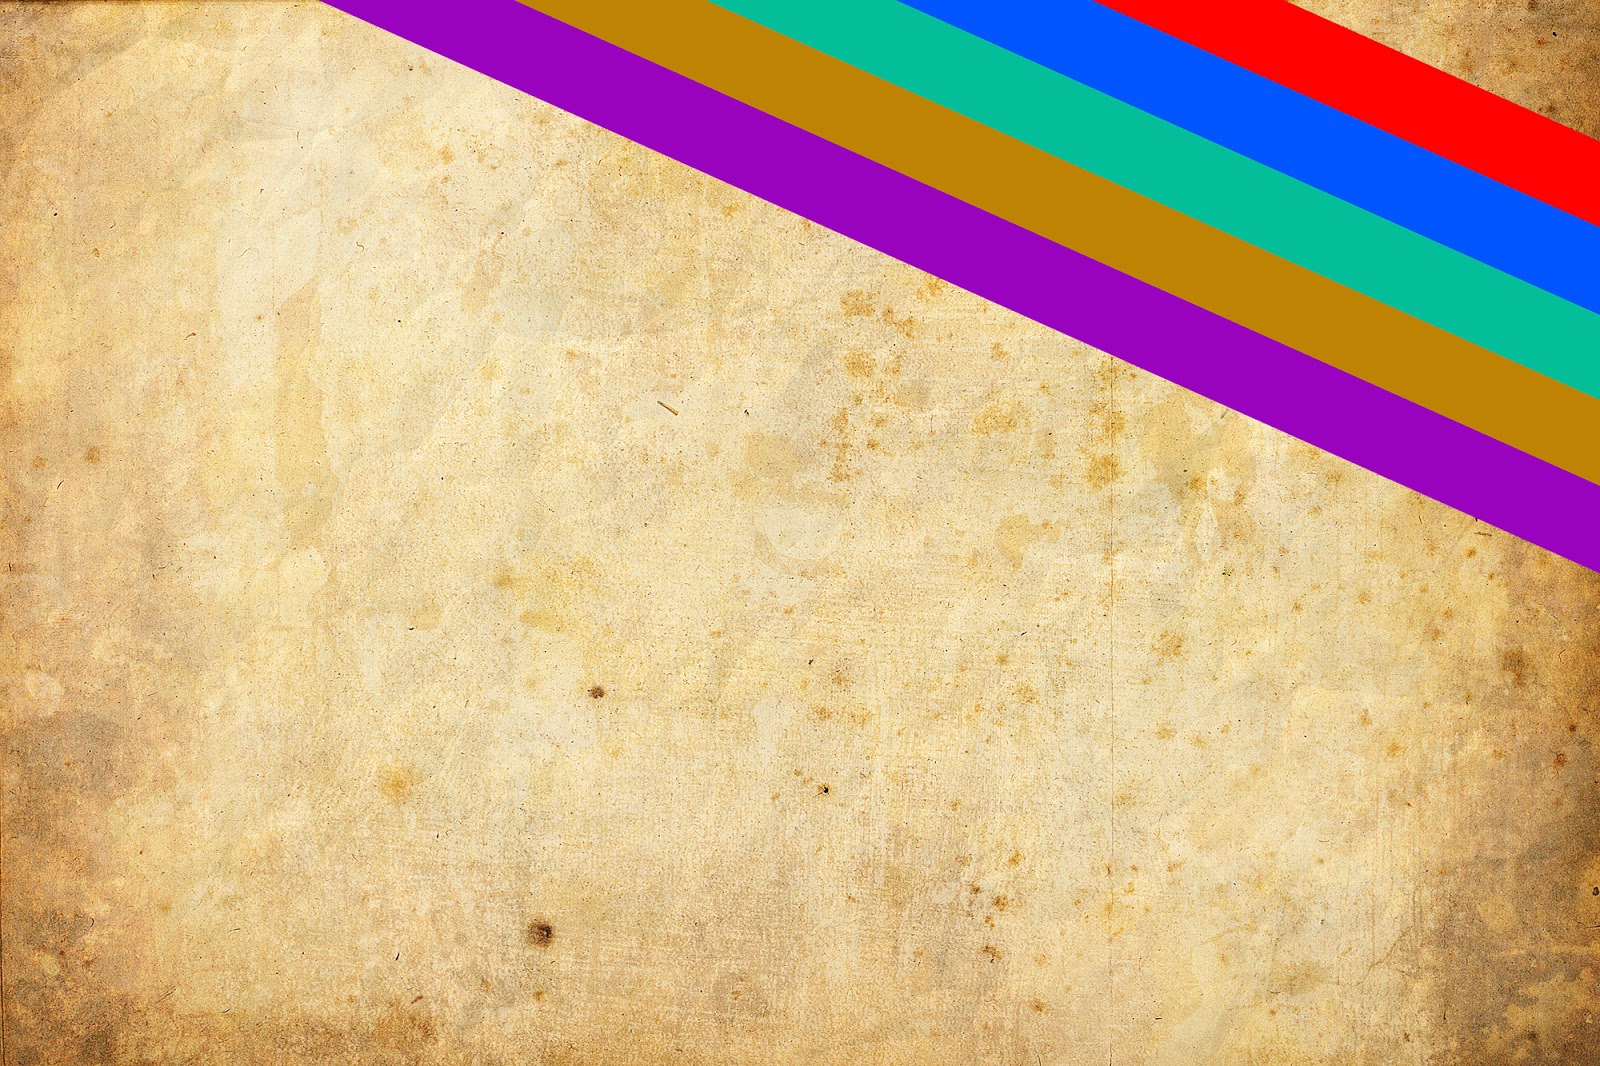
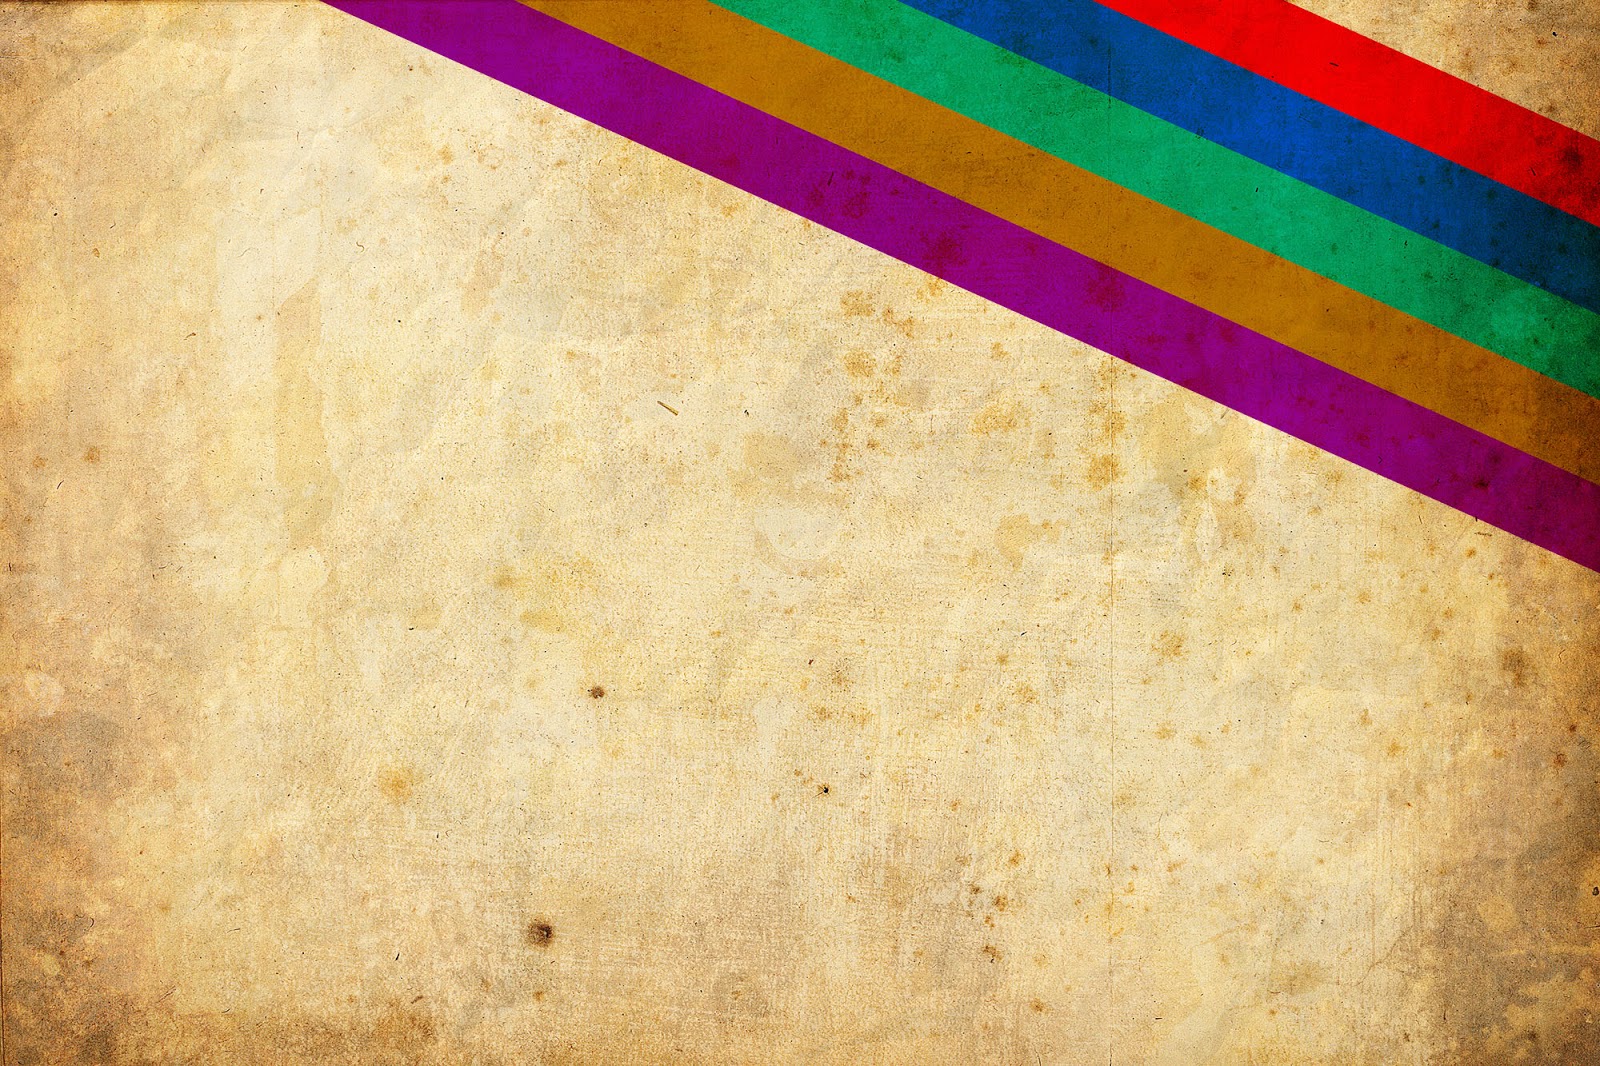
Set mode of this layer to Multiply.
Step 3:
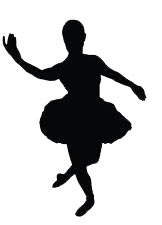
Now get some the vector dancer images..
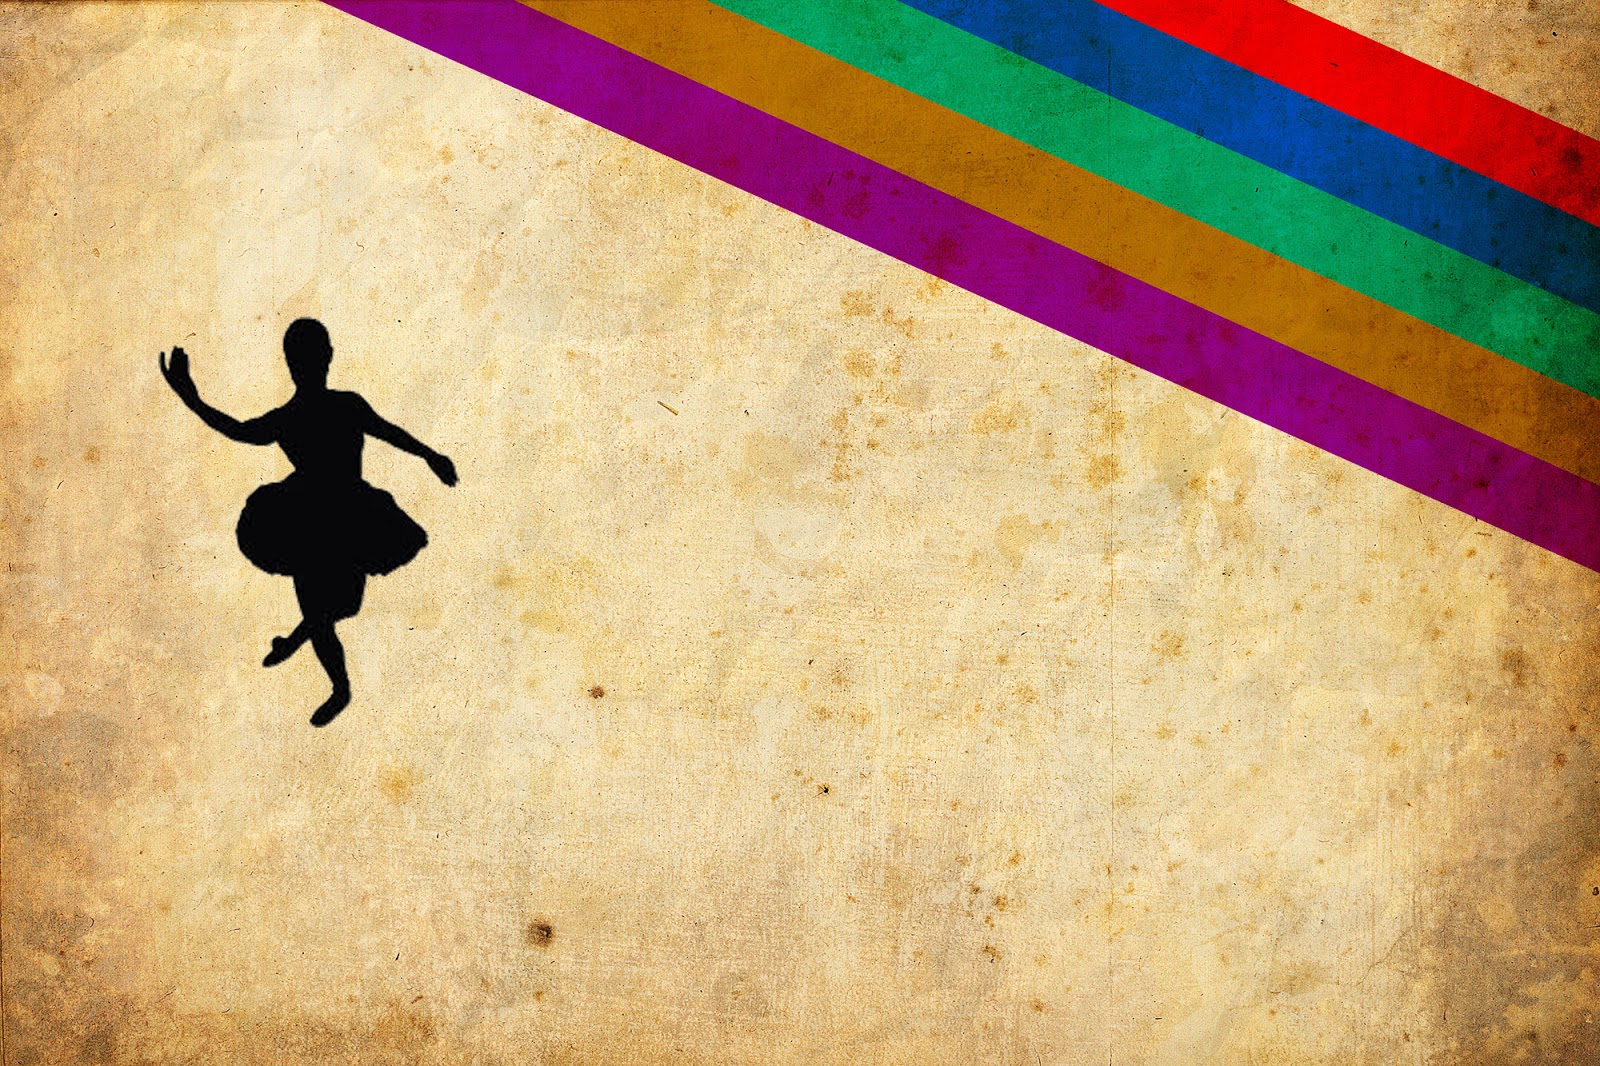
Now go to Filter ---> Noise ---> Add Noise
set amount to 15. and Distribution to Gaussian. and set mode of layer to Pin Light.
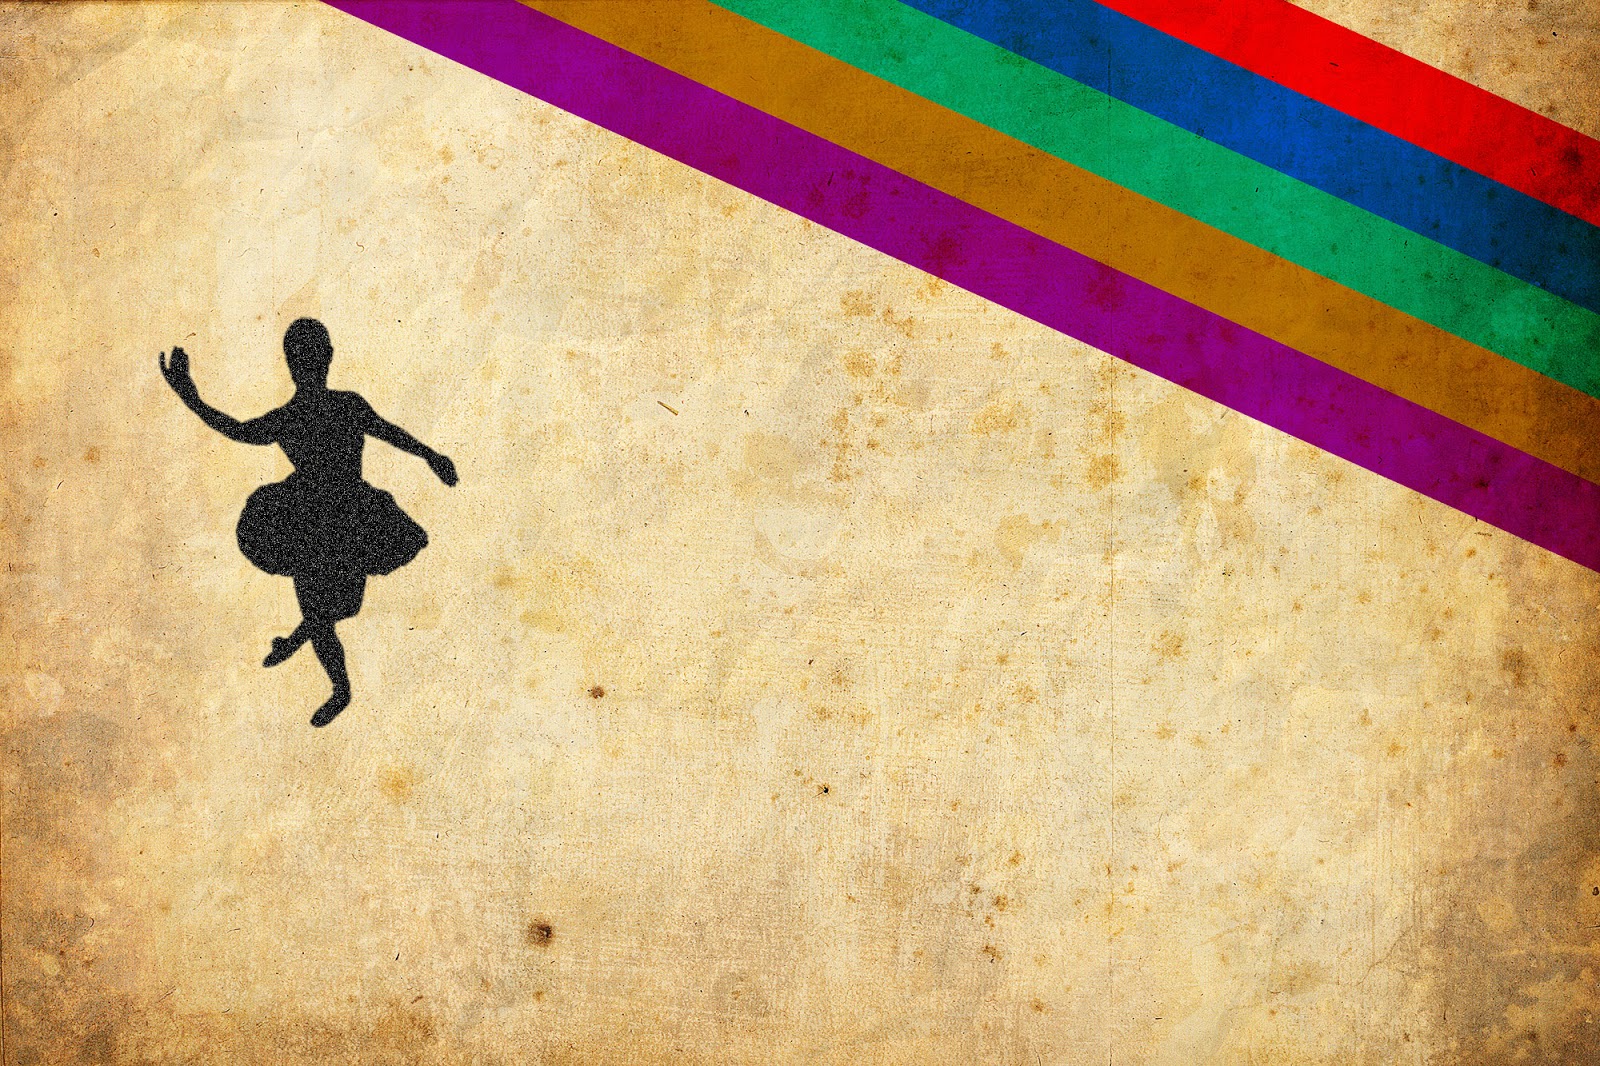
Step 4:
Add more dancer vector images and apply the effect as same..
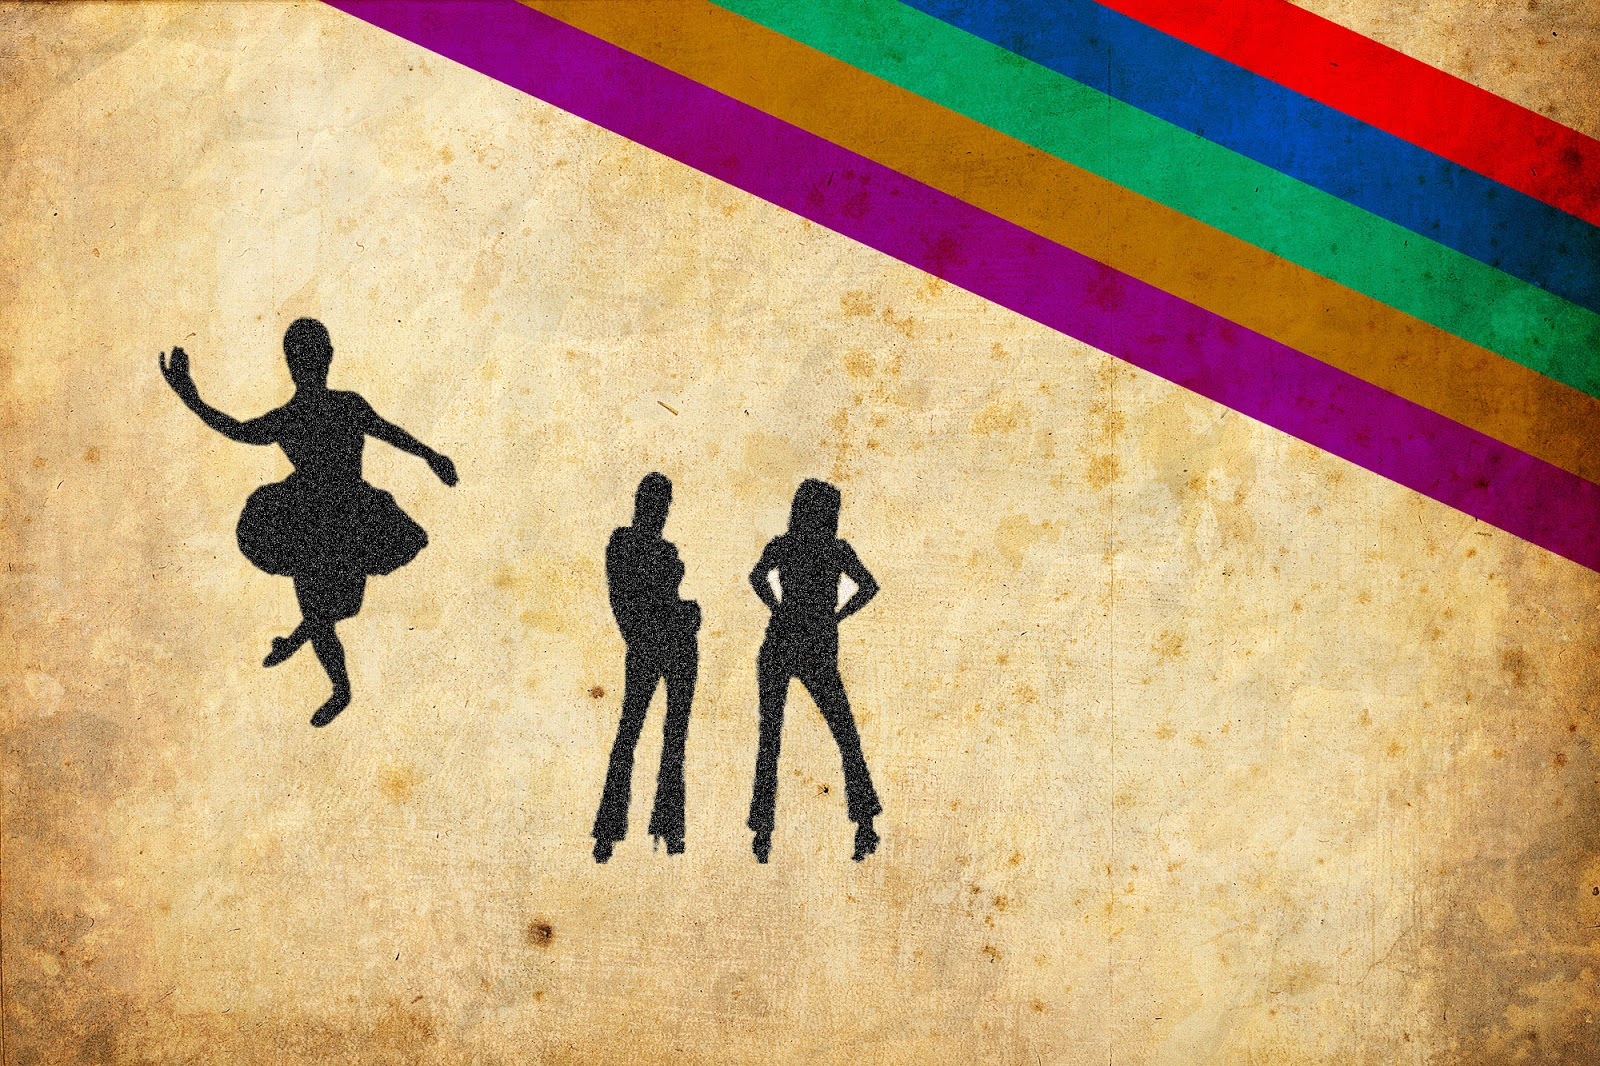
Add more dancer vector images and apply the effect as same..
Add text with white color. go to blending options and select Drop Shadow.
Hit ok.
Raster this layer and set layer to Multiply.
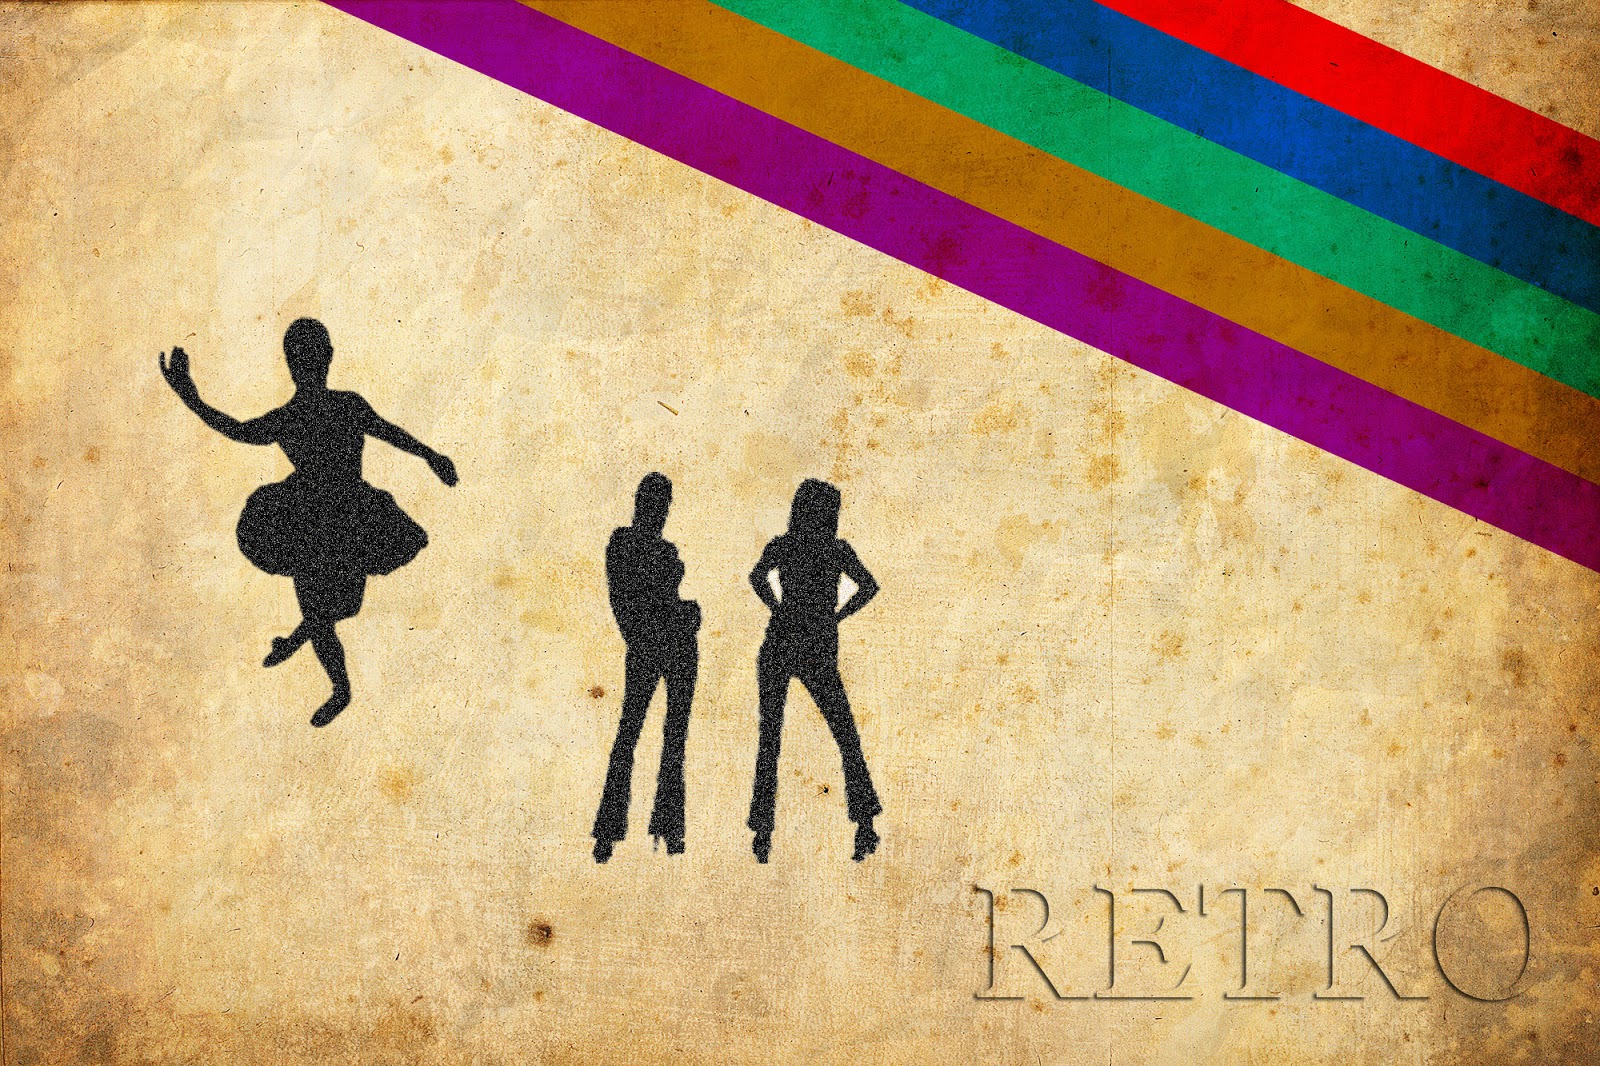
Done..!!
Sunday, March 29, 2015
a,
create,
lomography,
style,
wallpaper
0
comments
Create a Lomography style wallpaper
Create a Lomographic wallpaper
Lomography is a analog camera movement and community. Also called as experimental film photography. This image contains different color combinations
Final view
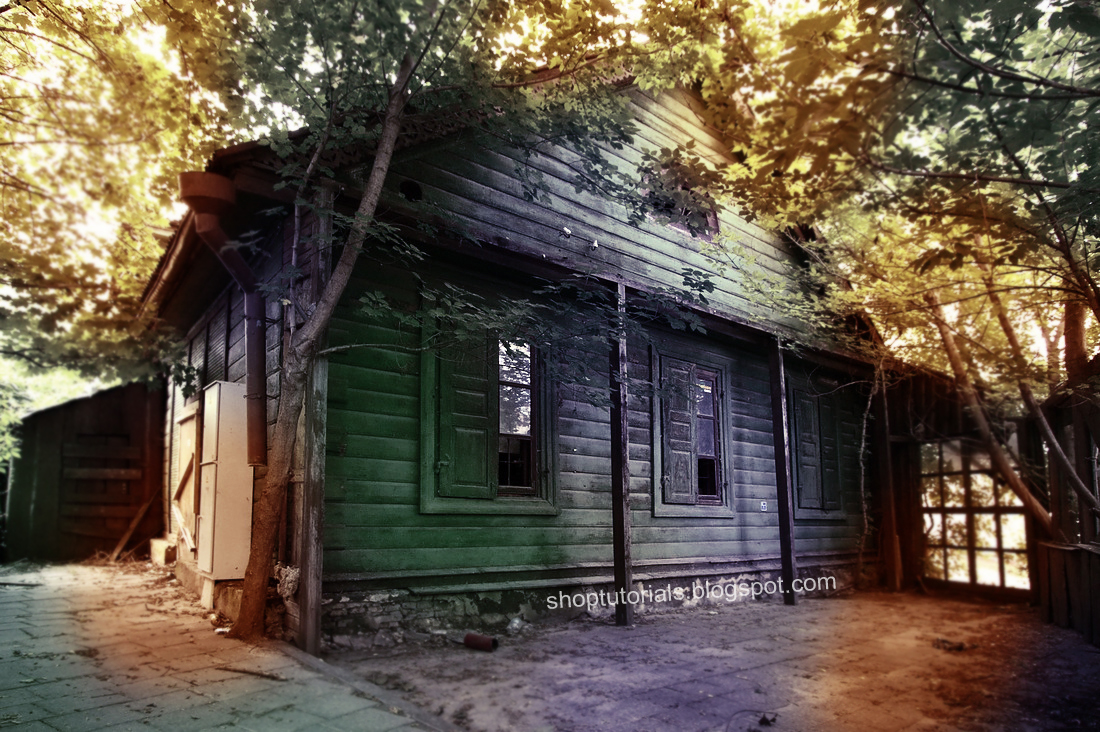
Step 1:
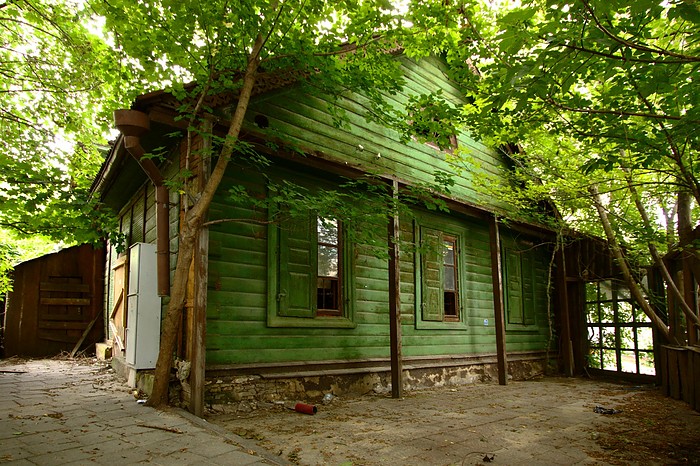
Take image in photoshop to give a lomographic effect. (See this photo)
Step 3:
- Make a new layer (Ctrl+Shft+N).
- Select Brush tool and select large size round brush..
- Set color to orange and paint on the new layer where you can see the sun light..
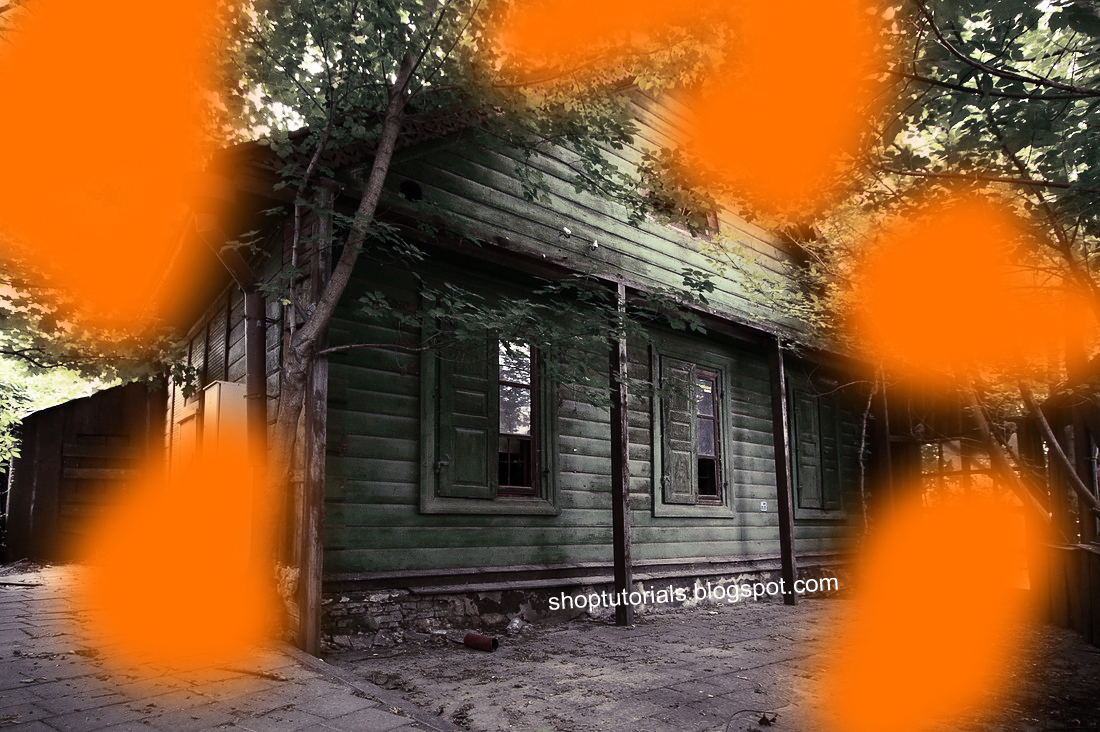
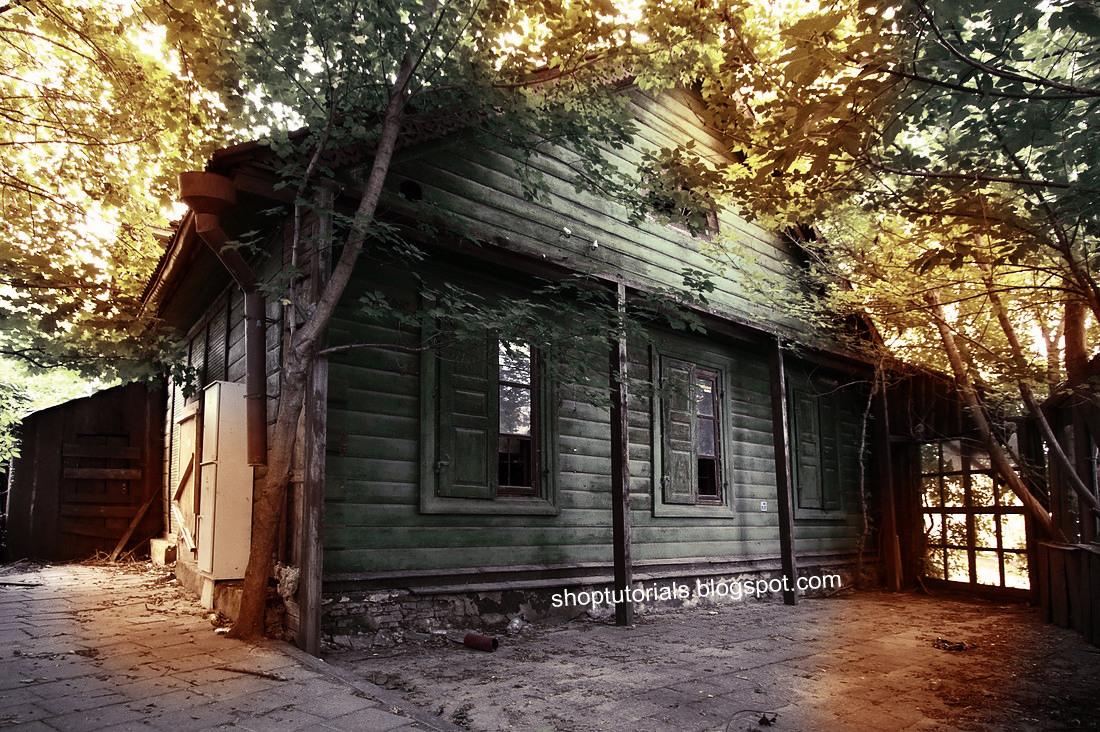
Take image in photoshop to give a lomographic effect. (See this photo)
Step 5:
- Make a duplicate layer of this image by pressing Ctrl+J.
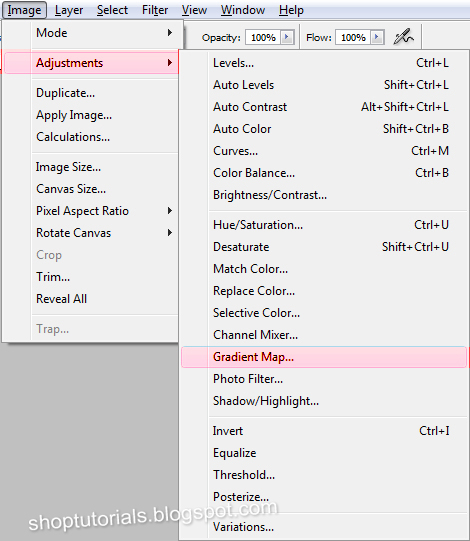
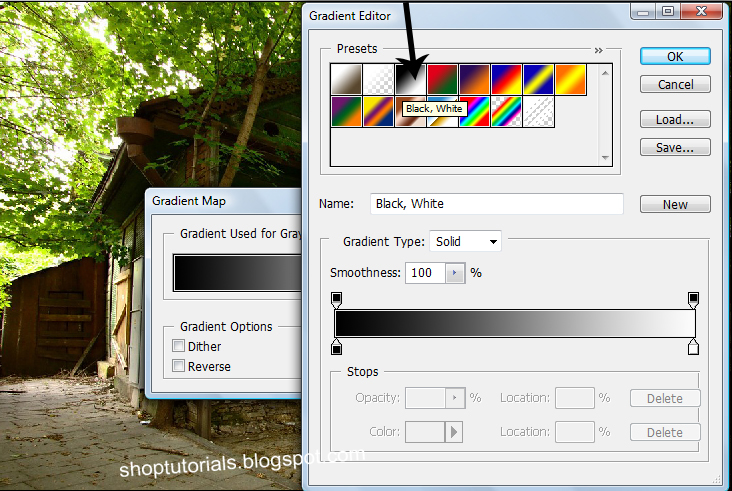
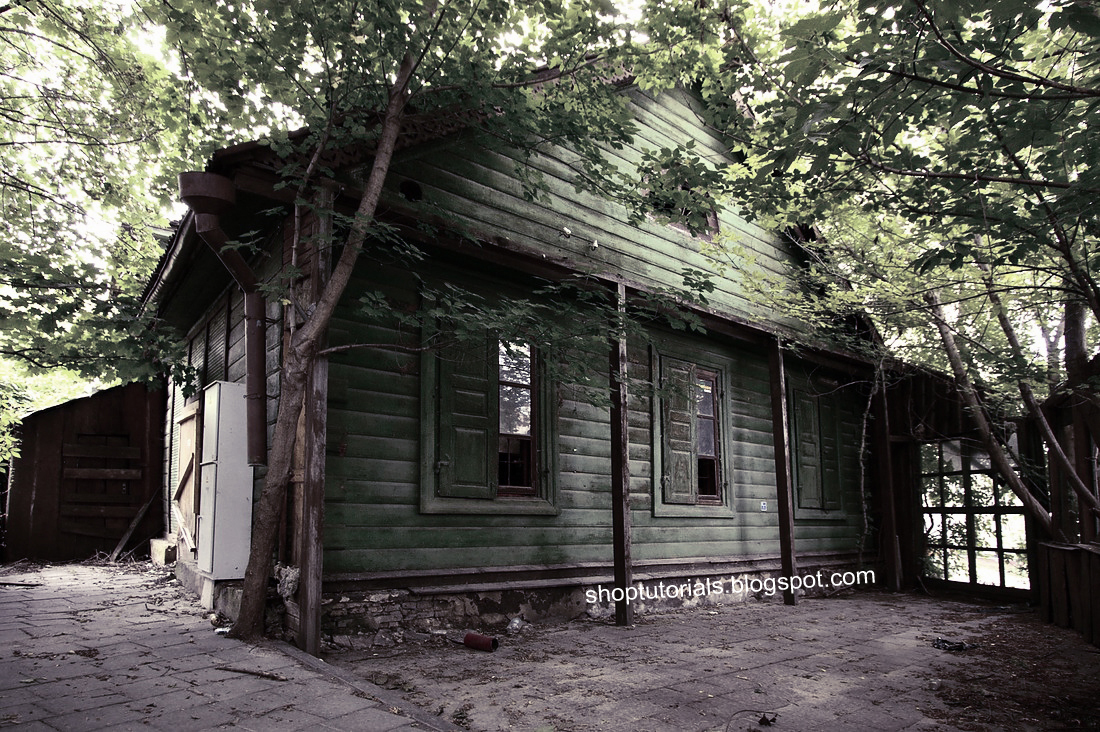
- Go to Image ---> Adjustments ---> Gradient Map and select black white color combination and hit OK.
Set this layers Opacity to 25%.
Step 3:
- Make a new layer (Ctrl+Shft+N).
- Select Brush tool and select large size round brush..
- Set color to orange and paint on the new layer where you can see the sun light..
- Set the mode of this layer to Soft Light and Opacity to 70%.
Step 4:
Similarly make a new layer and add some greenish and blue color strokes by brush..
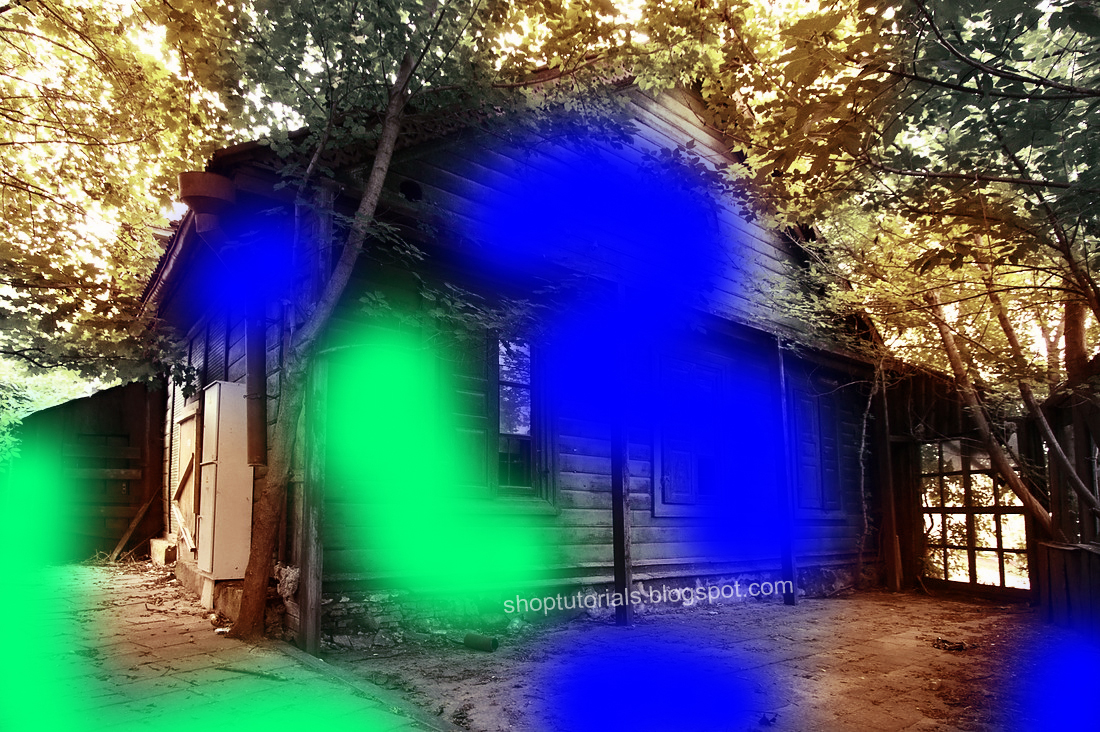
Set this layers style to Soft Light and Opacity to 25%.
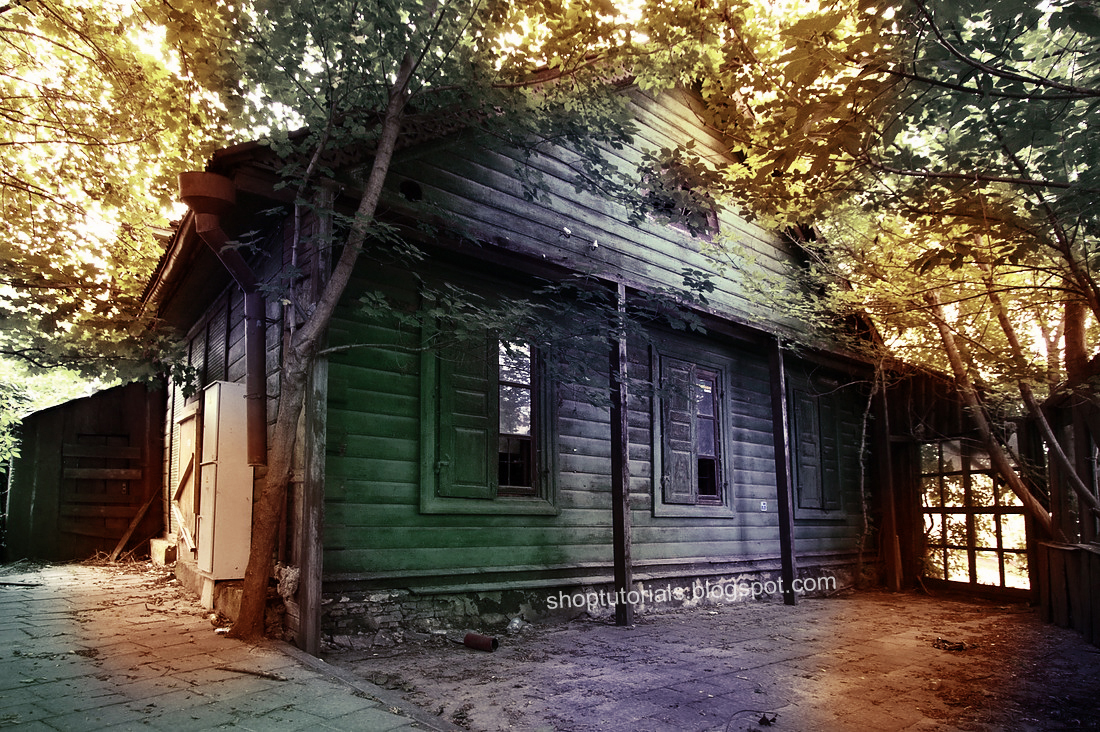
Step 5:
- Now merge all your layers (Select all layers and press Ctrl+E)
- Select Blur tool from toolbox and set
Mode = Normal and
Strength = 20%
Done..!!
Follow my blog with Bloglovin
Saturday, March 28, 2015
a,
christmas,
for,
make,
sketchy,
this,
wallpaper
0
comments
Make a Sketchy Wallpaper for this Christmas

This tutorial will show how we can create a sketchy wallpaper for Christmas this year! We shall cover watercoloring, pencil sketching and some simple lighting effects. It will be good if you are working with a pen and tablet.


 Writer : Tommy Kurniawan
Hello! My name is Tommy. Im a blogger, I love graphics design and now i went to Architechture Technical Senior High School. | Facebook |
Source : 10steps.sg
Subscribe to:
Posts (Atom)


- Follow Us on Twitter!
- "Join Us on Facebook!
- RSS
Contact