Showing posts with label background. Show all posts
Showing posts with label background. Show all posts
Thursday, June 18, 2015
a,
an,
and,
background,
content,
create,
fill,
from,
hole,
how,
object,
pse9,
remove,
scene,
the,
to,
using
0
comments
How to remove an object from a scene and create background content to fill the hole using PSE9
Is there a tool in PSE which can help you remove an object or a person from foreground of an image by filling it with the background content?
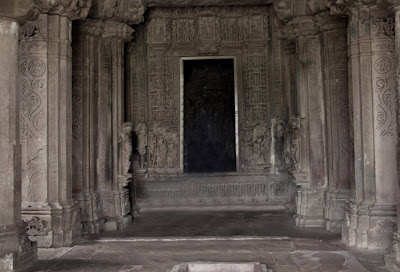
So in my source image above, I wanted to remove the girl from the temple and have just the building.
It may be achievable with clone tool, however it would really be a big time task.
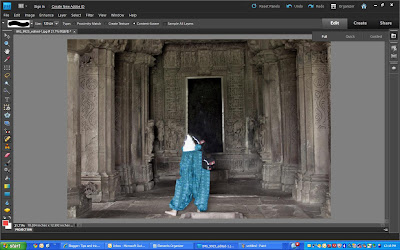
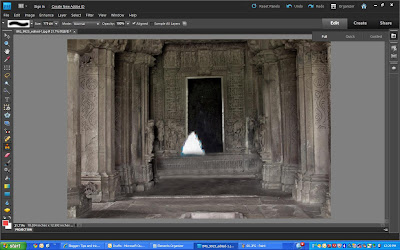
Yes, there is one which was introduced in PSE 9. So here are my initial and final images to show what this tutorial will help you achieve through this tutorial:
 |
| Initial image |
 |
| Final image |
So in my source image above, I wanted to remove the girl from the temple and have just the building.
It may be achievable with clone tool, however it would really be a big time task.
For non-complex images, it may just take seconds to fix that photo using content aware spot healing by doing just a couple of dabs
.
However, I choose an image which is complex as we need to remove a person whose background is not consistent throughout. It has the dark area inside the gate, the gate boundaries, the sculptured wall, the ground with variations in textures and colors. And spot healing from previous versions of PSE might not work since it does not have that intelligence to create content from background and fill it with it.
.
However, I choose an image which is complex as we need to remove a person whose background is not consistent throughout. It has the dark area inside the gate, the gate boundaries, the sculptured wall, the ground with variations in textures and colors. And spot healing from previous versions of PSE might not work since it does not have that intelligence to create content from background and fill it with it.
1. Open the image in Editor.
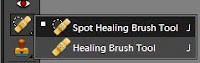
2. Select Spot healing tool from the left tool bar.
 |
| The spot healing brush properties in top properties bar |
3. Now keeping "Content-Aware" option selected in Properties panel, a keeping brugh size of the area not very big(which can be incremented and decremented using ],[ keys), start brushing(dabbing) over the object you want to remove.
So here are some tips which I have learnt on using this tool again and again :
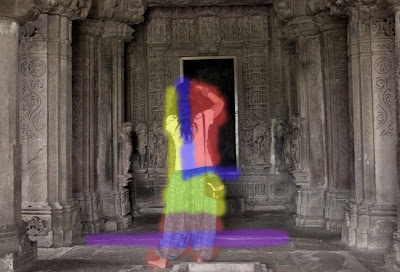
1. In the image above, for areas marked in red, I could use a bigger brush size without worrying much as the background behind the red mark is not very complex and is consistent, and I am not worried much as there are change in colors, no linear planes changing etc. So I can do this part quickly.
2. The areas marked in yellow are bit complicated as they have carvings on the wall. So would be good to start dabbing the brush with small size from the area near to the yellow area boundary in a linear manner. So if you see the carvings on the wall, they are horizontally linear. So it would be good if I start from the left near the boundary of the yellow area towards right horizonally.
3. The areas marked in blue(In L shape) is the area which should be taken care alittle meticulously since it has the frame of the door which has straight lines which need to be content created. So for this I reduced the brush size so that it did not cover the breadth of the frame and started from left such that the brush area includes the area of the existing frame(white frame area). However, this decision making may vary from image to image which would come to you as you try this tool a few times. For non-complex images, it may just take seconds to fix that photo using content aware spot healing and you may not have to do any such decision making. But for complex images, you might need a little thinking to get the best results.
4. For the area in purple, I used clone tool as it was quicker for that scenario. Spot healing content aware brushcould also have been used.
Here is my final result :
Hope this tutorial helps!!!
So here are some tips which I have learnt on using this tool again and again :
1. In the image above, for areas marked in red, I could use a bigger brush size without worrying much as the background behind the red mark is not very complex and is consistent, and I am not worried much as there are change in colors, no linear planes changing etc. So I can do this part quickly.
3. The areas marked in blue(In L shape) is the area which should be taken care alittle meticulously since it has the frame of the door which has straight lines which need to be content created. So for this I reduced the brush size so that it did not cover the breadth of the frame and started from left such that the brush area includes the area of the existing frame(white frame area). However, this decision making may vary from image to image which would come to you as you try this tool a few times. For non-complex images, it may just take seconds to fix that photo using content aware spot healing and you may not have to do any such decision making. But for complex images, you might need a little thinking to get the best results.
4. For the area in purple, I used clone tool as it was quicker for that scenario. Spot healing content aware brushcould also have been used.
Here is my final result :
Hope this tutorial helps!!!

Thursday, April 2, 2015
background,
blurred,
for,
images,
using,
website
0
comments
Using Blurred Images For Website Background
Create Blurred Images For Website Background
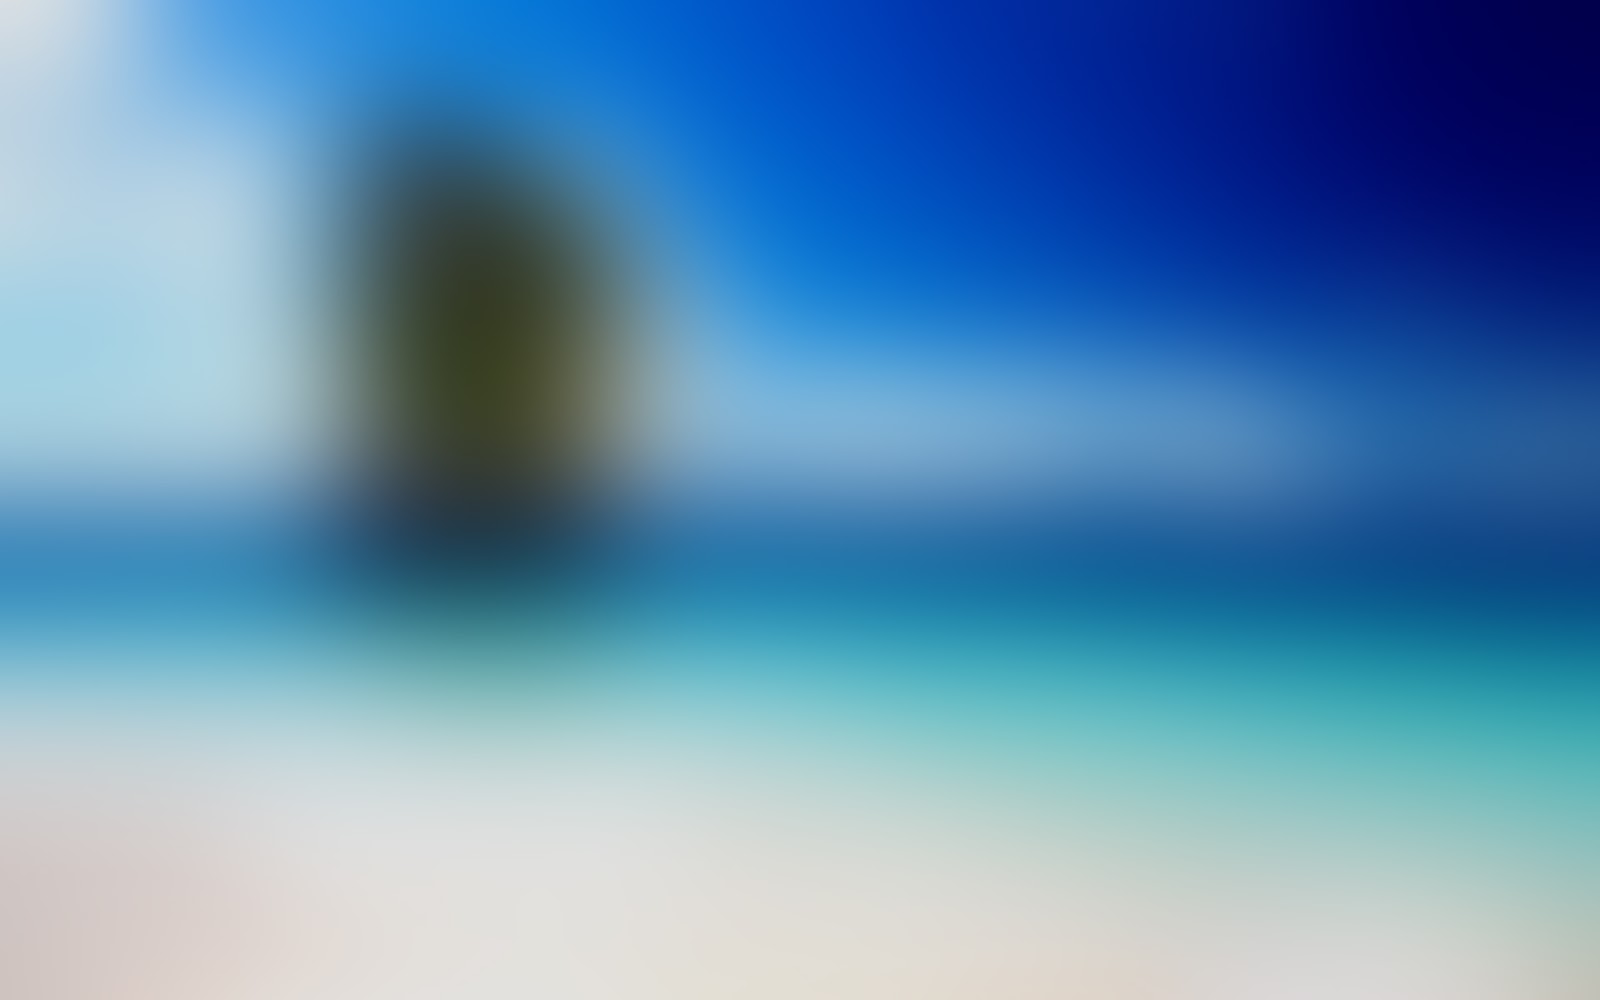
Final View
We all Know that, For better design of websites/Blogs everyone use the image for background. The web-designer use either pattern for the background (Repeat the image for background) or place a full screen Image as a background..
While using full screen Image for background, there are may be a chances of the attraction of visitors goes towards the background instate of content in the website. This is happens because of using sharp and colorful images for background...
For better look of website, generally use maximum two - three colors of background.. Means the background image not contains more than 2-3 colors.. It will results better look for website..
When you use image for a background as it is, the edges or sharpness of the image attract the visitors looks.. for this use Blurred Images for Background..
You dont need to go and find blurred images for background.. Lets see how to Blur image using Photoshop..
Step 1:
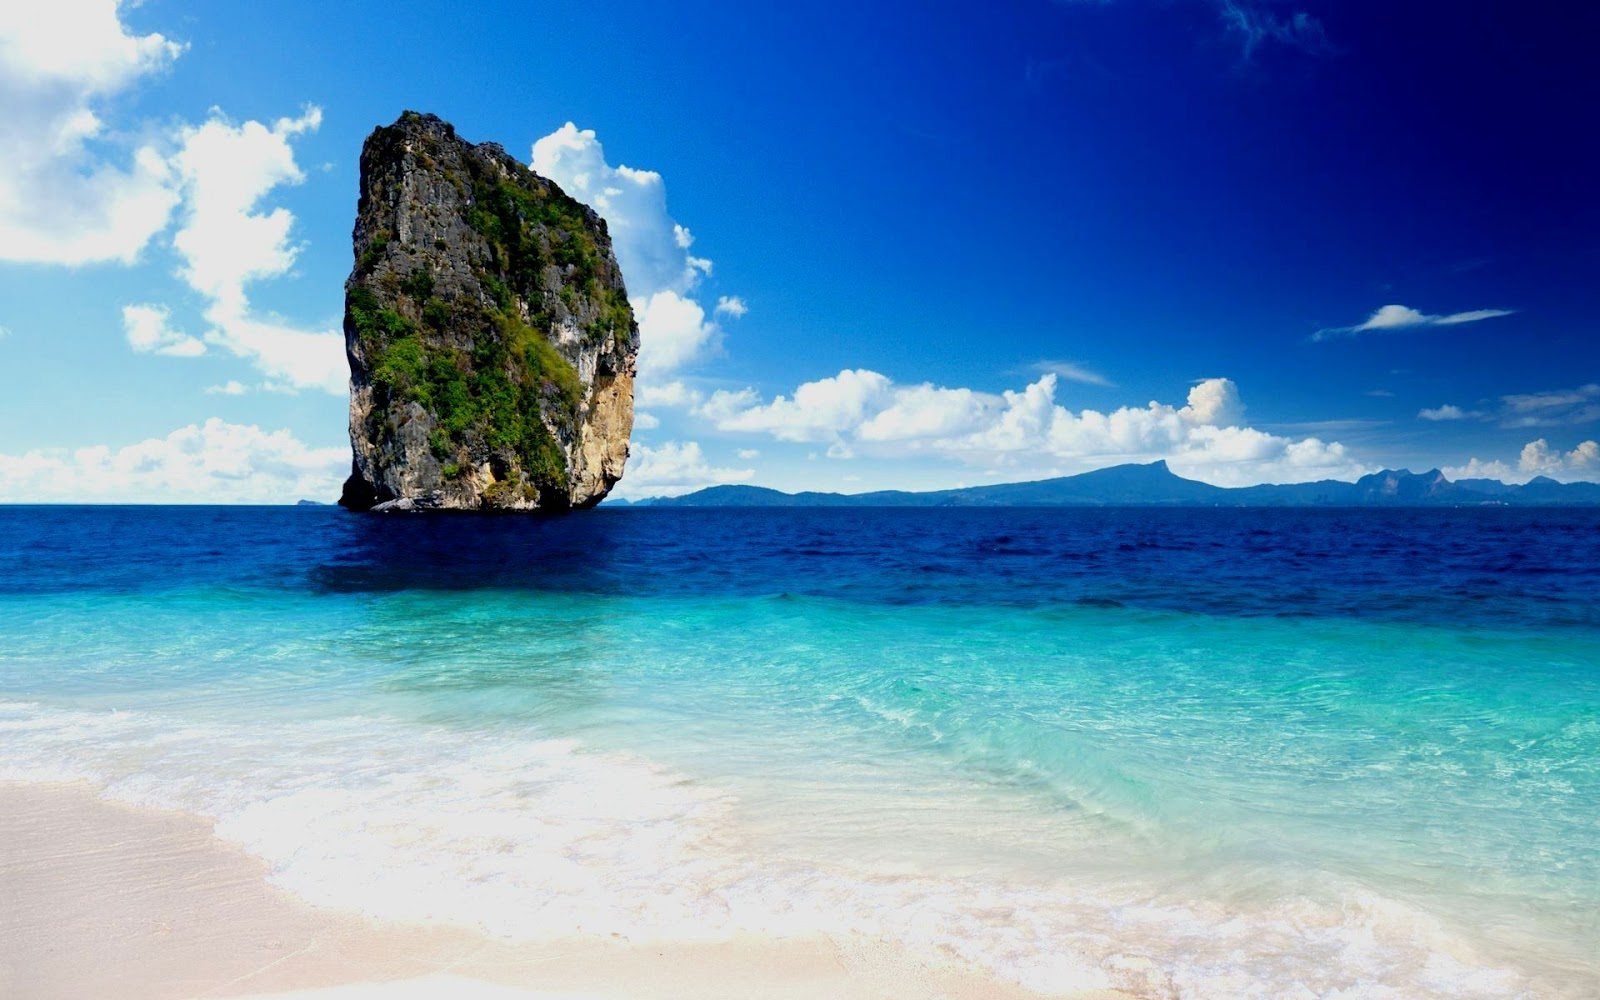
Take the 2-3 Color combined Image in Photoshop to edit.
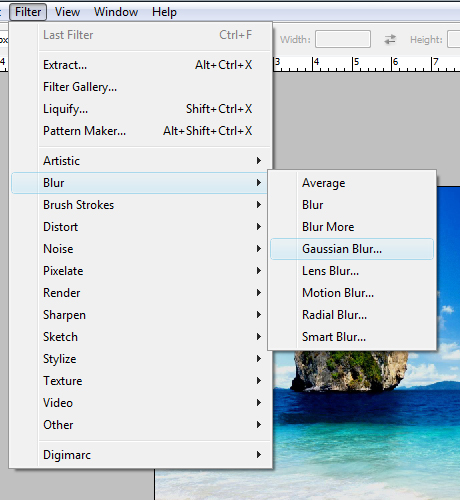
Now go to "Filter ---> Blur ---> Gaussian Blur"
Make the following change in the radius..
Radius = 72 pixels (Adjust the radius)
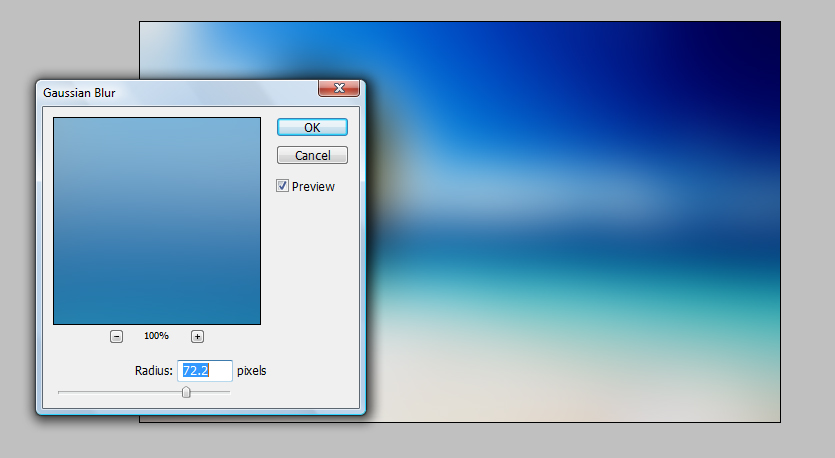
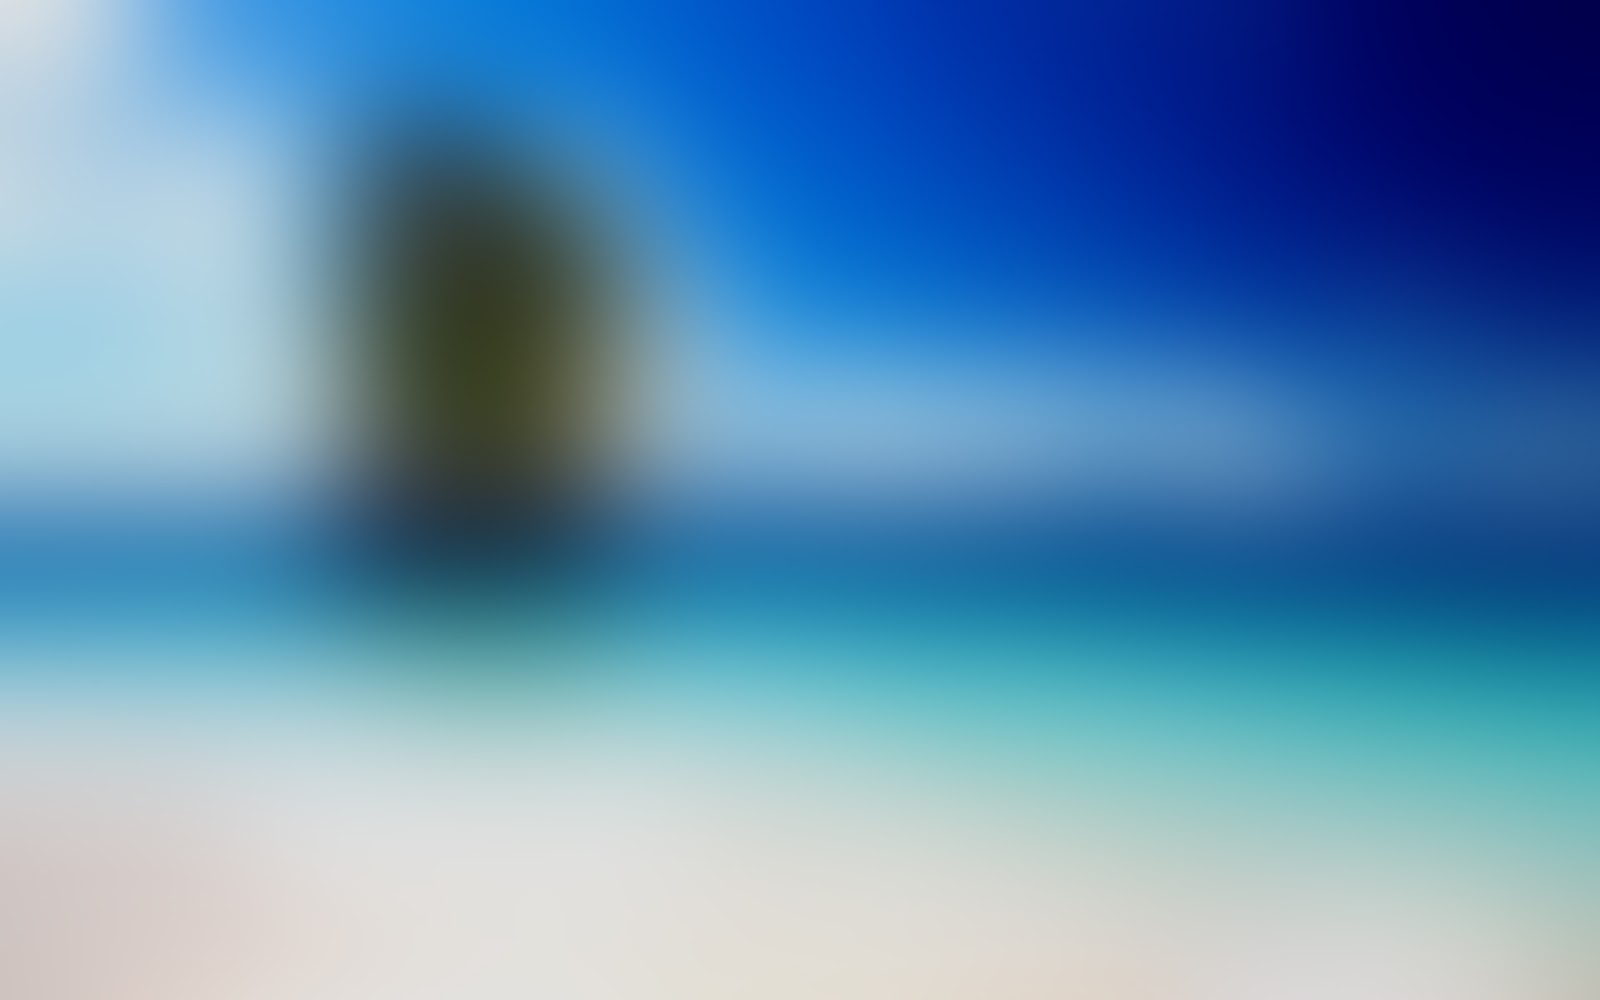
You can also Use different images for website background..
Here is the image which contains more than three colors in it.. it looks awful..

Besides this you can use 2-3 colored backgrounds for websites and blogs..
one more example for background :-
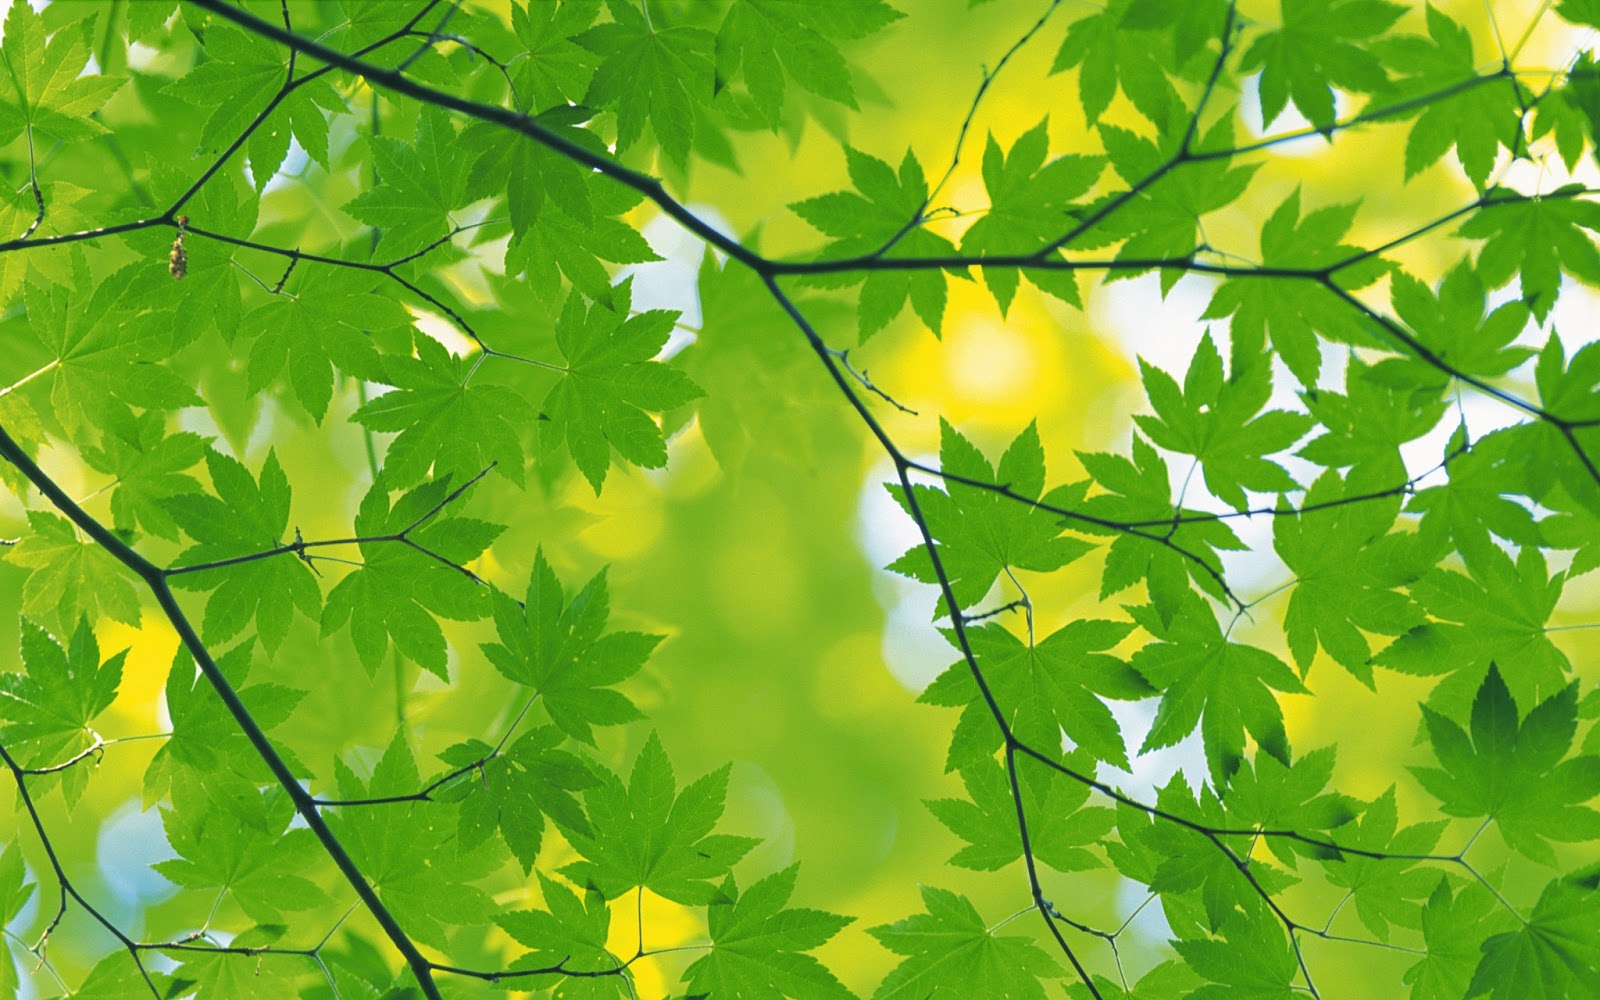
After Blur this Image, It results in to

Done--!!
3,
background,
how,
in,
make,
polygon,
steps,
to
0
comments
How to Make Polygon Background In 3 Steps
How to Make Polygon Background In 3 Steps
Usung polygonal backgrounds for websites and applications is a new trend. Making polygonal background is quit difficult task, but we can make it our own simple way. polygonal backgrounds looks good for web design an application designs..
Final View
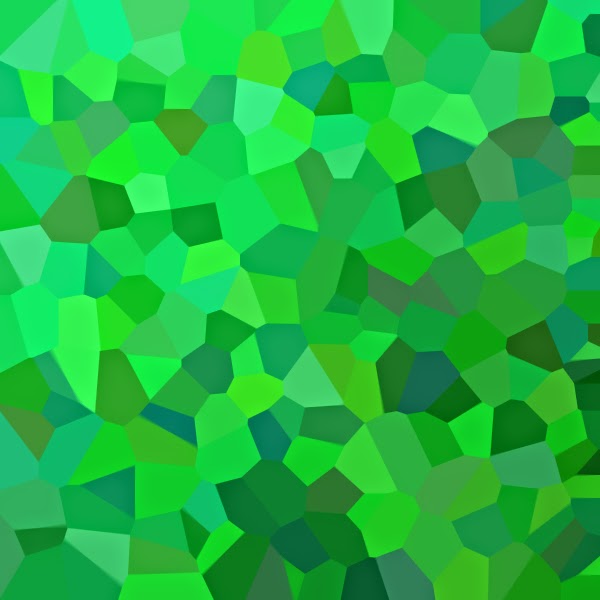
Step 1
- Create a new file
- and add Gradient (Choose your color combination for gradient)
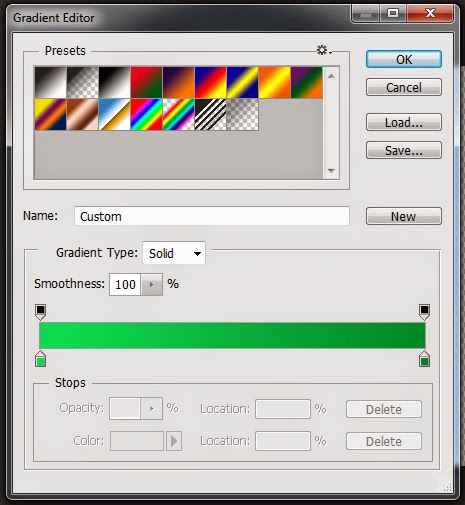

Step 2
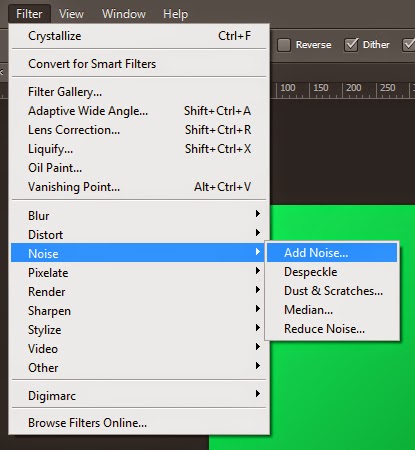
- Now add Noise to image (filter -> Noise -> Add Noise)
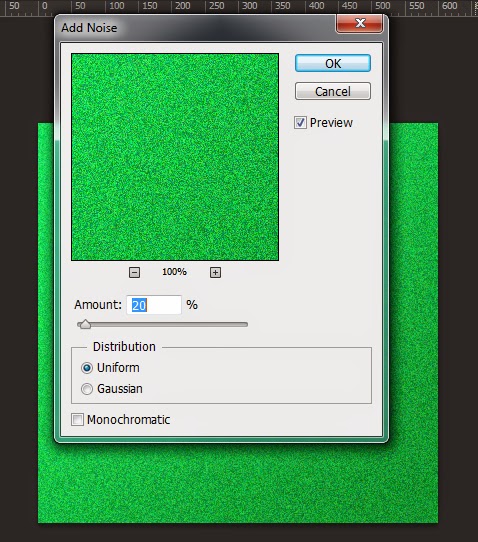
By setting amount to 20, Your image will look like this.
Step 3
- Again open filter and crystallize the image.
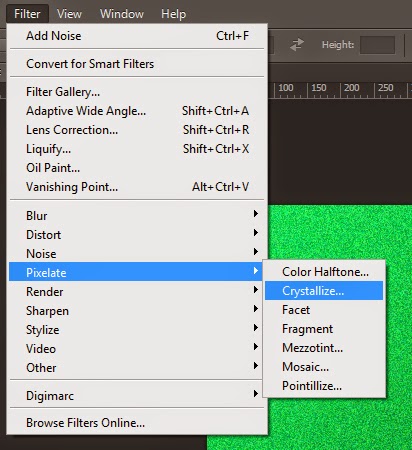
Set cell size to 60 and hot OK
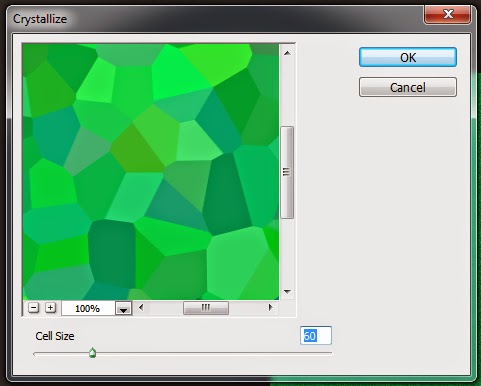
DONE
Make sure that while adding gradient choose color combination carefully. we can make many backgrounds as same..
Wednesday, April 1, 2015
abstract,
background,
making,
simple
0
comments
Making Simple Abstract Background
Creating Simple Abstract Background For Your PC
We all know that all the operating systems like XP, W7,vista, Ubantu, Mac are comes with default desktop backgrounds. Among these backgrounds 2 or 3 are abstract type, very colorful, having nice lightning effect..
Its very easy and simple to make our own background image for our PC. Lets see how to make Abstract background in Photoshop.
Final view
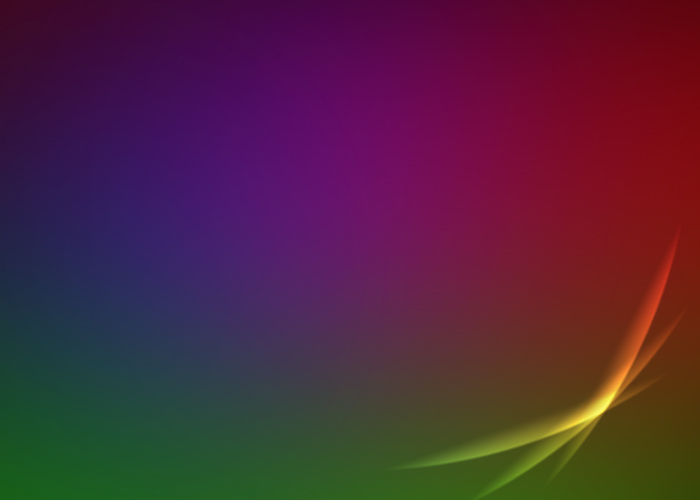
Step 1:
Create new file and fill the background with Black color (Shft+f5 ---> color ---> select black color ---> OK)
Create new file and fill the background with Black color (Shft+f5 ---> color ---> select black color ---> OK)

Step 2:
Now make a new layer (Ctrl + Shft + N) name the layer.
Select Brush tool from tool box with blue color and paint on newly created layer.

Go to filter ---> Blur ---> Gaussian Blur and make the full radius Blur. and hit OK.
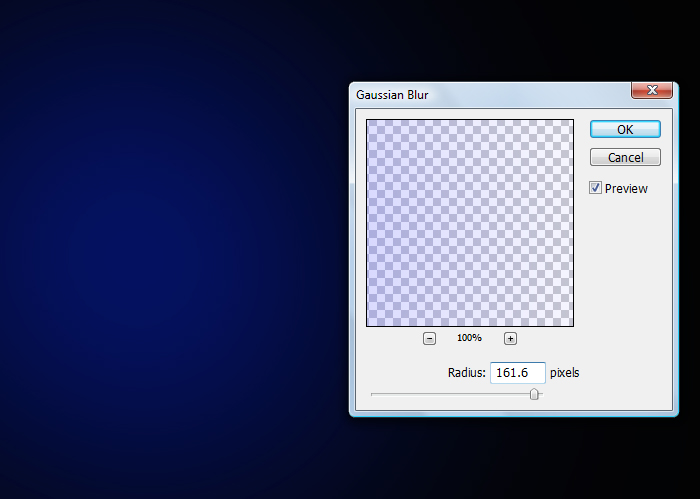
Step 3:
Again Make a New layer (Ctrl + Shft + N).
and now select brush with pink color. and make some rough sketch on newly created layer.
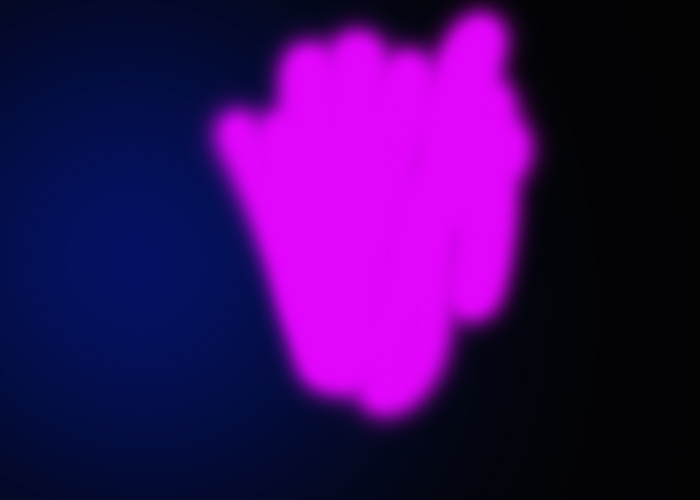
Step 4:
Similarly repeat process until hole background will be covered with different colors.
Similarly repeat process until hole background will be covered with different colors.
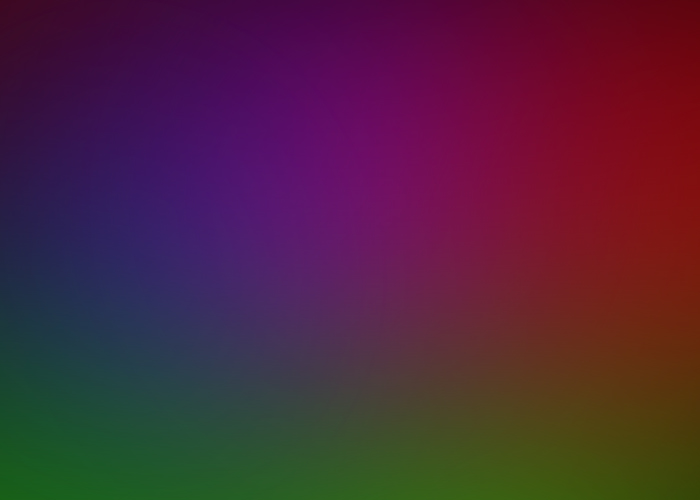
Step 5:
Now Make a new layer and Select the Ellipticle Marquee Tool from tool box. and make large circle by selecting on layer.
Now Make a new layer and Select the Ellipticle Marquee Tool from tool box. and make large circle by selecting on layer.
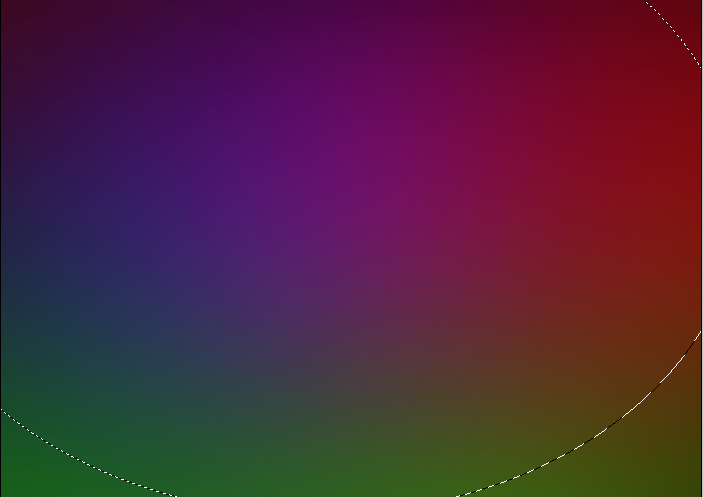
Now select the Gradient fill tool. And select only one color gradient (White color).
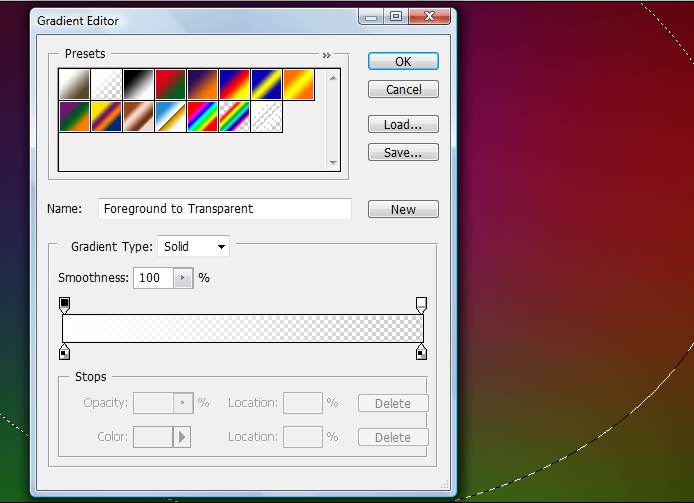
After selecting white color gradient, hit OK.
and drag cursor little bit longer from the edge of the circle.
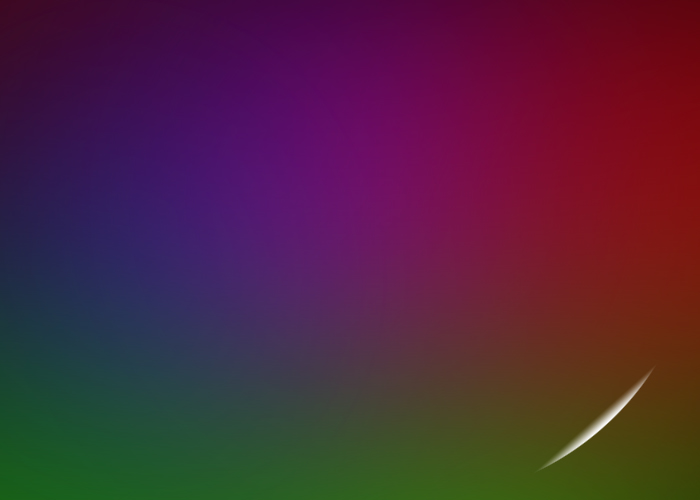
Step 5:
Press Ctrl+T for transform this layer. adjust the layers height and width.
And Change the layers mode to Overlay.
make two duplicate layers of this layer by pressing Ctrl+J.
Select each individual layer and adjust it wherever you want..
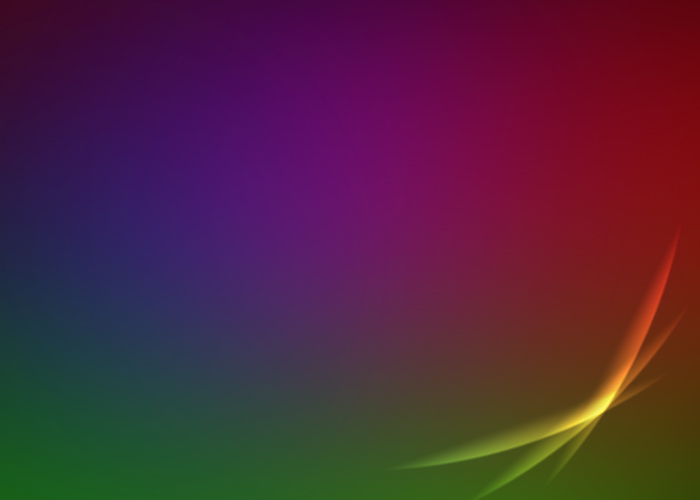
Done..!!
Tuesday, March 17, 2015
a,
abstract,
background,
colorful,
how,
make,
to
0
comments
Read more »
How to make a colorful abstract background
Step 1: Create a new file, 500x500 px, with the Black background. Then use The Gradient Tool to make like this

Step 2: Go to Filter -> Distort -> Wave, leave the default settings (or you can change to your favorite), press OK

Step 3: Press Ctrl-F 9 times, you will have

Step 4: Press Ctrl+J to create Layer 1. Then Transform -> Rotate 90 CW. Use Blend Lighten for this Layer 1


Step 5: Press Ctrl-Alt-Shift-T 2 times to make 2 copies of the layer 1.

Press Ctrl-E 2 times to merge down to layer 1. Now we only have the Layer 1 and the Background

Step 6: Double click on Layer 1, click on Gradient Overlay. Choose any color you like. Make sure that the Blend mode is Overlay. Press OK

Step 7: Change the Blend mode for Layer 1 to Screen, and we have the final result

Read more »
Step 2: Go to Filter -> Distort -> Wave, leave the default settings (or you can change to your favorite), press OK
Step 3: Press Ctrl-F 9 times, you will have
Step 4: Press Ctrl+J to create Layer 1. Then Transform -> Rotate 90 CW. Use Blend Lighten for this Layer 1
Step 5: Press Ctrl-Alt-Shift-T 2 times to make 2 copies of the layer 1.
Press Ctrl-E 2 times to merge down to layer 1. Now we only have the Layer 1 and the Background
Step 6: Double click on Layer 1, click on Gradient Overlay. Choose any color you like. Make sure that the Blend mode is Overlay. Press OK
Step 7: Change the Blend mode for Layer 1 to Screen, and we have the final result
Subscribe to:
Posts (Atom)


- Follow Us on Twitter!
- "Join Us on Facebook!
- RSS
Contact