Showing posts with label free. Show all posts
Showing posts with label free. Show all posts
Friday, June 19, 2015
9,
a,
for,
free,
getting,
glare,
how,
of,
person,
portrait,
pse,
spectacled,
to,
use
0
comments
How to use PSE 9 for getting glare free portrait of a spectacled person
A very common problem while taking portraits of a spectacled person is the glare in the lens that results in hiding the eyes. The best way is to take two pictures of the same person one with spectacles and one without spectacles and then correcting the glare in PSE 9 as shown below.
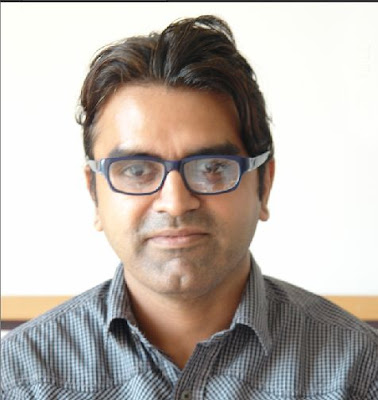
So here was the portraits that were shot, one with spectacles and one without spectacles.


We will be using layers masks of PSE 9 to correct the glare. The same can though be achieved using PSE 8 magnetic lasso tool as well. However I prefer layer masks in PSE 9 as they give me flexibility of using opacity and transparency of the pen and eraser tools to give more realistic results.
1. Open both the images in PSE 9.
2. Select the image without spectacles in workspace and using rectangular marquee select the area around the eyes as shown below.
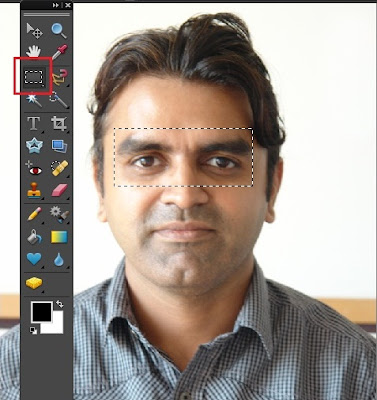
Right click the selection made and select Layer via Copy . A new layer gets created in the Layer palette as shown:

3. Once done, select Move tool from tool bar and drag it over the other image(with spectacles) in the project bin. The dragged layer now gets created in the spectacle image as well as shown.

4. Now we would reposition this portion of the layer above background layer such that the forehead lines and the nose line overlap over each other. Doing this I realized that one image had the head tilted while the other had the head straight up. So we will first transform it using Control+T and would rotate it a bit so that both the layers can be inlined properly.

In the above image I have rotated the upper layer a bit so that the nose line of the person match.
5. Now we would create a copy of the background layer by selecting it and dragging it over the new layer icon in the layer palette or just press Control+J selecting the background layer.
Once done, move the background copy layer on the top by dragging it above the layer on the top. Now the layer with eyes we dragged from other image goes below the spectacles and we see following in the layers palette and the editing workspace :

6. Select the background copy layer and go to Layer> Layer Mask>Reveal All.
This will create a white mask next to the background copy layer as shown in the Layer palette.
Select the brush tool from tools bar and make the foreground color as black in the color swatch.
Now reduce the opacity of the brush from the top bar to somewhere around 50%. Brush over the area of the eyes inside the spectacles.
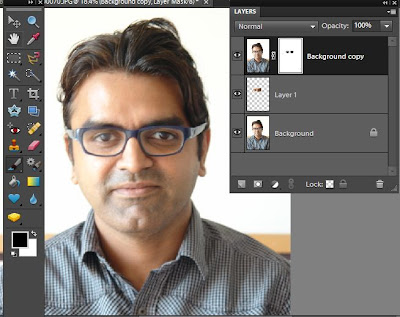
If any extra areas are brushed, that can be reverted using the eraser tool or by just making the foreground color white and rubbing it over the extra areas painted.
If we do not reduce the opacity while brushing then the mask is totally removed over the areas inside spectacles which looks as if there are no glasses in the spectacles. So in order to give realistic look of the lenses, the eyes are brushed with reduced opacity and keeping unbrushed areas near the edges to leave some glare there.
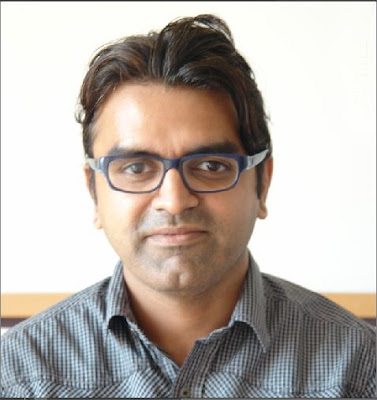
Here is my final output :
Here are the initial and edited images :
If any extra areas are brushed, that can be reverted using the eraser tool or by just making the foreground color white and rubbing it over the extra areas painted.
If we do not reduce the opacity while brushing then the mask is totally removed over the areas inside spectacles which looks as if there are no glasses in the spectacles. So in order to give realistic look of the lenses, the eyes are brushed with reduced opacity and keeping unbrushed areas near the edges to leave some glare there.
Here is my final output :
Here are the initial and edited images :

Tuesday, March 31, 2015
app,
concept,
design,
free,
ios7,
psd
0
comments
ios7 app design concept Free psd
IOS7 App Design
(Free PSD)
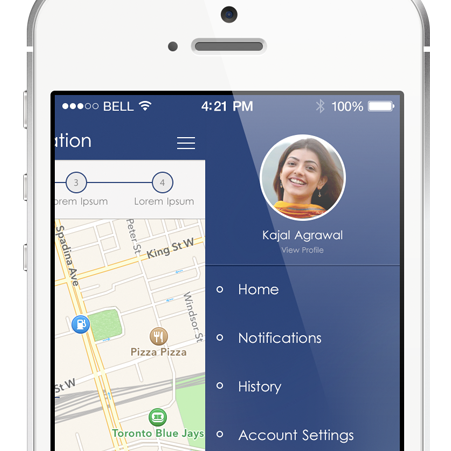
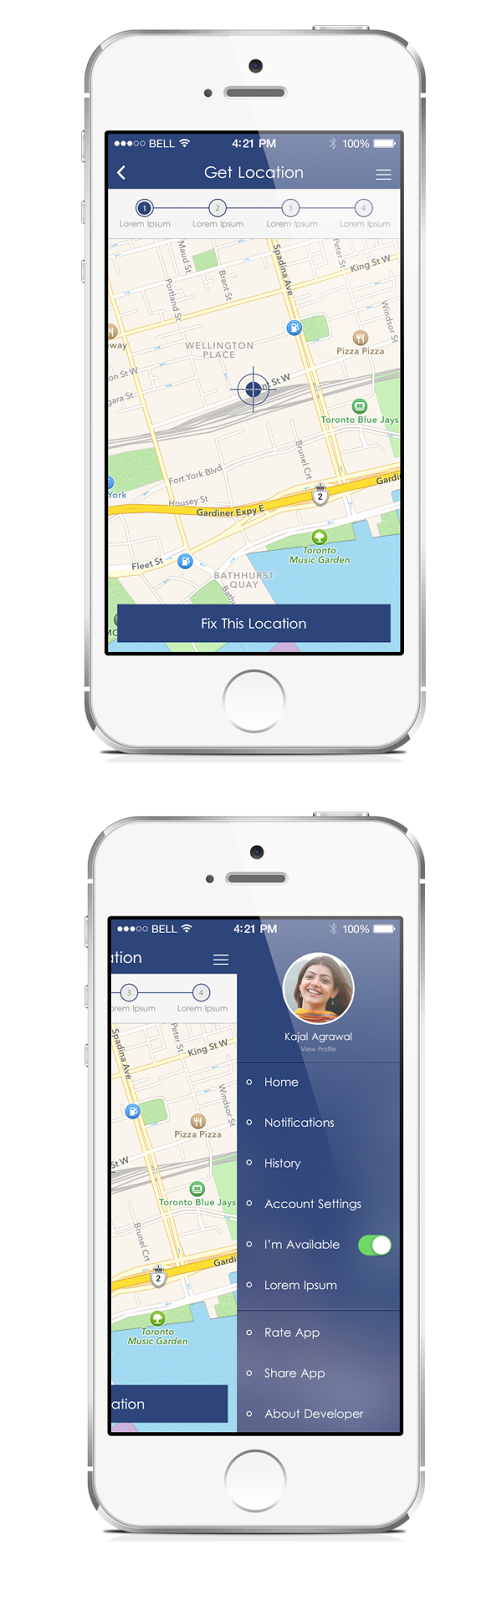
ios7 conceptual app design -
Free zip file contains 2 psd files.
Get location screen and sliding menu screen.
Font used - Levenim MT (Free font)
Download Here
Sunday, March 29, 2015
free,
in,
making,
photoshop,
psd,
simple,
speedometer
0
comments
Making Simple Speedometer in Photoshop Free PSD
Making Simple Speedometer
Final view
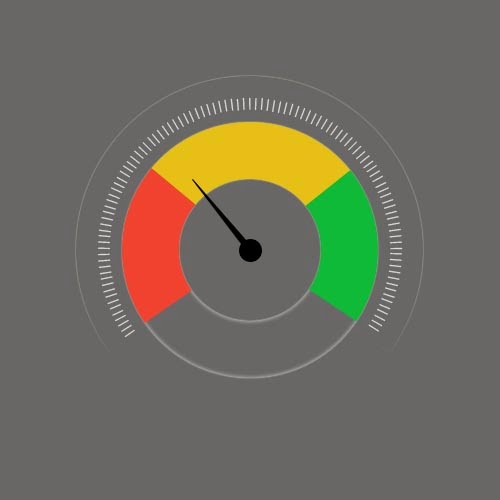
Step 1:
Create new file in Photoshop (500px - 500px).
Fill it with Gray color (Shift+f5 -> color)

Step 2:
- Select Costume Shape Tool form tool box, Select hollow circle, and draw a shape.
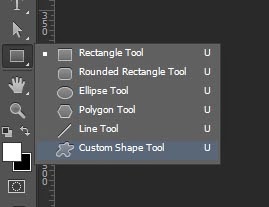
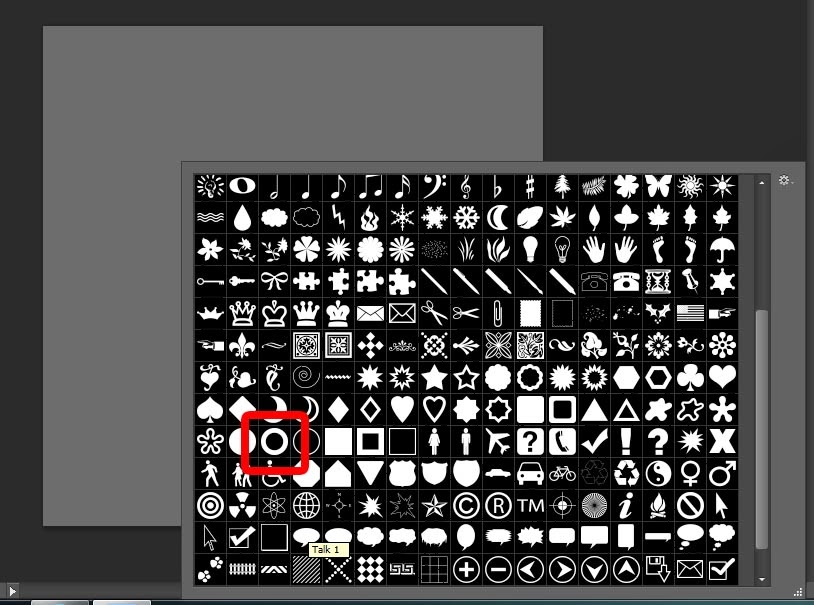

- Name it Layer 1
Step 3:
- Make a duplicate layer of this layer (Layer1_copy). and make this layer invisible.
- Select Layer1, and make Fill to 0.
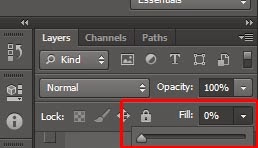
- Make a duplicate layer of this layer (Layer1_copy). and make this layer invisible.
- Select Layer1, and make Fill to 0.
- Go to layer Style, and give Inner Glow and, Outer Glow.
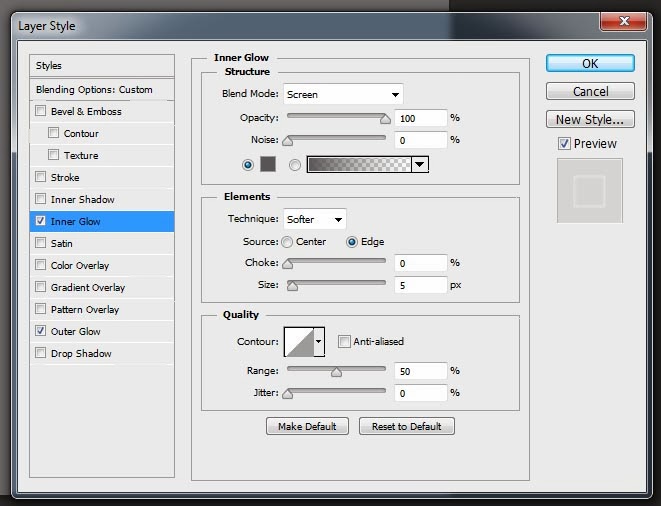
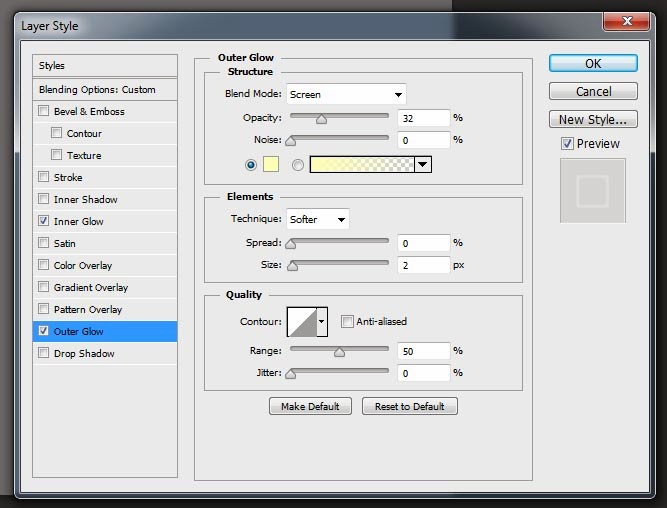

Step 4:
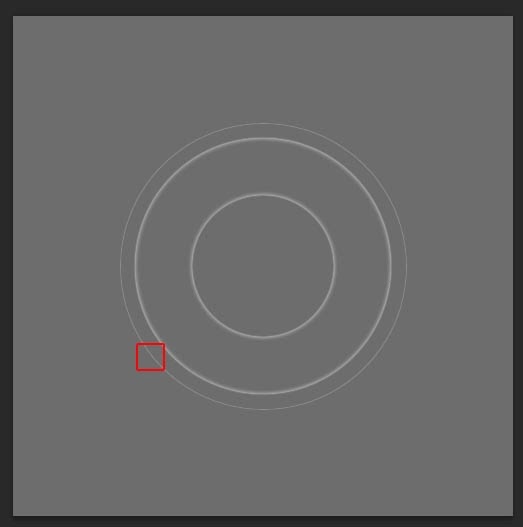
- Now take a round shape tool, and make circle just bit bigger than the hollow circle.
and make fill to 0.

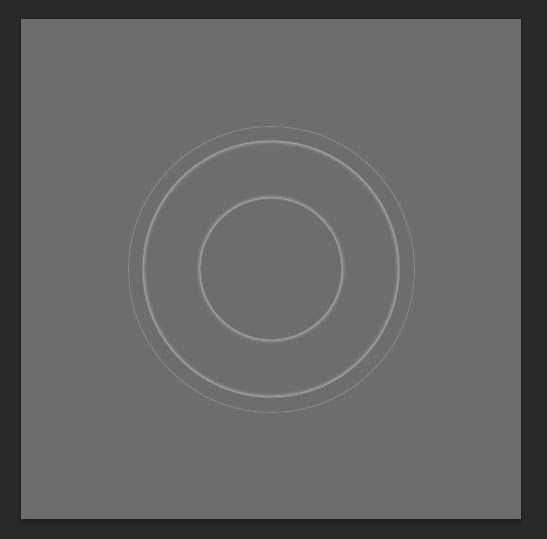
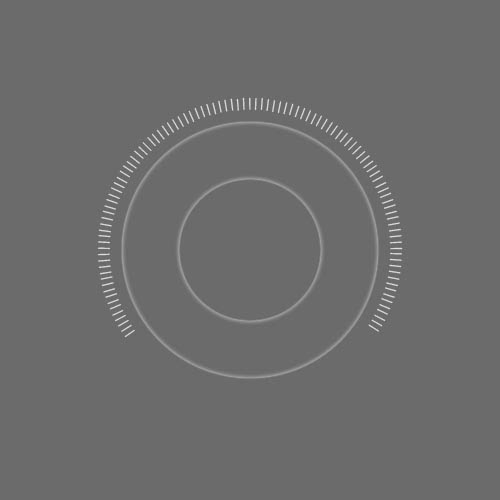
- Select Text Tool, and move courser towards edge of circle, When Courser icon changes click on it, and enter the bars. that is | .
Step 5:
- Now select "Layer1_Copy" layer. Fill this hollow circle with "Green" color.
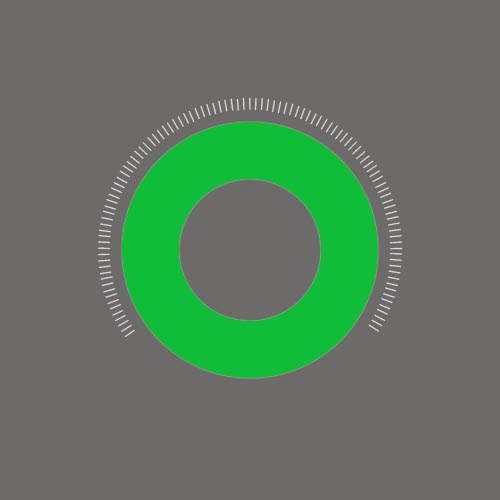
- Select Polygon Lasso Tool, and make the selection as shown.
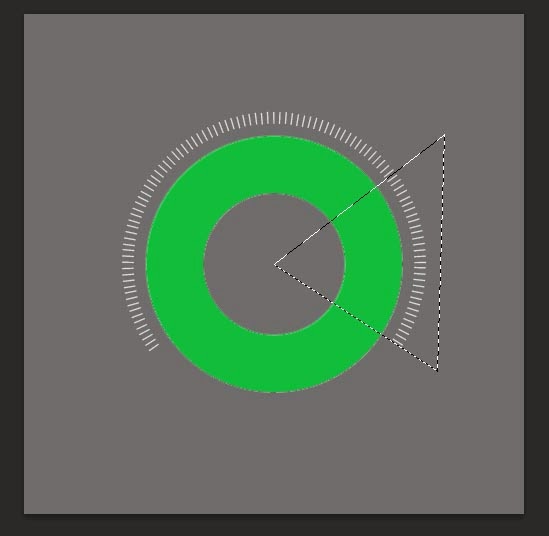
- After making selection, Click on Mask (Add layer mask).
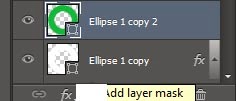
- the layer will see like this.
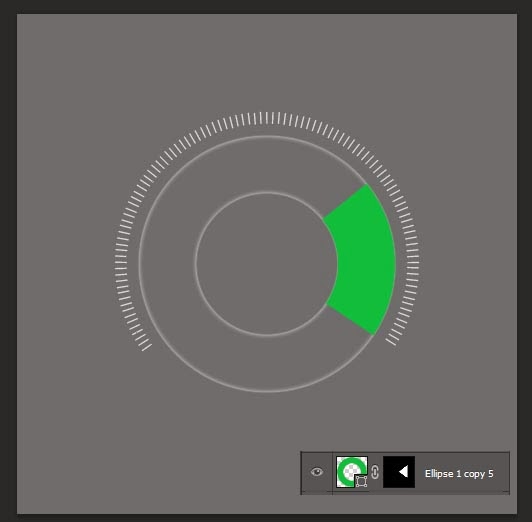
- the layer will see like this.
Step 6:
- As same, Make more 2 layers with different colors, And add layer masks to them.
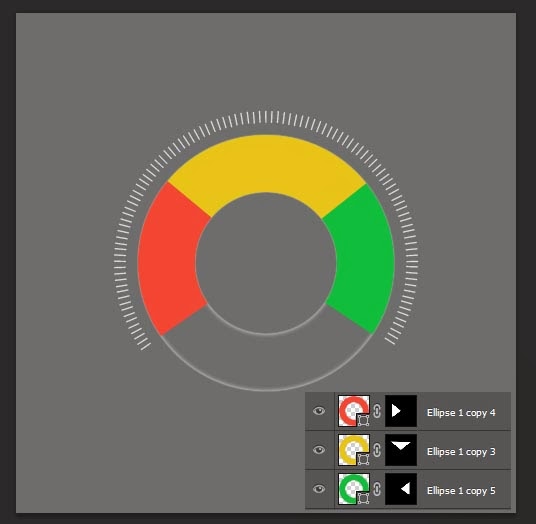
Step 7:
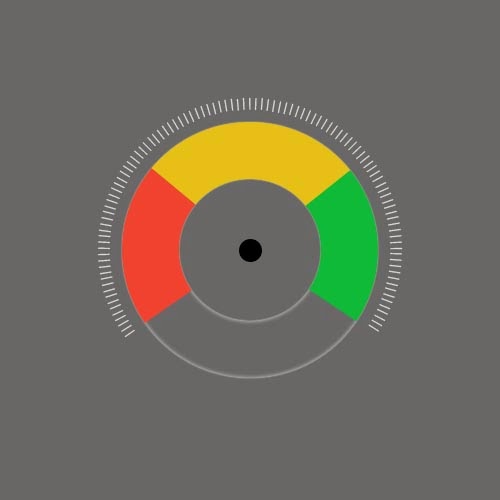
- Select Circular shape tool and draw a small circle in center, fill it with black color.
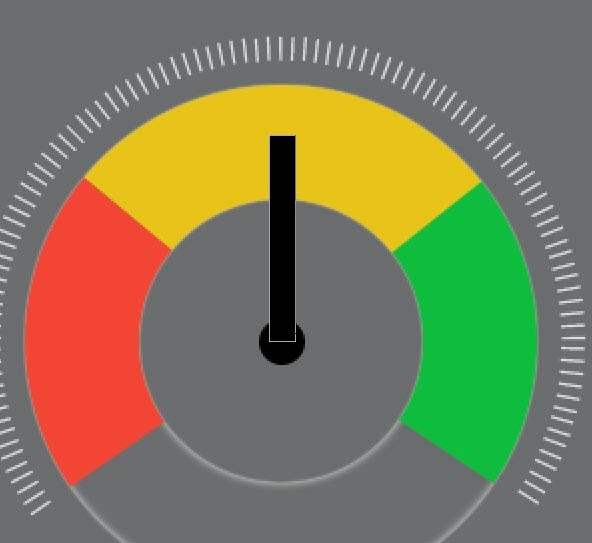
- Select rectanguler shape tool and draw a rectangle with black color for making pointer/arrow of Speedometer.
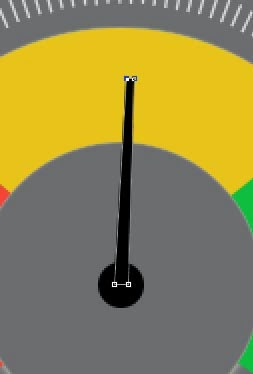
- Select Direct selection tool, By clicking on upper corner points, make them closer to look like pointer.
- press (Ctrl+T) for transform, and set the arrow position.
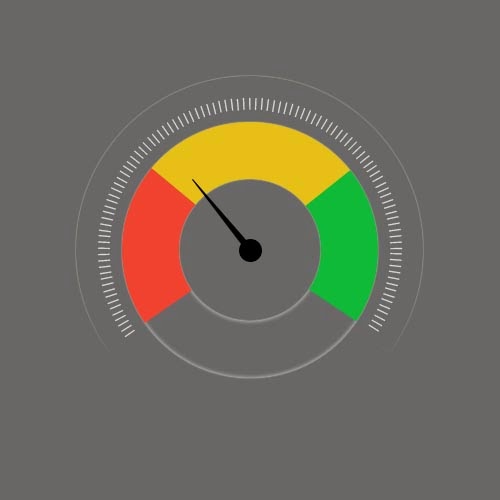
Done..!!
Download Free PSD of Speedometer.
DOWNLOAD PSD
Download Free PSD of Speedometer.
DOWNLOAD PSD
More about Author
Subscribe to:
Posts (Atom)


- Follow Us on Twitter!
- "Join Us on Facebook!
- RSS
Contact