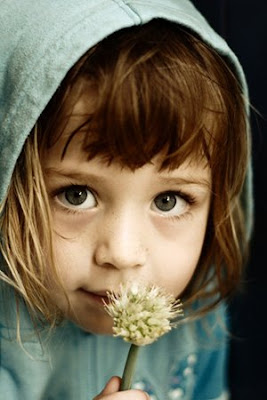
After:

The first, open an image file as below:

Duplicate it twice, set the new layer to screen 25% & set soflight 40% for the other.
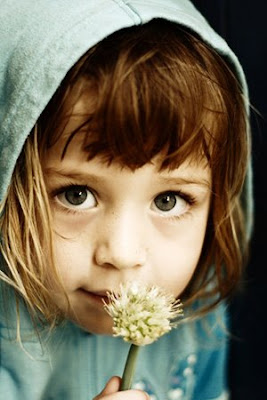
Create a new layer and put it on top. Fill color #fff200 and set softlight 41%
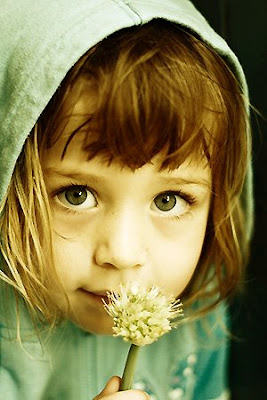
Now duplicate the background image.
Select the new one and go to Image > Adjustment > Selective Color
Settings like this:
Red: -100. -4. +3. +100
Yellow: -81. +10. -18. 0
Neutrals: +40. -7.-36.-20
Youve got this:
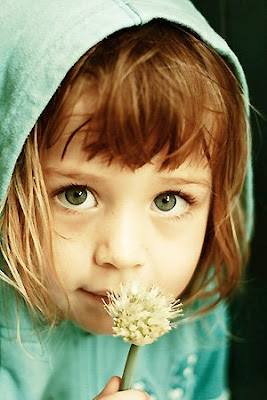
Selective color again with another option:
Red: -81.+29.+17.0
Yellow: +100.-55.0.0
Neutrals: +57.+9.-6.0
Your result:
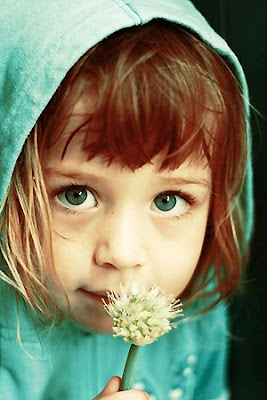
Last selective Color settings:
Red: -15.0.0.0
Yellow: -39.+41.0.0
Neutrals: +20.0.+10.0
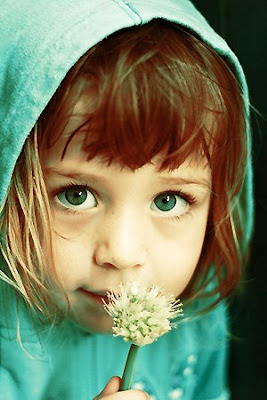
Now go to Images> Adjustment > Color Balance:
M: +35.+15.+32
S: +8.+4.+27
H: -8.+8.-7
This is what youll get:
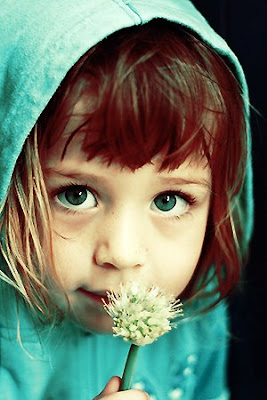
Now press Ctrl + Shift + Alt + E. Put this new layer on top and set it Multiply, then reduce opacity to 26%
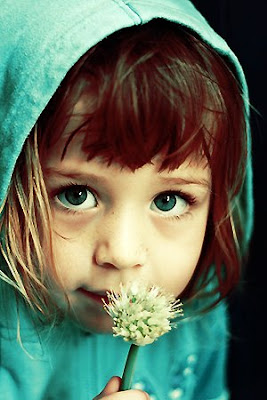
Choose Elliptical Marquee tool to make selection

Then fill color #FFFFFF for it.
Go to Select > Feather > Feather Radius: 20. Press Ok
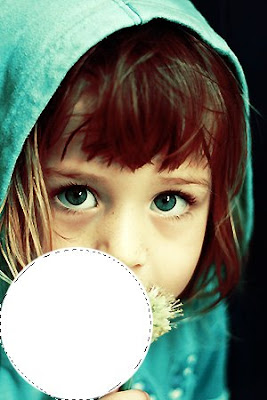
Then press Del:
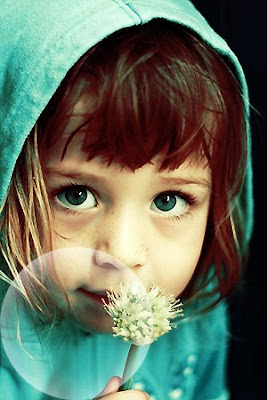
Now create more bubbles by duplicate layer & use free transform:
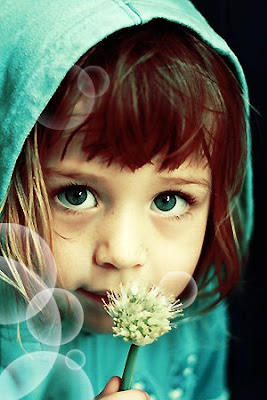
You can use original brushes to decorate your artwork.
This is the final result:

Subscribe to:
Post Comments (Atom)


0 comments:
Post a Comment