Superb Stunning Photo
Final view
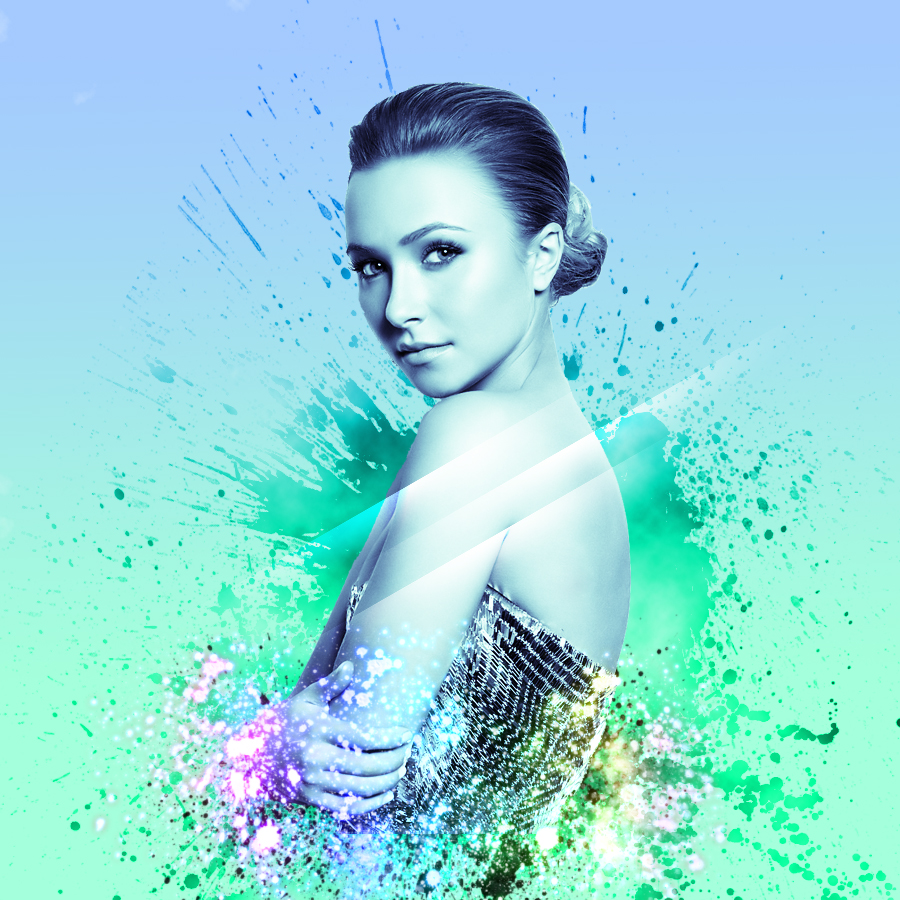
Step 1:
Create new file and fill the background with Gray(D1D1D1) color. (Shft+f5 ---> Color --->select black)

Create new layer (Ctrl+Shft+N).
Get some Splatter brushes and drop on newly created layer with Black color.
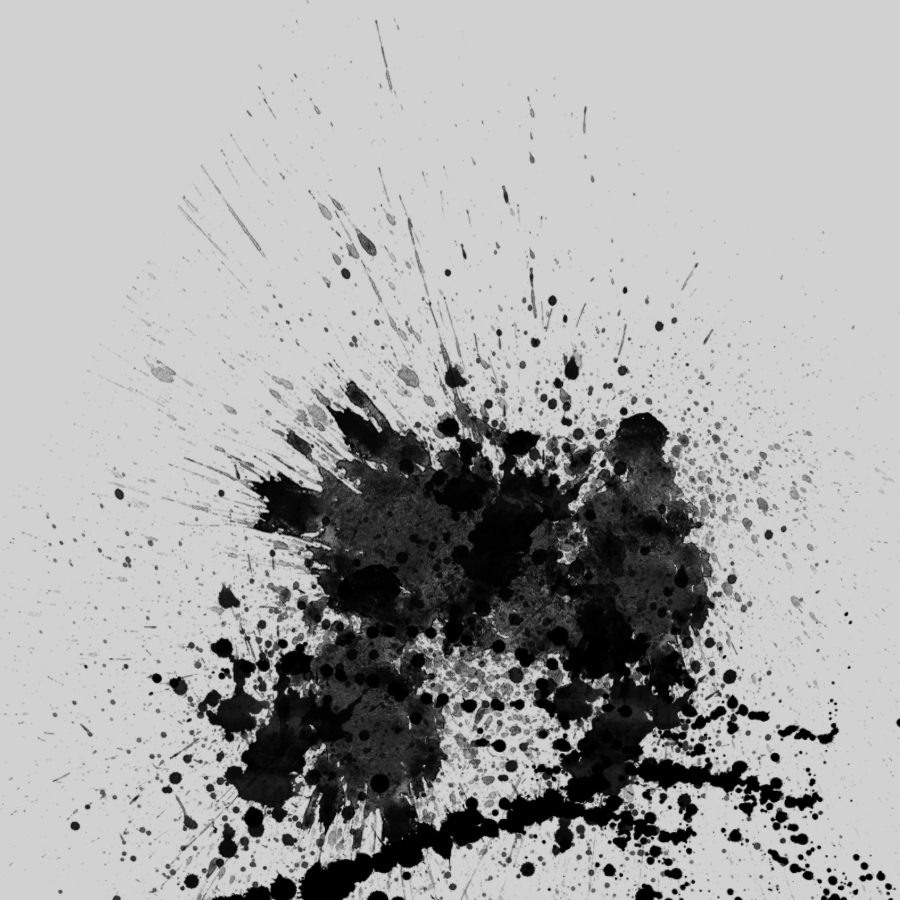
Create new file and fill the background with Gray(D1D1D1) color. (Shft+f5 ---> Color --->select black)

Get some Splatter brushes and drop on newly created layer with Black color.

Step 2:
Again Make new layer (Ctrl+Shft+N).
Set color to Black and foreground color to White. And go to Filter ---> Render ---> Clouds.
and set the mode of this layer to "Lighten".
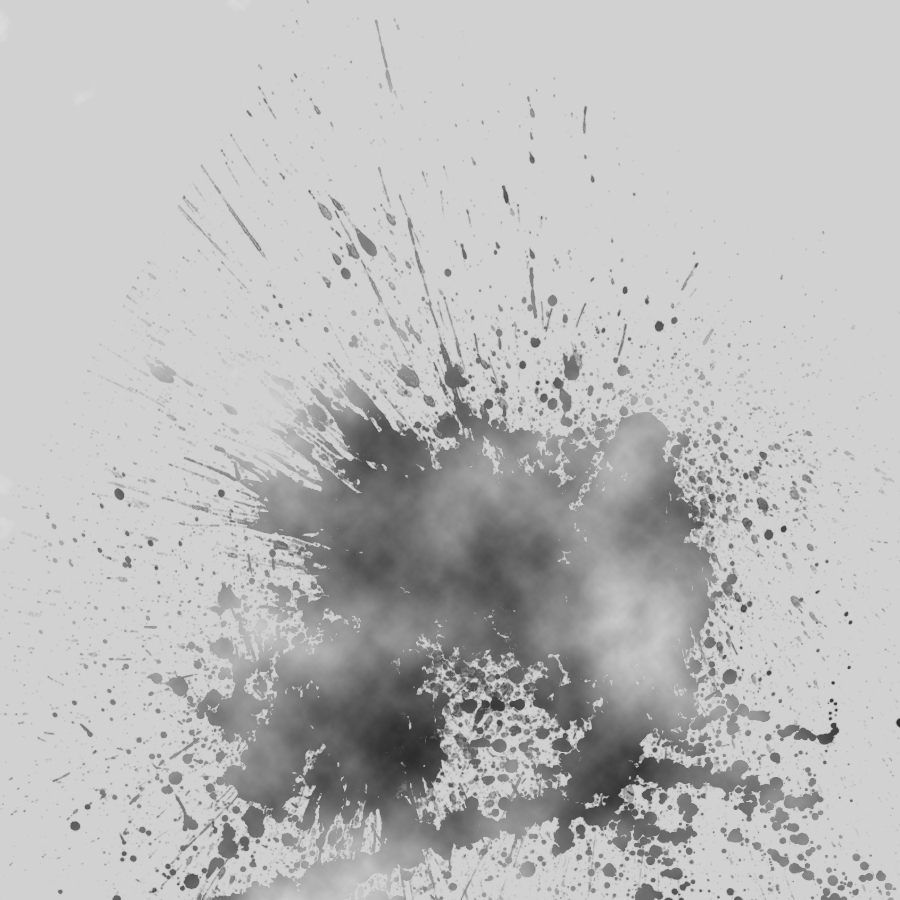
Step 3:
Create new layer above the clouds layer. select Gradient Fill tool and choose 2 color combination and set 2 colors of your choice..
Ive choose (1271FF and 01FFA8).
And drag mouse on layer top to bottom.
Set the mode of this layer to "Overlay".
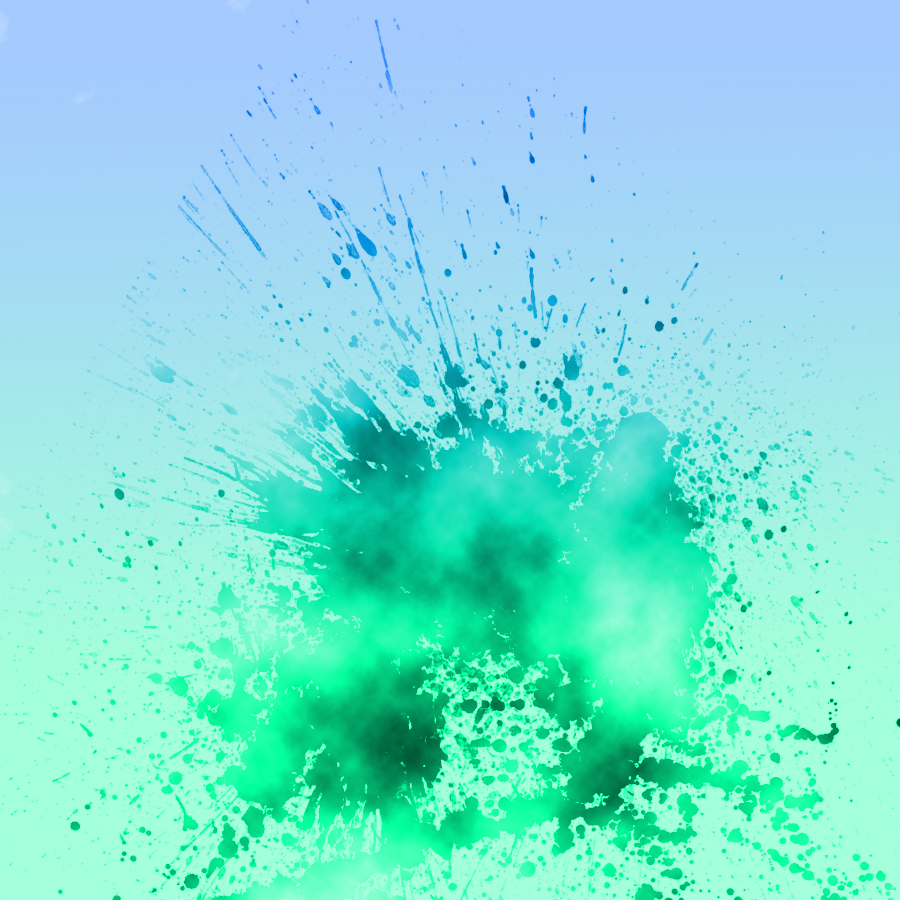
Step 4:
Get your Object/Image in the project.
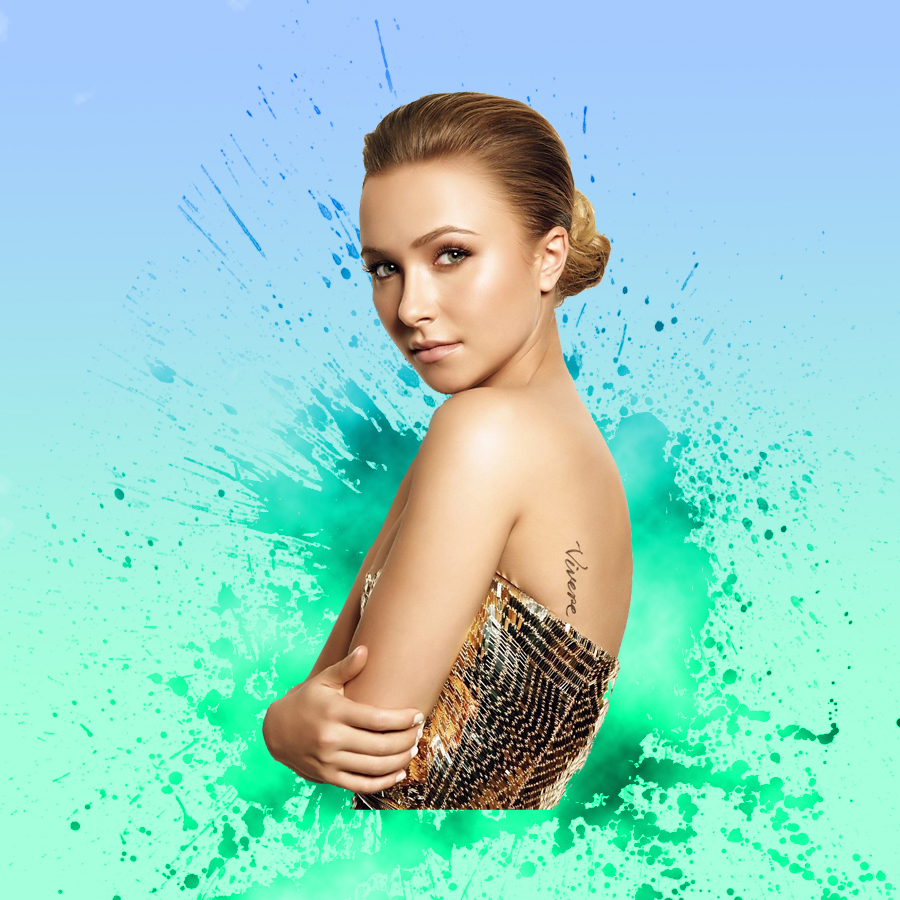
Press Ctrl+M for Curves. and change the Red, Blue, Green color combinations as shown in Previous tutorial if Instagram Image.
Get your Object/Image in the project.

Press Ctrl+M for Curves. and change the Red, Blue, Green color combinations as shown in Previous tutorial if Instagram Image.
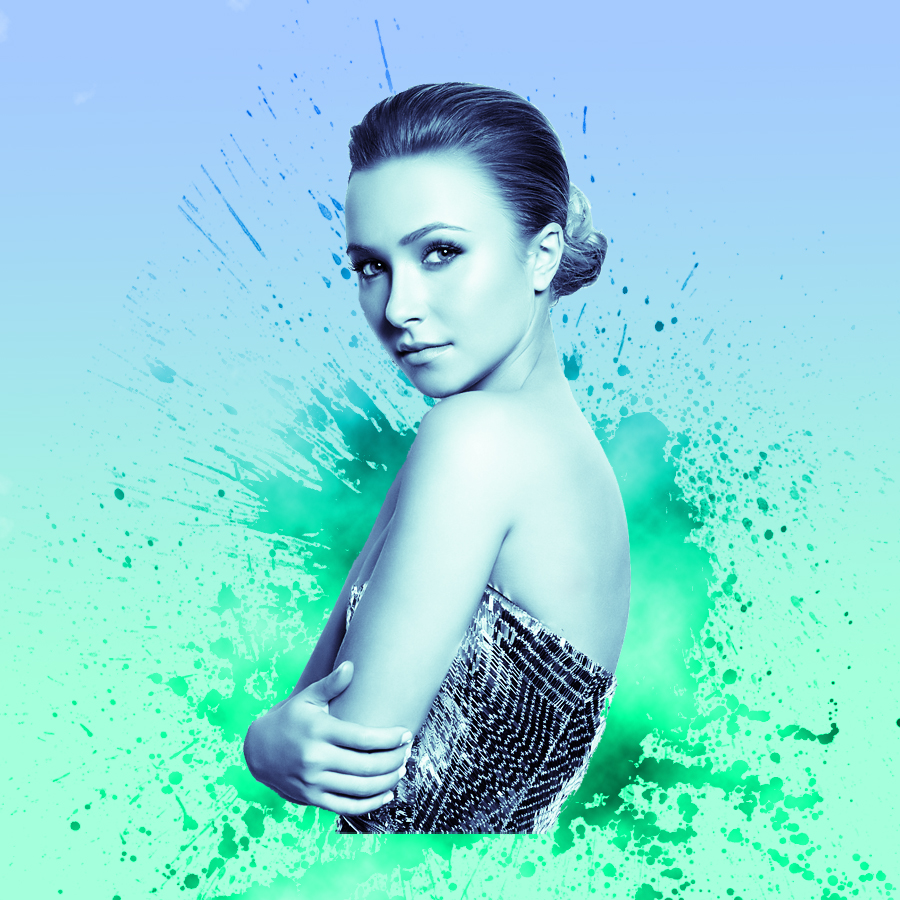
Step 5:
Make new layer below Object Layer(Ctrl+N).
and drop some splatter brushes with black color at bottom of Object.
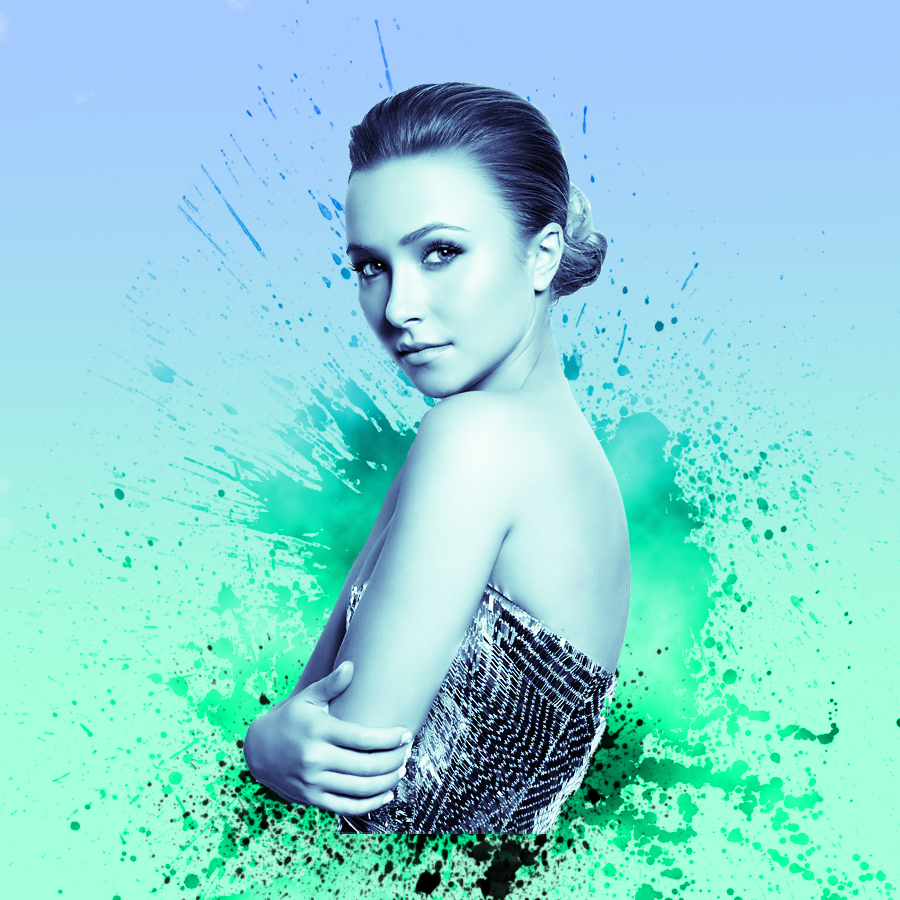
Now Make New Layer above the Object layer and drop splatter brushes with white color. and make a duplicate layer of this layer by pressing Ctrl+J.
Hide the duplicated upper layer. and go to Blending Options ---> Gradient Fill ---> Select Rainbow Color Pattern and set angle to 0 degree..
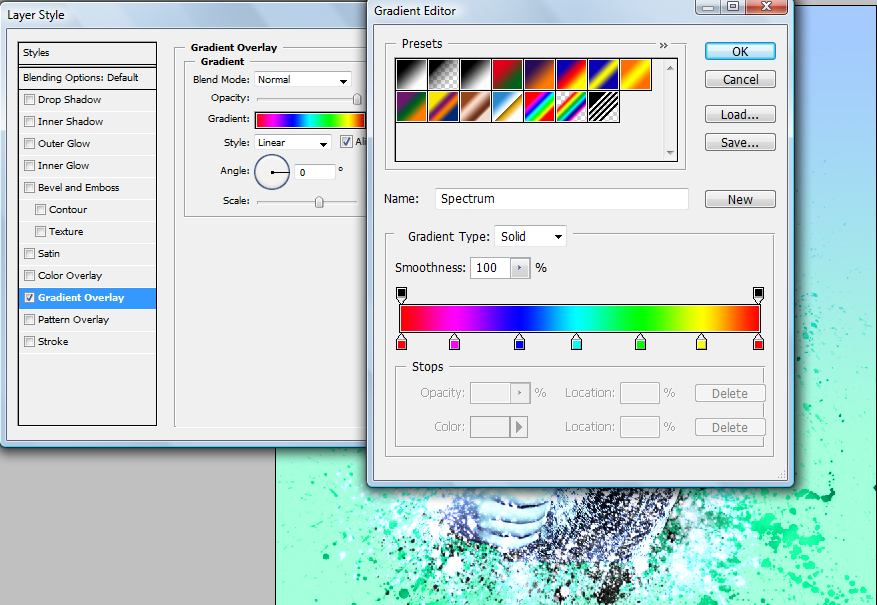
Press OK
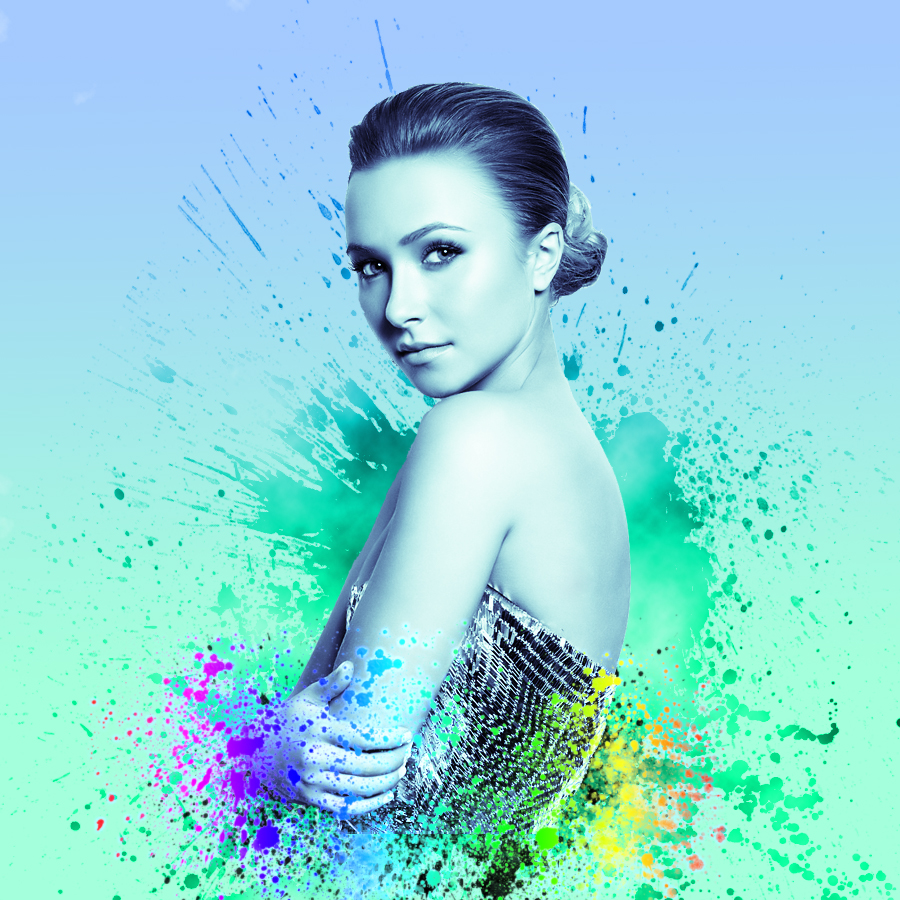
Go to Filter ---> Blur ---> Gaussian Blur --> set radius to 4 and Hit Ok.
The rainbow Colors Get blurred.
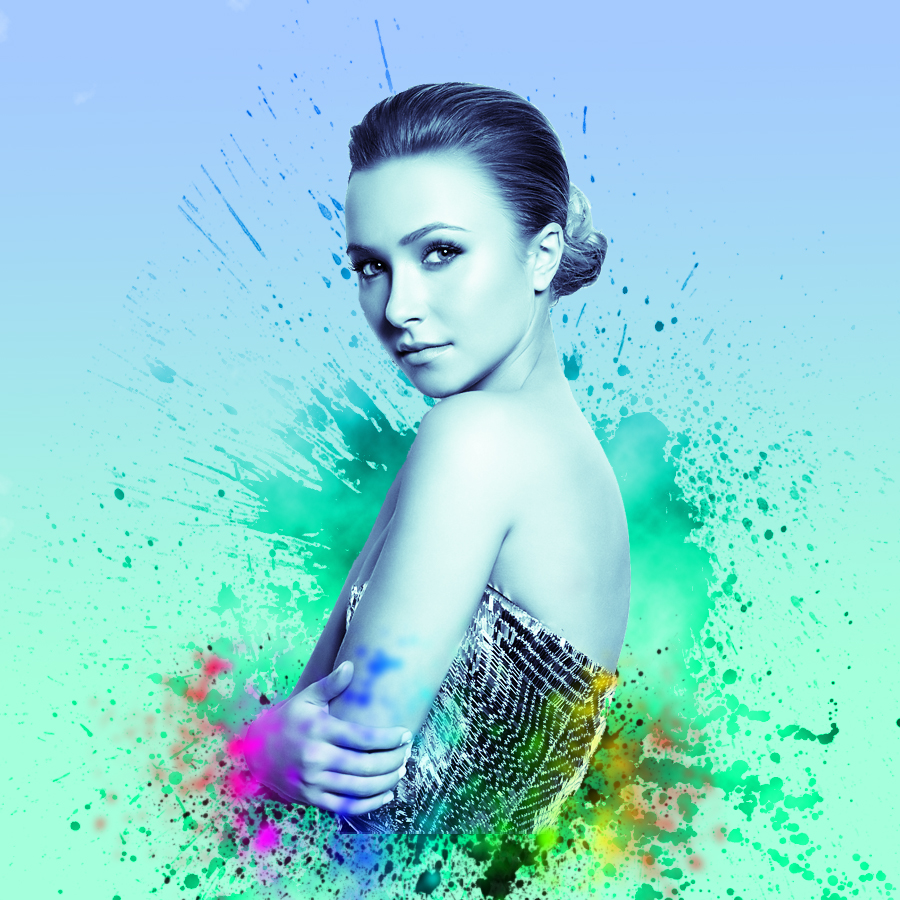
Now Visible the duplicated upper layer.
Go to Blending options ---> Outer Glow ---> set Mode to Color Dodge.
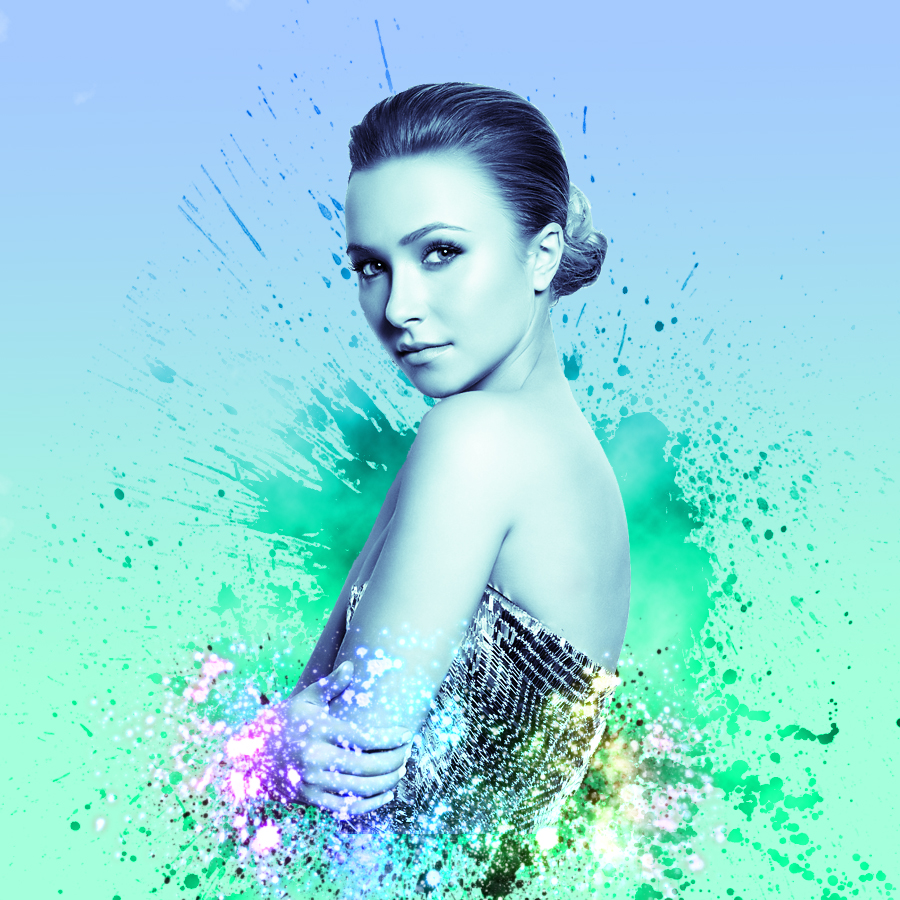
Step 6:
Make new layer and select rectangular marquee tool and select square.
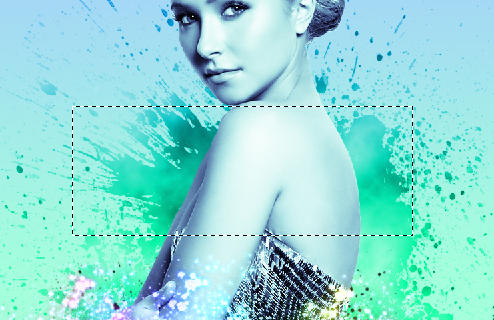
Select Gradient Fill tool and select the white color + Transparent pattern
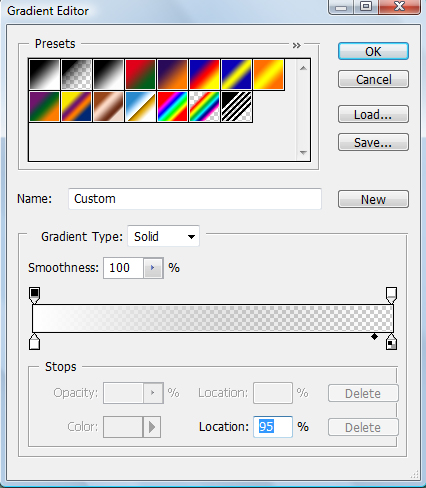
Select radial fill and drag mouse in selected rectangle from top to bottom.
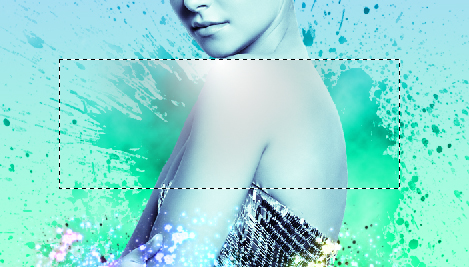
Set the layer mode to "Screen".
Now Press Ctrl+T for transforming this layer. and reduce the height of the layer.
Place it wherever you want. you can also make duplicate layers of this for better effect.

Done..!!
Subscribe to:
Post Comments (Atom)


0 comments:
Post a Comment