Monday, March 30, 2015
brushes,
image,
masking,
splatter,
using
Image Masking Using Splatter Brushes
Image Masking Using Splatter Brushes
Final view

Step 1:
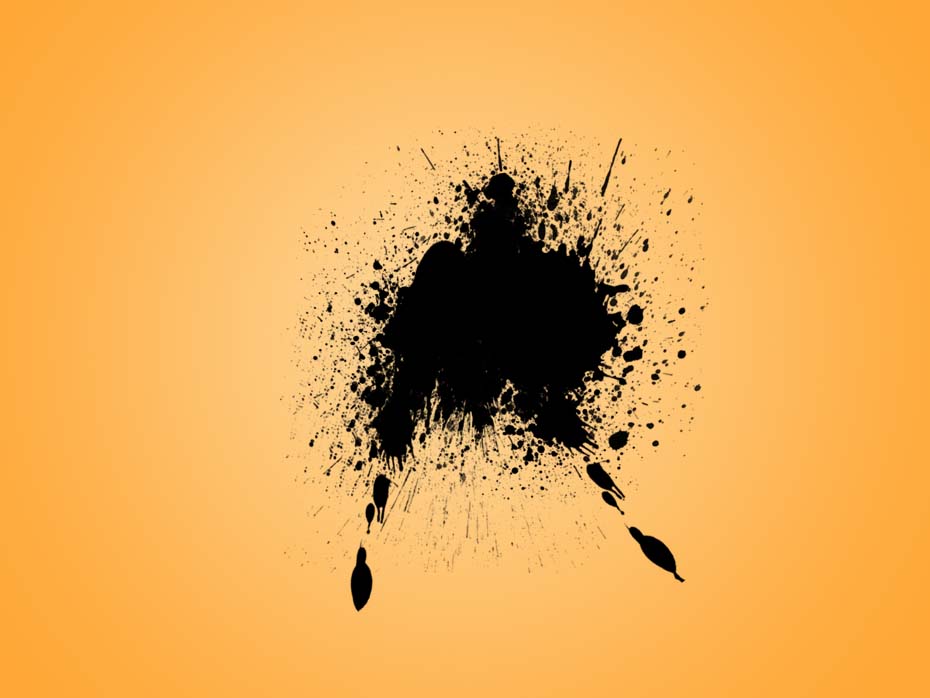
Create New file in photoshop.select Gradient fill tool from tool box and with round fill tool. fill the gradient by dragging cursor from centre to corner.

Step 2:
Create new layer by pressing Ctrl+J.And drop some Splatter brushes in the layer by selecting brush tool.

Step 3:
Now choose your image for masking . and drag it in to the project or copy-paste it. I named it layer 8
The image which is to masked is appears on the top of all layers..
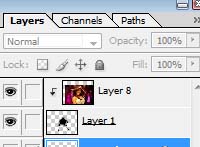
Press and Hold "ALT" key and take the cursor to border of layer 1 and Layer 8, when the cursor changes look, just click on the border.


Step 4:
hide the layer 1 and layer 8.
Create new layer below layer 1 (Ctrl+Shft+N).
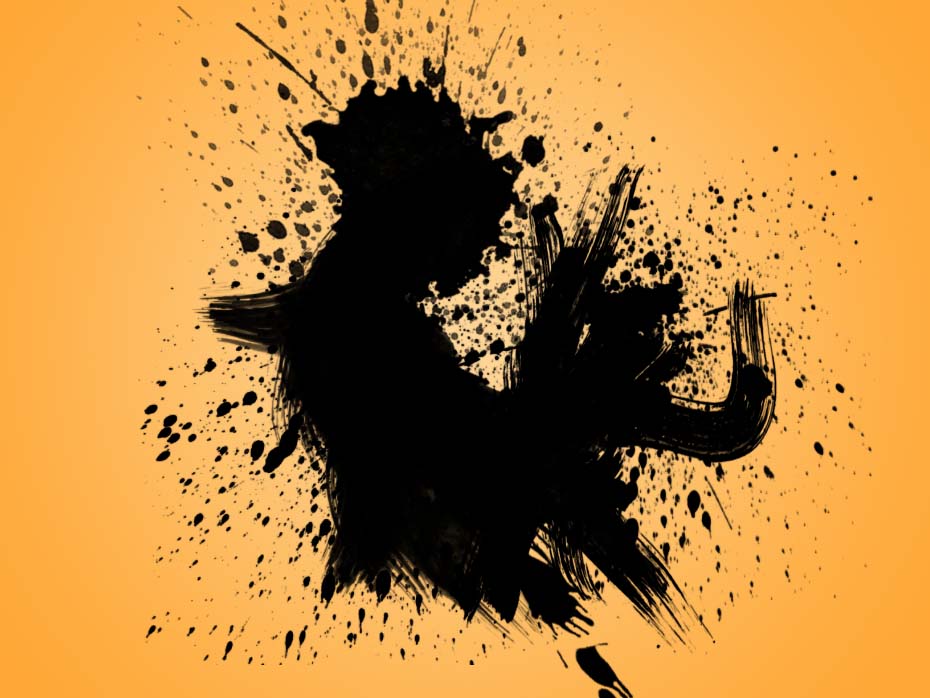
And add some Splatter brushes with black color.

Now visible the layer 1 and layer 8. And add Text .

Done..!!
Subscribe to:
Post Comments (Atom)


0 comments:
Post a Comment