Sunday, March 29, 2015
free,
in,
making,
photoshop,
psd,
simple,
speedometer
Making Simple Speedometer in Photoshop Free PSD
Making Simple Speedometer
Final view
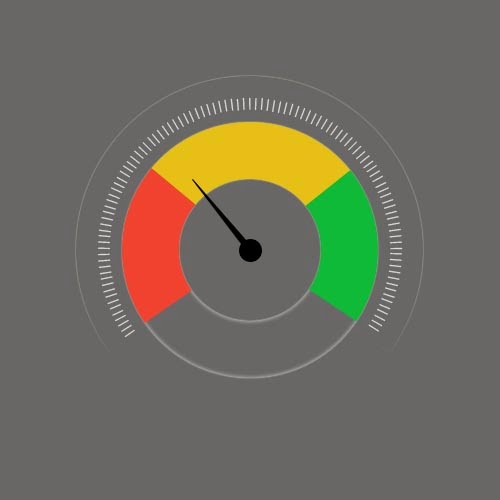
Step 1:
Create new file in Photoshop (500px - 500px).
Fill it with Gray color (Shift+f5 -> color)

Step 2:
- Select Costume Shape Tool form tool box, Select hollow circle, and draw a shape.
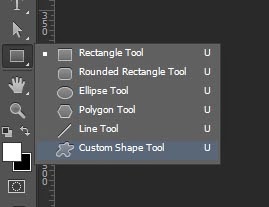
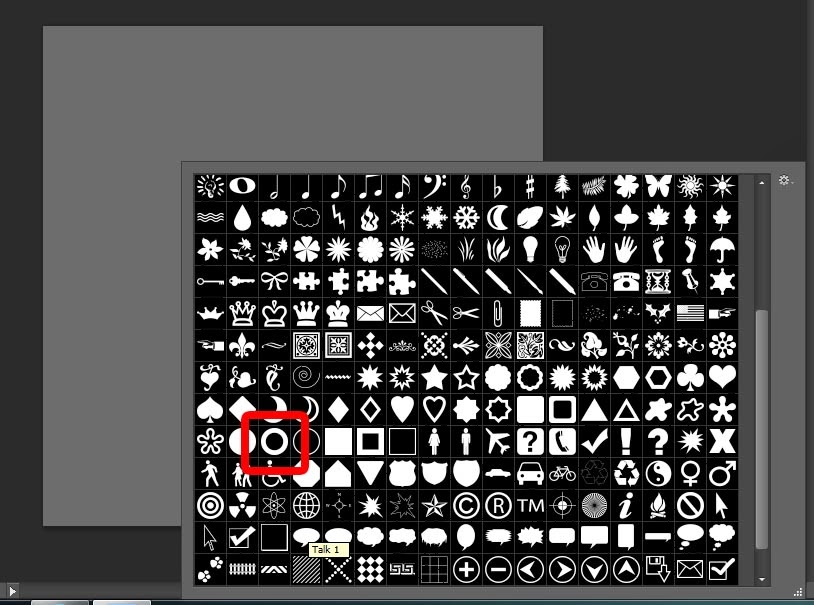

- Name it Layer 1
Step 3:
- Make a duplicate layer of this layer (Layer1_copy). and make this layer invisible.
- Select Layer1, and make Fill to 0.

- Make a duplicate layer of this layer (Layer1_copy). and make this layer invisible.
- Select Layer1, and make Fill to 0.

- Go to layer Style, and give Inner Glow and, Outer Glow.
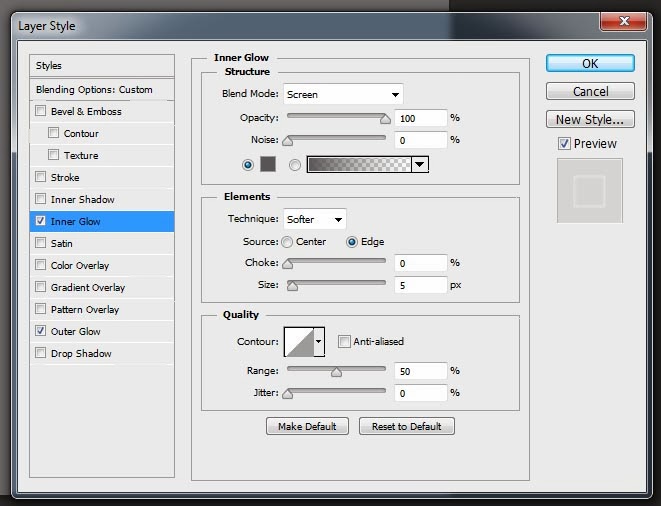
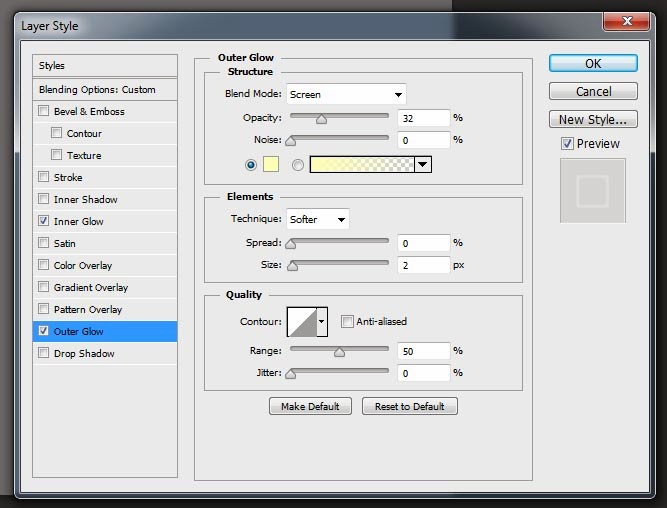

Step 4:
- Now take a round shape tool, and make circle just bit bigger than the hollow circle.
and make fill to 0.

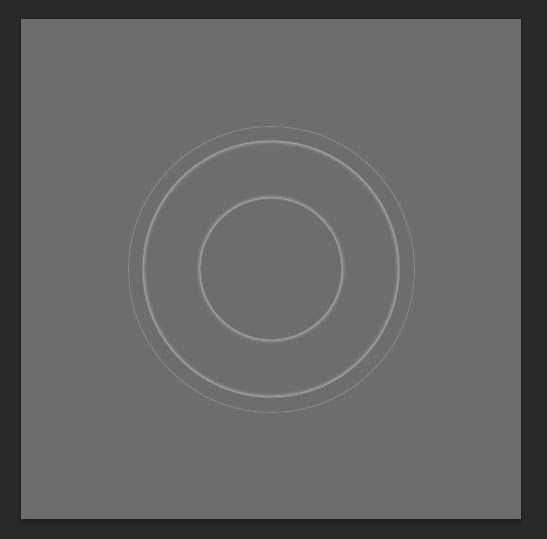
- Select Text Tool, and move courser towards edge of circle, When Courser icon changes click on it, and enter the bars. that is | .
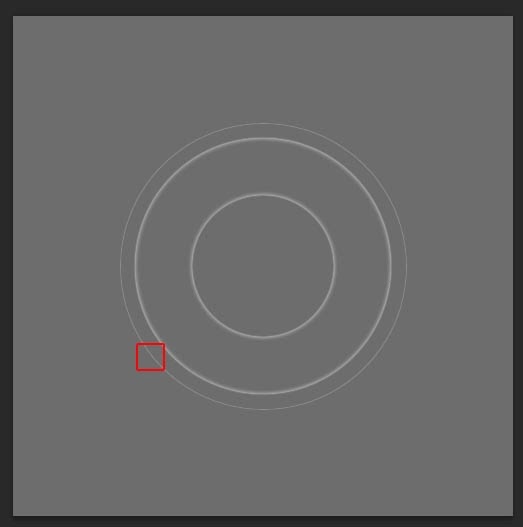

Step 5:
- Now select "Layer1_Copy" layer. Fill this hollow circle with "Green" color.

- Select Polygon Lasso Tool, and make the selection as shown.
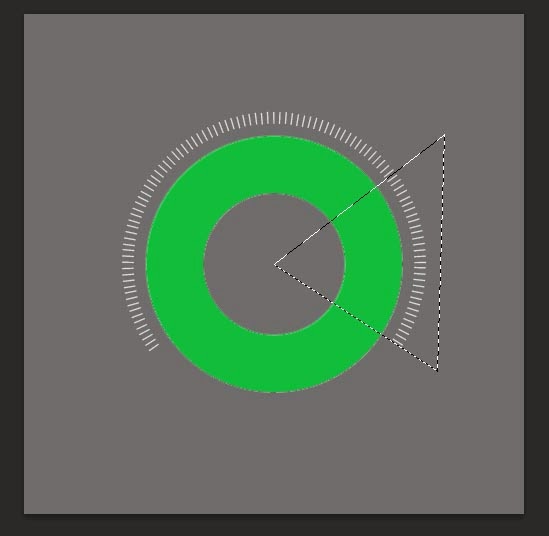
- After making selection, Click on Mask (Add layer mask).

- the layer will see like this.
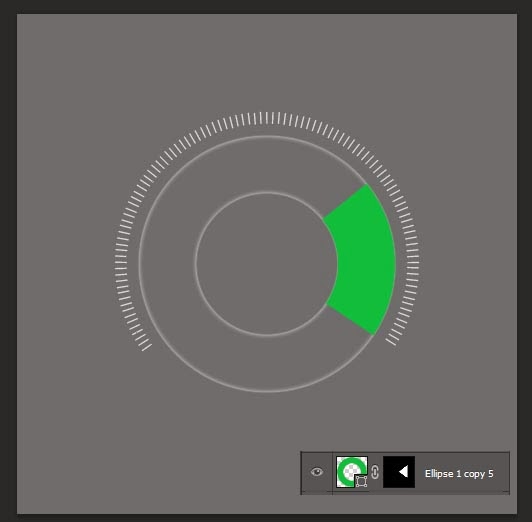

- the layer will see like this.

Step 6:
- As same, Make more 2 layers with different colors, And add layer masks to them.
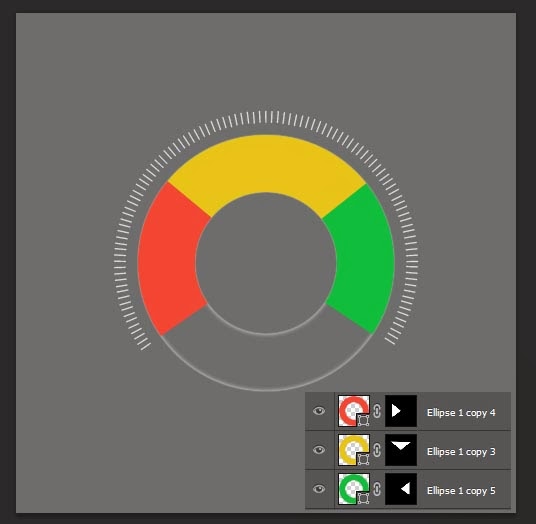
Step 7:
- Select Circular shape tool and draw a small circle in center, fill it with black color.

- Select rectanguler shape tool and draw a rectangle with black color for making pointer/arrow of Speedometer.

- Select Direct selection tool, By clicking on upper corner points, make them closer to look like pointer.
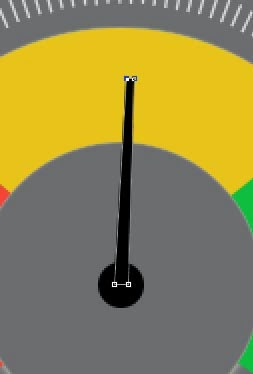
- press (Ctrl+T) for transform, and set the arrow position.

Done..!!
Download Free PSD of Speedometer.
DOWNLOAD PSD
Download Free PSD of Speedometer.
DOWNLOAD PSD
More about Author
Subscribe to:
Post Comments (Atom)


0 comments:
Post a Comment