Matrix Style Text Effect
Final View

Step 1
Create a new file in photoshop (ctrl+n).
fill the background with colour black (shft+f5 ---> color ---> Select Black color).

Step 2
Select horizontal type text tool from tool window.
set the color of text to white.
and type the text you want. (MATRIX).
Note - Remember that the text must be correct, spell well. because we are going to rasterize or flattern it, it will no longer edditable.

Step 3
when you finish with text,go to Image--->Mode--->Grayscale
you will get alert box to ask for flattern layers.. press flattern button.

Step 4
then go to Filter--->stylized--->Wind
you will get this window.
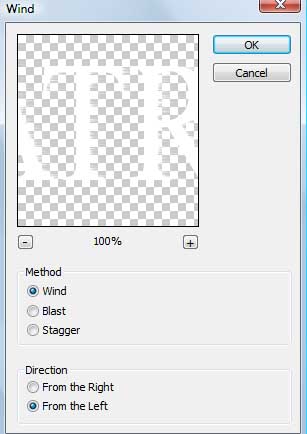
set method to wind and direction from left..
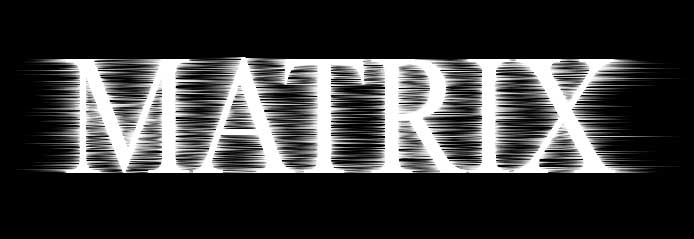
then again go to Filter--->stylized--->Wind and set method to wind and direction from right..
Note - you can give this both effect twice to the text for better wind effect.
Step 5
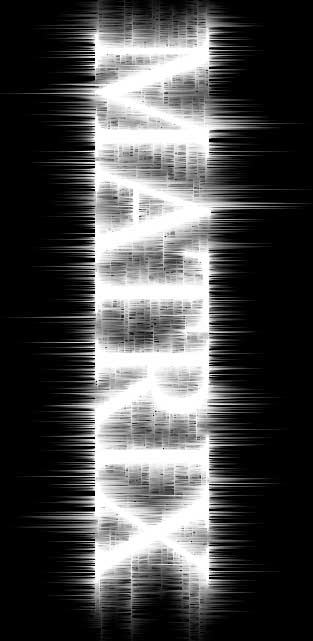
Now rotate the image.. Image--->Rotate canvas--->cw90
Go to Filter--->stylized--->Wind and give the wind effect fom both the directions..
Step 6
Rotate your image to original view (Image--->Rotate canvas--->ccw90)
and change image mode to RGB (Image--->Mode--->RGB).

Step 7
Now go to Image--->Adjustments--->color Balance (ctrl+b)
and increase the color which you want (Green).. you can increase it again when you click OK.
And you will get final Matrix text....

Done.. !!
Subscribe to:
Post Comments (Atom)


0 comments:
Post a Comment