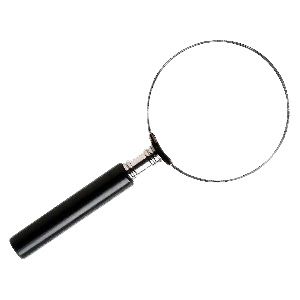
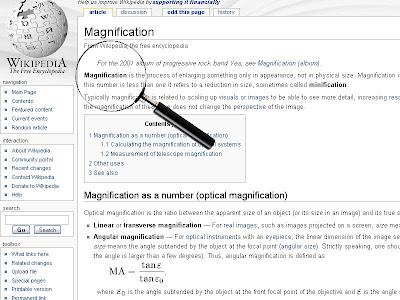
2. Now youll need a picture of a magnifying glass, below this second step you can download one or drag it on your document, it should already be transparent. Everything should look like the second picture for now…
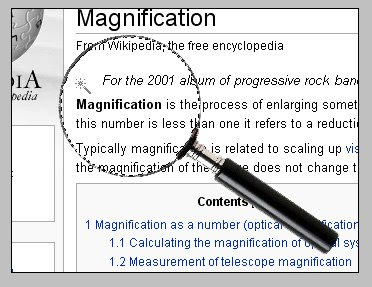
3. Now select the inside area of the magnifying glass using your magic wand tool, that will become the part of the screenshot that we will magnify.
4. Now go to (edit - cut) and make sure youve selected the layer with your screenshot. After that just go to (edit - paste) to paste the selection which will be magnified! Everything should look like the previous step but now the magnified part will be on another layer.
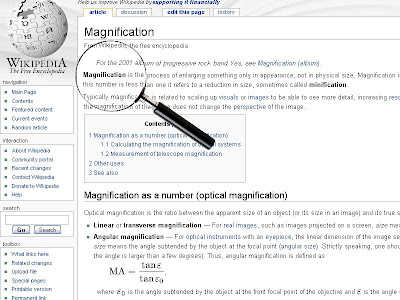
5. After that its time to shrink our screenshot layer. So select it and go to (edit - transform - scale). In the screenshot below you can see that I changed it with 25% to 75% instead of 100%. Please make sure you move the layer with the screenshot so that you cant see the part where we cut out the magnified piece.
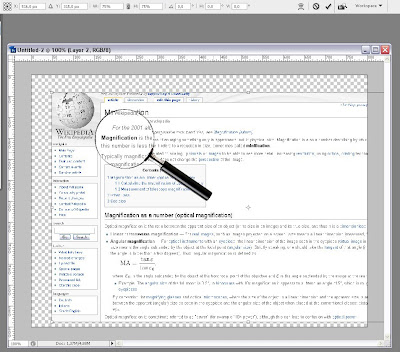
6. This time well add a gaussian blur to the layer with the screenshot. Select it and go to (filter - blur - gaussian blur) with a radius of about 2px.

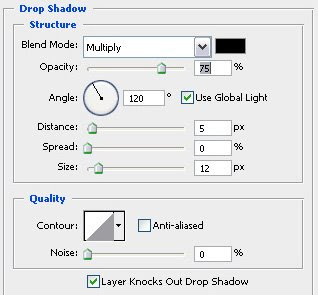
7. In this step well add some depth to our magnifying glass, so go ahead and select the right layer and add a drop shadow (layer - layer style - drop shadow). The settings Ive used are shown in the image below.
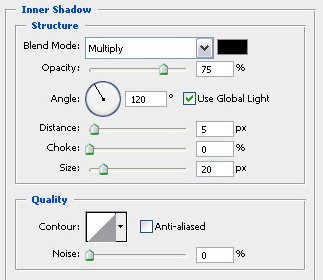
8. Now select the layer youve cut out in step 4 and add an inner shadow (layer - layer style - inner shadow) with the following settings.
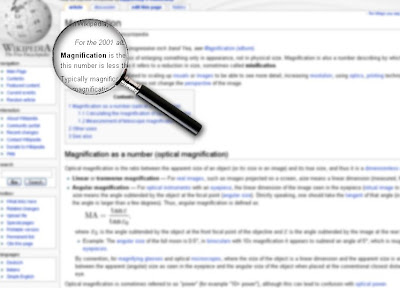
9. Thats it, youve just created an image zoom effect using a magnifying glass! Here is my final result! You can download the .psd file if you have a problem or contact me!
Subscribe to:
Post Comments (Atom)


0 comments:
Post a Comment