Create a Lomographic wallpaper
Lomography is a analog camera movement and community. Also called as experimental film photography. This image contains different color combinations
Final view

Step 1:
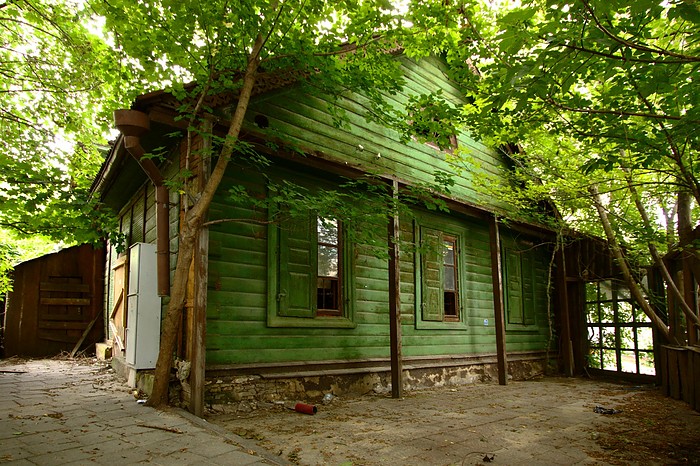
Take image in photoshop to give a lomographic effect. (See this photo)


Step 3:
- Make a new layer (Ctrl+Shft+N).
- Select Brush tool and select large size round brush..
- Set color to orange and paint on the new layer where you can see the sun light..


Take image in photoshop to give a lomographic effect. (See this photo)
Step 5:
- Make a duplicate layer of this image by pressing Ctrl+J.
- Go to Image ---> Adjustments ---> Gradient Map and select black white color combination and hit OK.
Set this layers Opacity to 25%.
Step 3:
- Make a new layer (Ctrl+Shft+N).
- Select Brush tool and select large size round brush..
- Set color to orange and paint on the new layer where you can see the sun light..
- Set the mode of this layer to Soft Light and Opacity to 70%.
Step 4:
Similarly make a new layer and add some greenish and blue color strokes by brush..

Set this layers style to Soft Light and Opacity to 25%.

Step 5:
- Now merge all your layers (Select all layers and press Ctrl+E)
- Select Blur tool from toolbox and set
Mode = Normal and
Strength = 20%
Done..!!
Follow my blog with Bloglovin
Subscribe to:
Post Comments (Atom)


0 comments:
Post a Comment