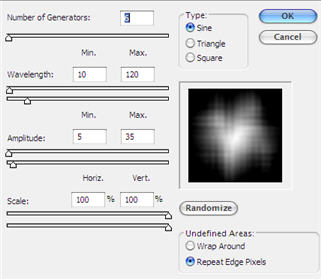
Step 2: Go to Filter -> Distort -> Wave, leave the default settings (or you can change to your favorite), press OK
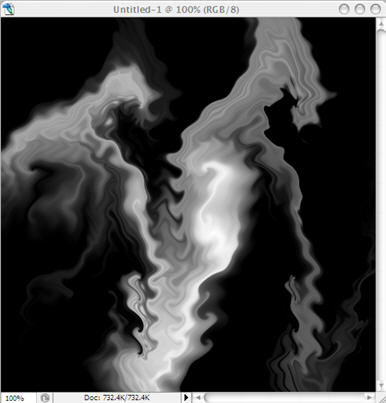
Step 3: Press Ctrl-F 9 times, you will have
Step 4: Press Ctrl+J to create Layer 1. Then Transform -> Rotate 90 CW. Use Blend Lighten for this Layer 1

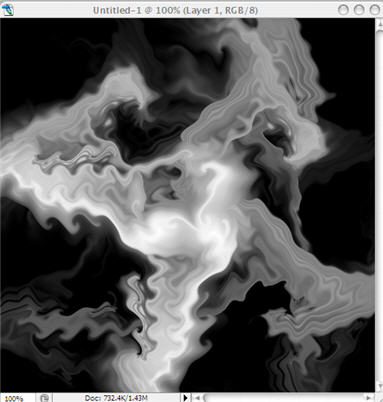
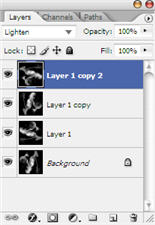
Step 5: Press Ctrl-Alt-Shift-T 2 times to make 2 copies of the layer 1.
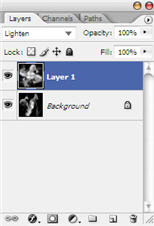
Press Ctrl-E 2 times to merge down to layer 1. Now we only have the Layer 1 and the Background
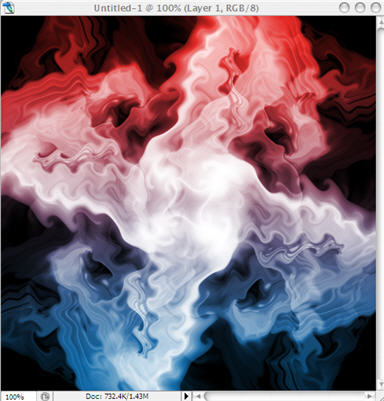
Step 6: Double click on Layer 1, click on Gradient Overlay. Choose any color you like. Make sure that the Blend mode is Overlay. Press OK

Step 7: Change the Blend mode for Layer 1 to Screen, and we have the final result
Subscribe to:
Post Comments (Atom)


0 comments:
Post a Comment