Wednesday, March 18, 2015
diffusion,
effect,
for,
glow,
pictures,
your
Diffusion Glow Effect for your Pictures
Step 1: First open any image.
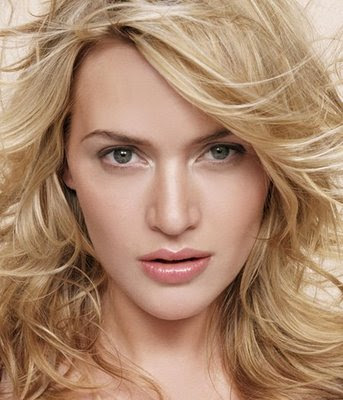
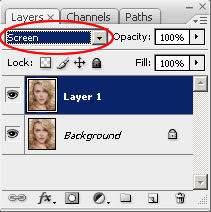
Step 2: Duplicate the layer, go to Layer> Duplicate or press Ctrl+J and change the blending mode of the new layer to Screen.
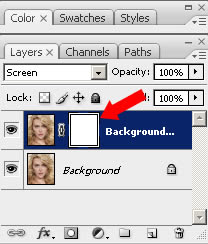
Step 3: Now add a layer mask to the top layer so go to Layer> Add Layer Mask> Reveal All.
Step 4: Make sure the layer mask is activated. The thumbnail of the layer mask in the layer window should have a white border around it. If it does not, click on the thumbnail to activate the layer mask.
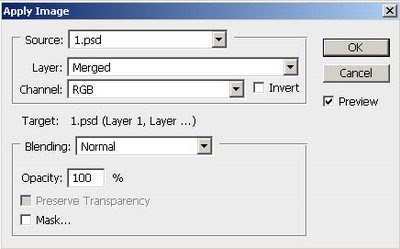
Step 5: With the layer mask activated, go to Image> Apply Image and use these settings:
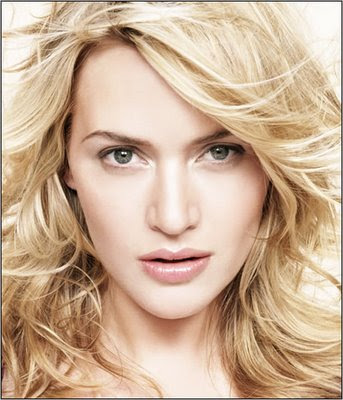
Your Image looks like:
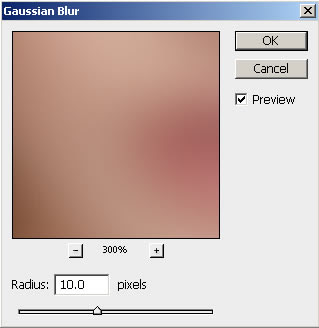
Step 6: Click on the thumbnail of the top layer to deactivate the layer mask. With the top layer selected, go to Filter> Blur> Gaussian Blur. Make sure that the preview checkbox is checked and increase the radius slider until the desired effect is achieved.
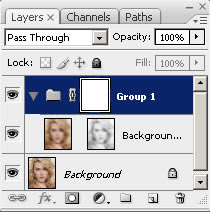
Step 7: We need to add another layer mask but Photoshop will only allow one raster layer mask per layer. To get around this, we will simply group the layer so go to Layer> Group Layers or press Ctrl+G and add a layer mask go to Layer> Layer Mask> Reveal All, to the new group created.
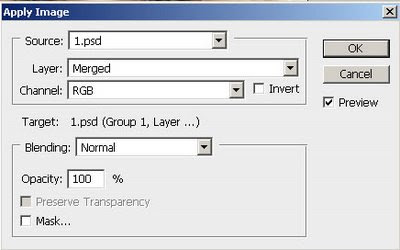
Step 8: Click on the thumbnail of the new layer mask. With the layer mask selected, use the Apply Image so go to Image> Apply Image tool to apply the entire image to the layer mask and apply these settings:
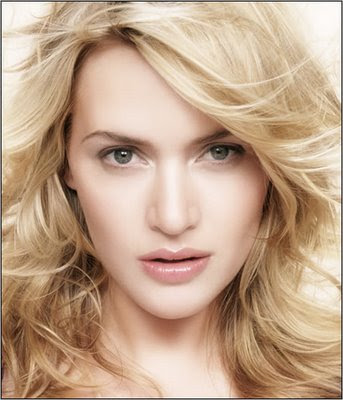
Heres is the Final Result!:
Subscribe to:
Post Comments (Atom)


0 comments:
Post a Comment