In this tutorial we will make your portraits look like the glamour shots in fashion magazines.
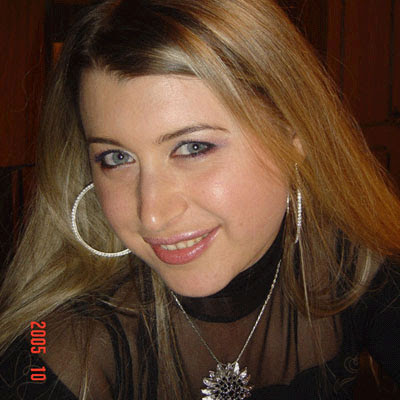
1. Open your image in Photoshop. Check if photo Mode is RGB Color (Main Menu -> Image -> Mode -> RGB Color)
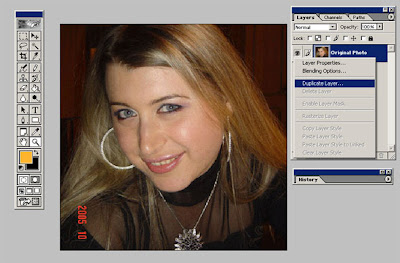
 2. In next step we need to duplicate original Layer. See how I did in image below:
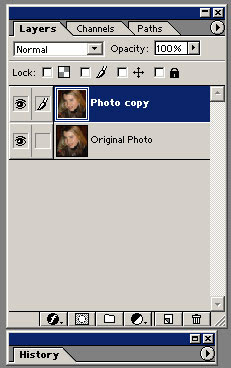
 We need to get option like this:
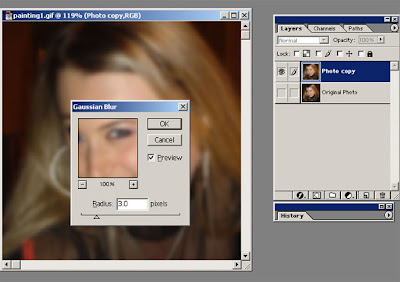
 3. Now we need to set filter, go to [Main Menu - Filter - Blur - Gaussian Blur] and set a radius of 3px. See image:

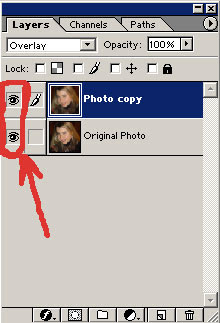
 4. Now change the layer mode to Overlay. And check both image to Layer Visibility mode.
 In final we will get the next result:
1. Open your image in Photoshop. Check if photo Mode is RGB Color (Main Menu -> Image -> Mode -> RGB Color)
Subscribe to:
Post Comments (Atom)


0 comments:
Post a Comment