Tuesday, March 17, 2015
how,
in,
losing,
photoshop,
skin,
smooth,
texture,
to,
without
How to Smooth Skin Without Losing Texture in Photoshop
There are several ways to smooth skin in Photoshop. All to often, however, skin can appear too smooth, fake, and synthetic. Today I will demonstrate a straightforward technique to help you smooth skin fairly quickly while preserving the texture of the pores. Let’s get started!

Final Image Preview
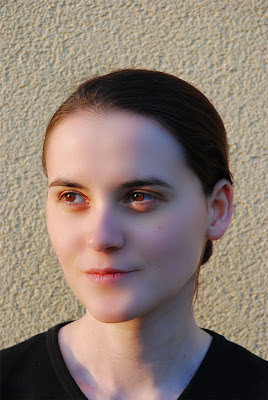
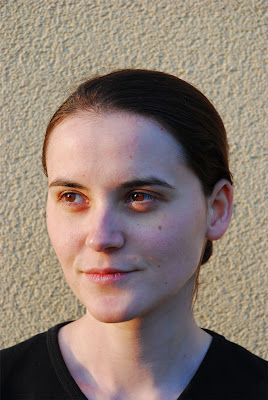
Take a look at the final image that we will be creating.
Original Image
Before we begin, let’s take a look at the original image.
Step 1
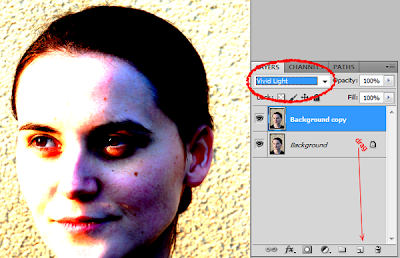
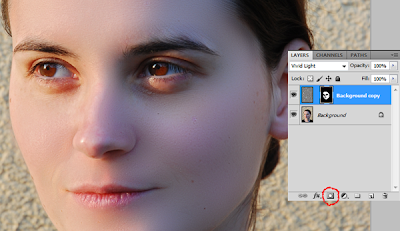
First, open your image and duplicate your background layer. Simply drag the layer onto the new layer icon in the bottom right of the layer palette. Now set the blending mode of this newly created layer to "Vivid Light."
Step 2
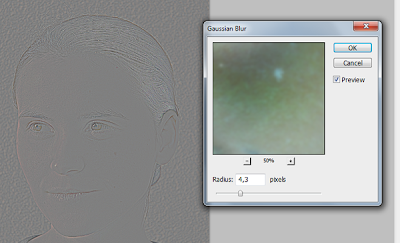
Now, let’s invert this layer. Do this by pressing Cmd + I or Image > Adjustments > Invert. Then, apply a Gaussian Blur by selecting Filter > Blur > Gaussian Blur. Applying a blur filter to an inverted picture will make it look shaper. Use the slider until you can see the pores on her face.
Step 3
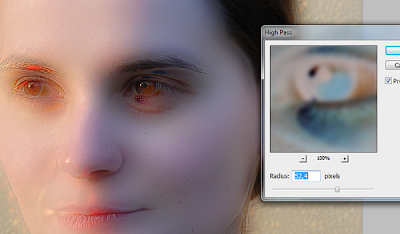
Now let smooth the skin! Go to Filter > Other >High Pass. Move the slider until you are happy with the smoothing. You may notice some ghosting and other weird stuff around the eyes – just ignore it for now. Concentrate on the cheeks, forehead and nose.
Step 4
Almost done! Create a new mask for the layer and fill it with black to hide the image. Switch your color to white, select the mask and start drawing on the skin with a soft brush. Start at the cheeks, move over to the forehead, the nose and stop on the chin. If the effect is too strong for your liking, just lover the opacity of the brush and you’re good to go!
Final Image
We’re finished! I hope that you learned a few new techniques here. If you have a different approach, let me know in the comments!
Subscribe to:
Post Comments (Atom)


0 comments:
Post a Comment