Creating 3D Header For Website
Final view

Step 1:
Create New File and Paint background with the color which you are selected for website.
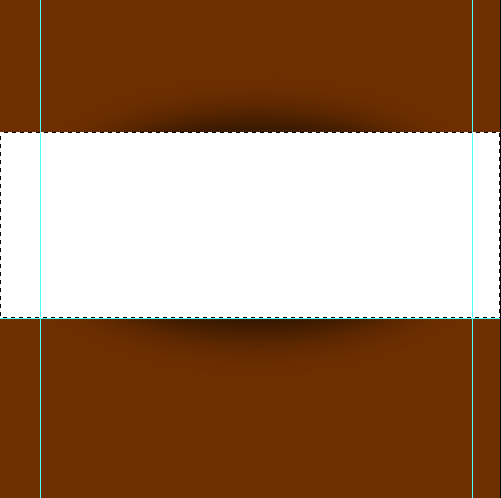
Go to view ---> Rulers.. You can get markings on corners of photoshop. Drag cursor from that marking on image to make our headers position.
Create New File and Paint background with the color which you are selected for website.
Go to view ---> Rulers.. You can get markings on corners of photoshop. Drag cursor from that marking on image to make our headers position.
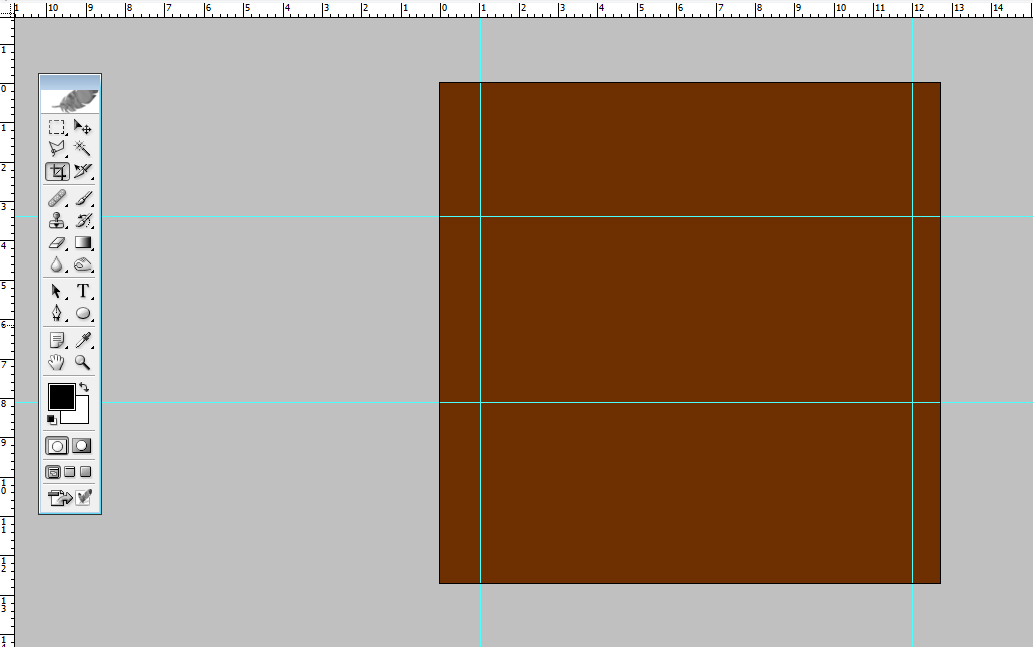
Here I make the header position(middle rectangle).
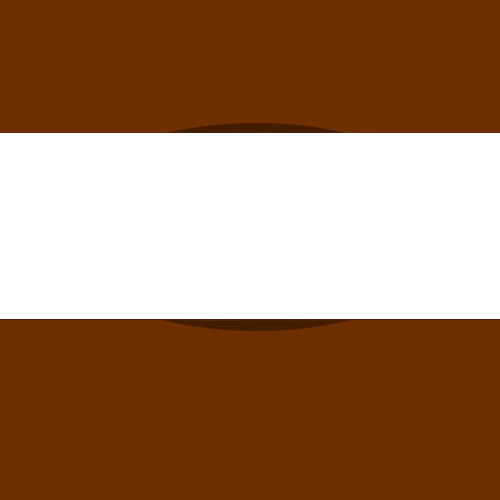
Step 2:
Create New Layer(Ctrl+Shft+N).
Select the Rectangular Marquee Tool and make a rectangle along our header area.
Then Press Shft+f5 For fill color in rectangle. and fill rectangle with White color.
Select the Rectangular Marquee Tool and make a rectangle along our header area.
Then Press Shft+f5 For fill color in rectangle. and fill rectangle with White color.

Step 3:
Now Create New Layer above background layer and below the rectangle layer(Header)(Ctrl+Shft+N).
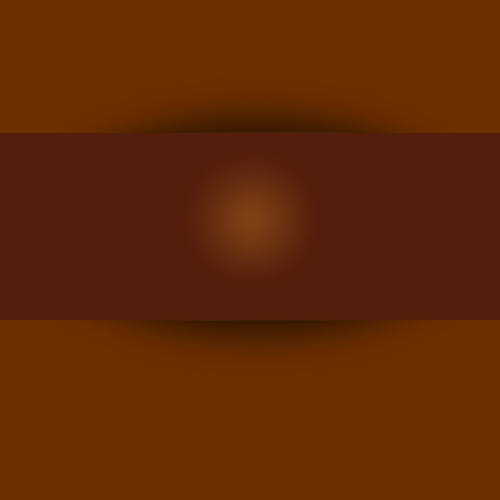
Select Elliptical Marquee tool and Create a round behind Rectangle(for making shadow). Make sure that the round is bit higher than rectangle.
Fill the round with black.(Shft+f5)
Select Elliptical Marquee tool and Create a round behind Rectangle(for making shadow). Make sure that the round is bit higher than rectangle.
Fill the round with black.(Shft+f5)
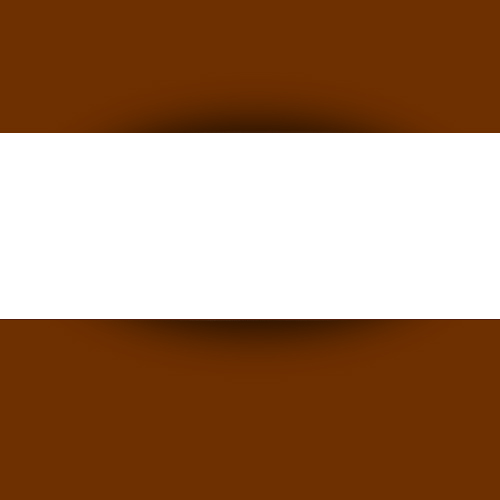
Step 4:
Go to Filter ---> Blur ---> Gaussian Blur. and set radius to 30PX.
Go to Filter ---> Blur ---> Gaussian Blur. and set radius to 30PX.
Step 5:
Make a new layer above the Rectangle (Ctrl+Shft+N).
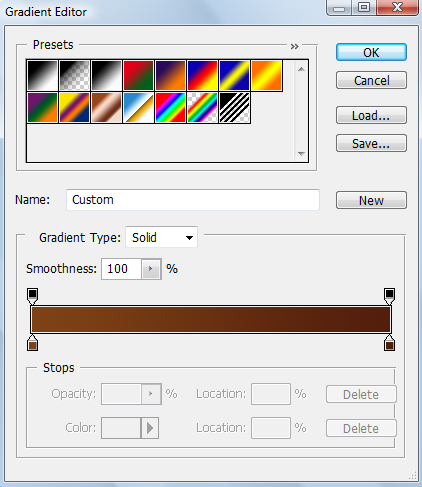
Select the Rectangular Marquee tool and select the white rectangles border for filling Gradient.
Now Fill Gradient With Fill Gradient Fill Tool.
Step 6:
Select Horizontal Type Text Tool and Type Name Of Website or Header Title.

Right click on the text layer and click on Rasterize Layer.
Now go to Blending Options.
1) Gradient Overlay :-
Make a white and Gray Combination And feel style to linear.
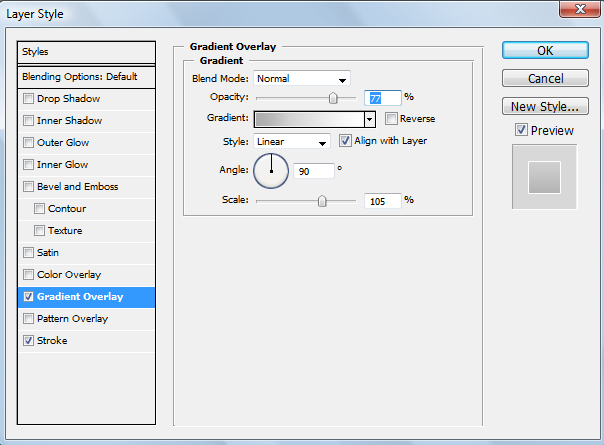
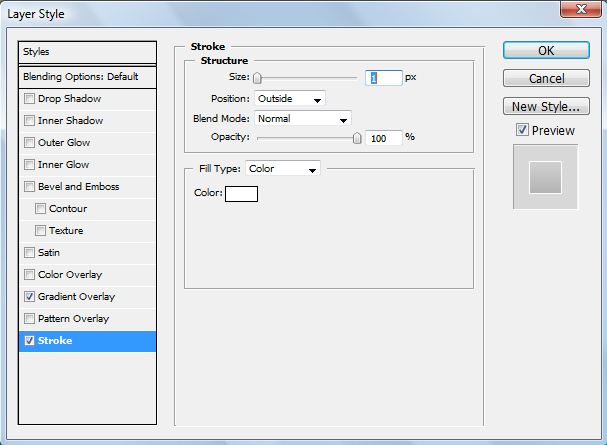
2) Stroke :-
Set size of stroke to 1px and color to white.
You can also Smooth Give Bevel and Emboss From Blending Options By increasing Smoothness..

Step 7:
Now If you Want to add navigation Bar at bottom, You can just add text and drop shadow.
You can also create separation of navigation links using "Single Row Marquee Tool".
You can also create separation of navigation links using "Single Row Marquee Tool".
Done..!!
Subscribe to:
Post Comments (Atom)


0 comments:
Post a Comment