Friday, April 3, 2015
a,
create,
effect,
glowing,
in,
liquid,
photoshop,
splash,
text,
water,
with
Create a Glowing Liquid Text with Water Splash Effect in Photoshop

Ground texture
Water pattern image
Water splash brush
Step 1
Create a new document sized 1280px * 800px with black background. Load the Ground Texture stock image into Photoshop, and select a piece of the ground as shown below:

Copy and paste the selection onto our document, use a soft eraser to remove the edges and some parts of the ground as shown below:

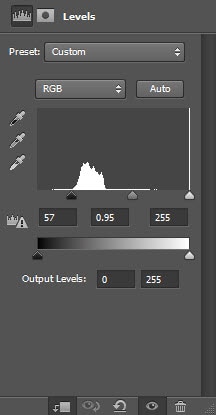
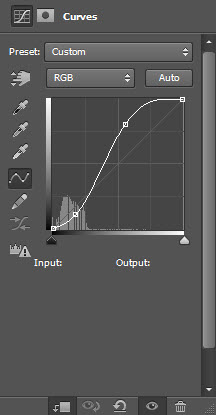
Add the following 3 adjustm
ent layers on top of the ground texture layer:
Black and White

Levels
Curves
Create a new layer on top and add some cloud effect over the ground with either a cloud brush or the cloud filter – this adds some dramatic effect into it:

Step 2
We will now add some text onto the document – I used the “Freestyle Script” font (should come with Photoshop):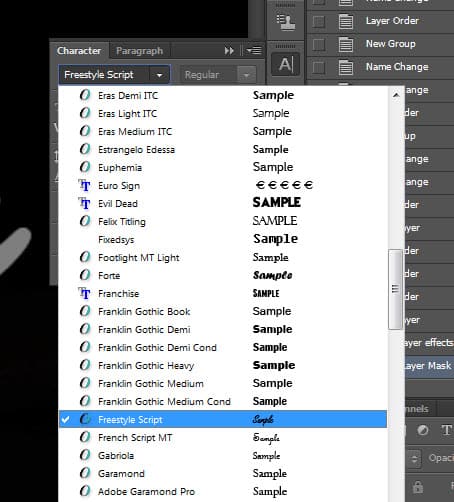
Apply the following layer blending options to this text layer:
Bevel and Emboss

Color Overlay

Outer Glow

and you will have the following effect:

Step 3
We add some water pattern over the text – download the water pattern pack and choose one of the images, select a portion of it with any selection tool: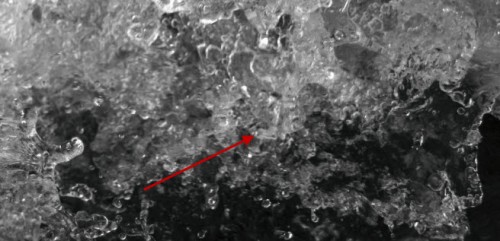
Copy and paste the selection over the text and set it as a clipping mask to the text layer:

We will go back to the water images and select a piece again, then copy and paste the selection and put it below the text layer, use the liquify filter’s forward warping tool to make it into a pattern as shown below:

This step can be a bit and you will probably need to have a few tries before getting it right. The effect below is the one you’re aiming to achieve:
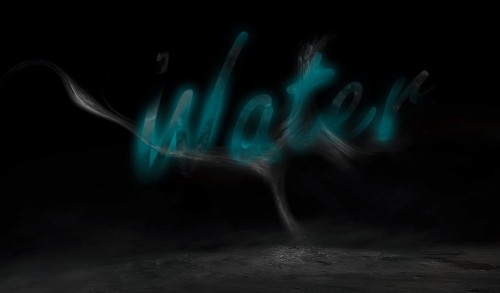
Step 4
Load the water splash brush into Photoshop and paint some splash around the text, use a soft eraser to fade the edges of the splash for depth: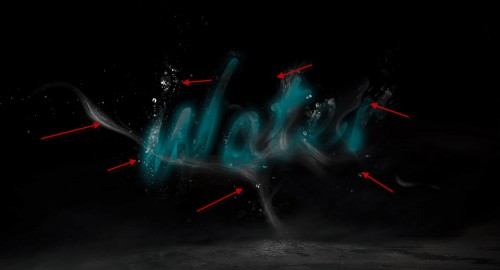
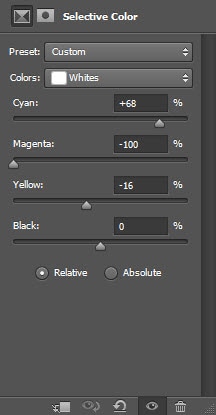
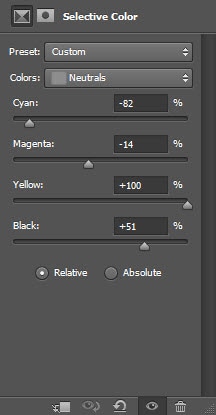
We will fine tune the colour effect a bit with the following image adjustment layer on top:
Selective Color
Cyans

Whites
Neutrals
Layer mask on the selective colour adjustment layer:
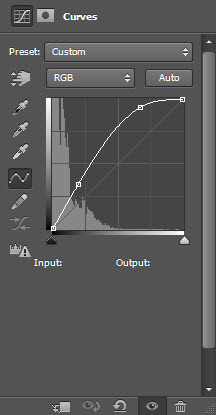
Curves
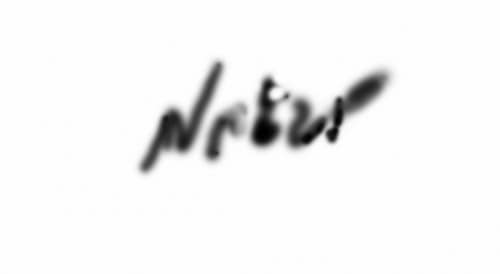
Layer mask on this curves adjustment layer:

Color Balance
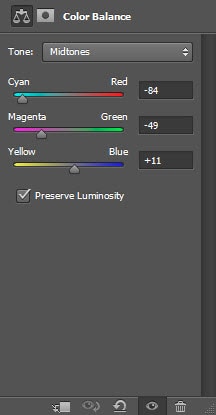
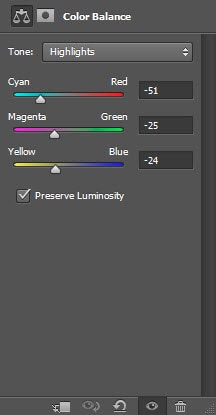
and you will have the following final image: (click to enlarge)

That’s it for this tutorial! Hope you enjoy it and find it useful! Till next time, have a great day!
Hello! My name is Tommy. Im a blogger, I love graphics design and now i went to Architechture Technical Senior High School. | Facebook |
Source : PSDVault
Subscribe to:
Post Comments (Atom)


1 comments:
Post a Comment