Thursday, April 30, 2015
cs6,
illutrator,
image,
in,
into,
vector
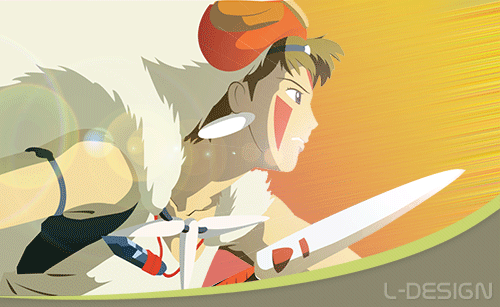
Image Into Vector in illutrator cs6

*Ctr + C and Ctr + F = copy and paste into the original position but forward.
*CTR + +/- to zoom in/out.
Step 1 Image Into Vector in illutrator cs6
Open the image, double click on the layer and rename as img, checked the dim image=50%. Create a new layer and make sure it is below of the img layer. Pick the pen tool, start draw from the face area. We will only draw the outer line of the image. For the color, just use the eyedropper tool to pick up from the image we use on the area which we are drawing. Rename layer as face_bg. After that, you will get the result as below:
Step 2 Image Into Vector in illutrator cs6
After that, we will draw out the shadow area which is the darker side. FYI, you only need to draw carefully when the area is intersect with the others. Rename layer as face_shadow. After that, you will get something like this:
Step 3 Image Into Vector in illutrator cs6
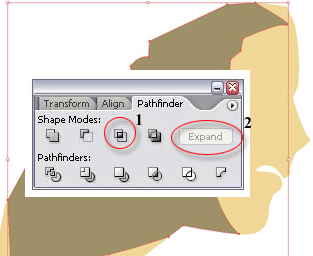
To create the shadow area, select the face_bg layer then CTR + C and CTR + F. While the duplicated face_bg layer selected, left click on the face_shadow layer by holding shift. Goto window > Pathfinder, click the intersect shape area, then expand. As below:
Step 4 Image Into Vector in illutrator cs6
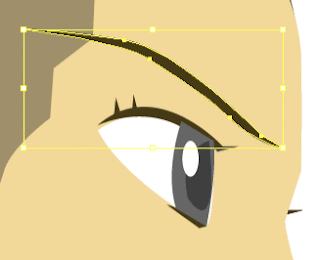
Next, we are going to draw out her eye. You need to zoom in to draw this part.
Step 5 Image Into Vector in illutrator cs6
After that, we will add the border for the face area.
Step 6 Image Into Vector in illutrator cs6
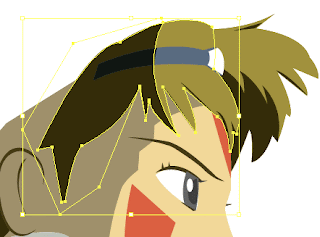
After that, we will draw her hair and hat.
Subscribe to:
Post Comments (Atom)


0 comments:
Post a Comment