Thursday, April 2, 2015
create,
dispersion,
effect,
how,
in,
photoshop,
to
How to Create Dispersion Effect in Photoshop
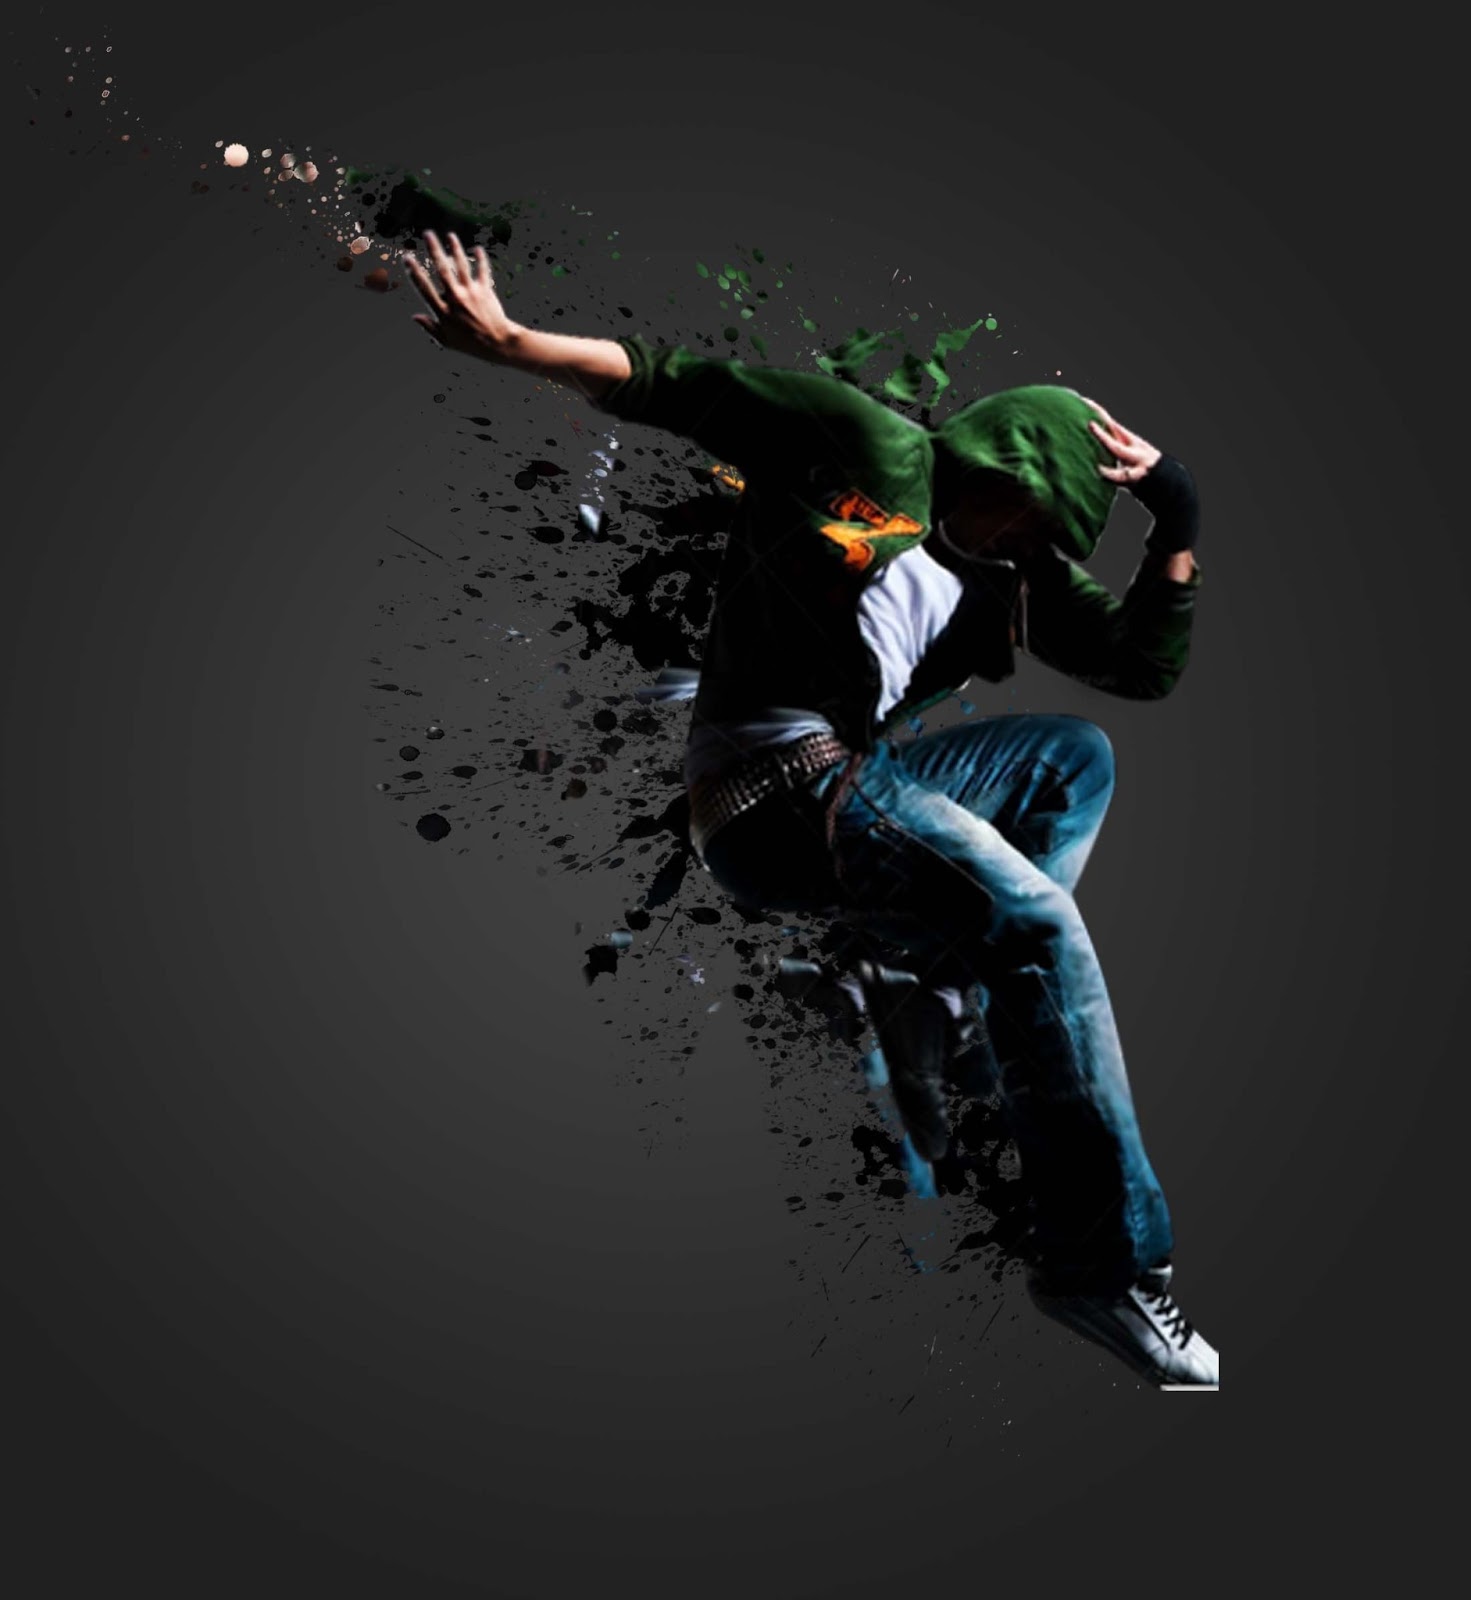
Tutorial for Dispersion Effect
Final view

Step 1:
Create New File.
Paint Give the Gradient to background using gradient fill tool.

Step 2:
Take the Image/Object to Disperse..
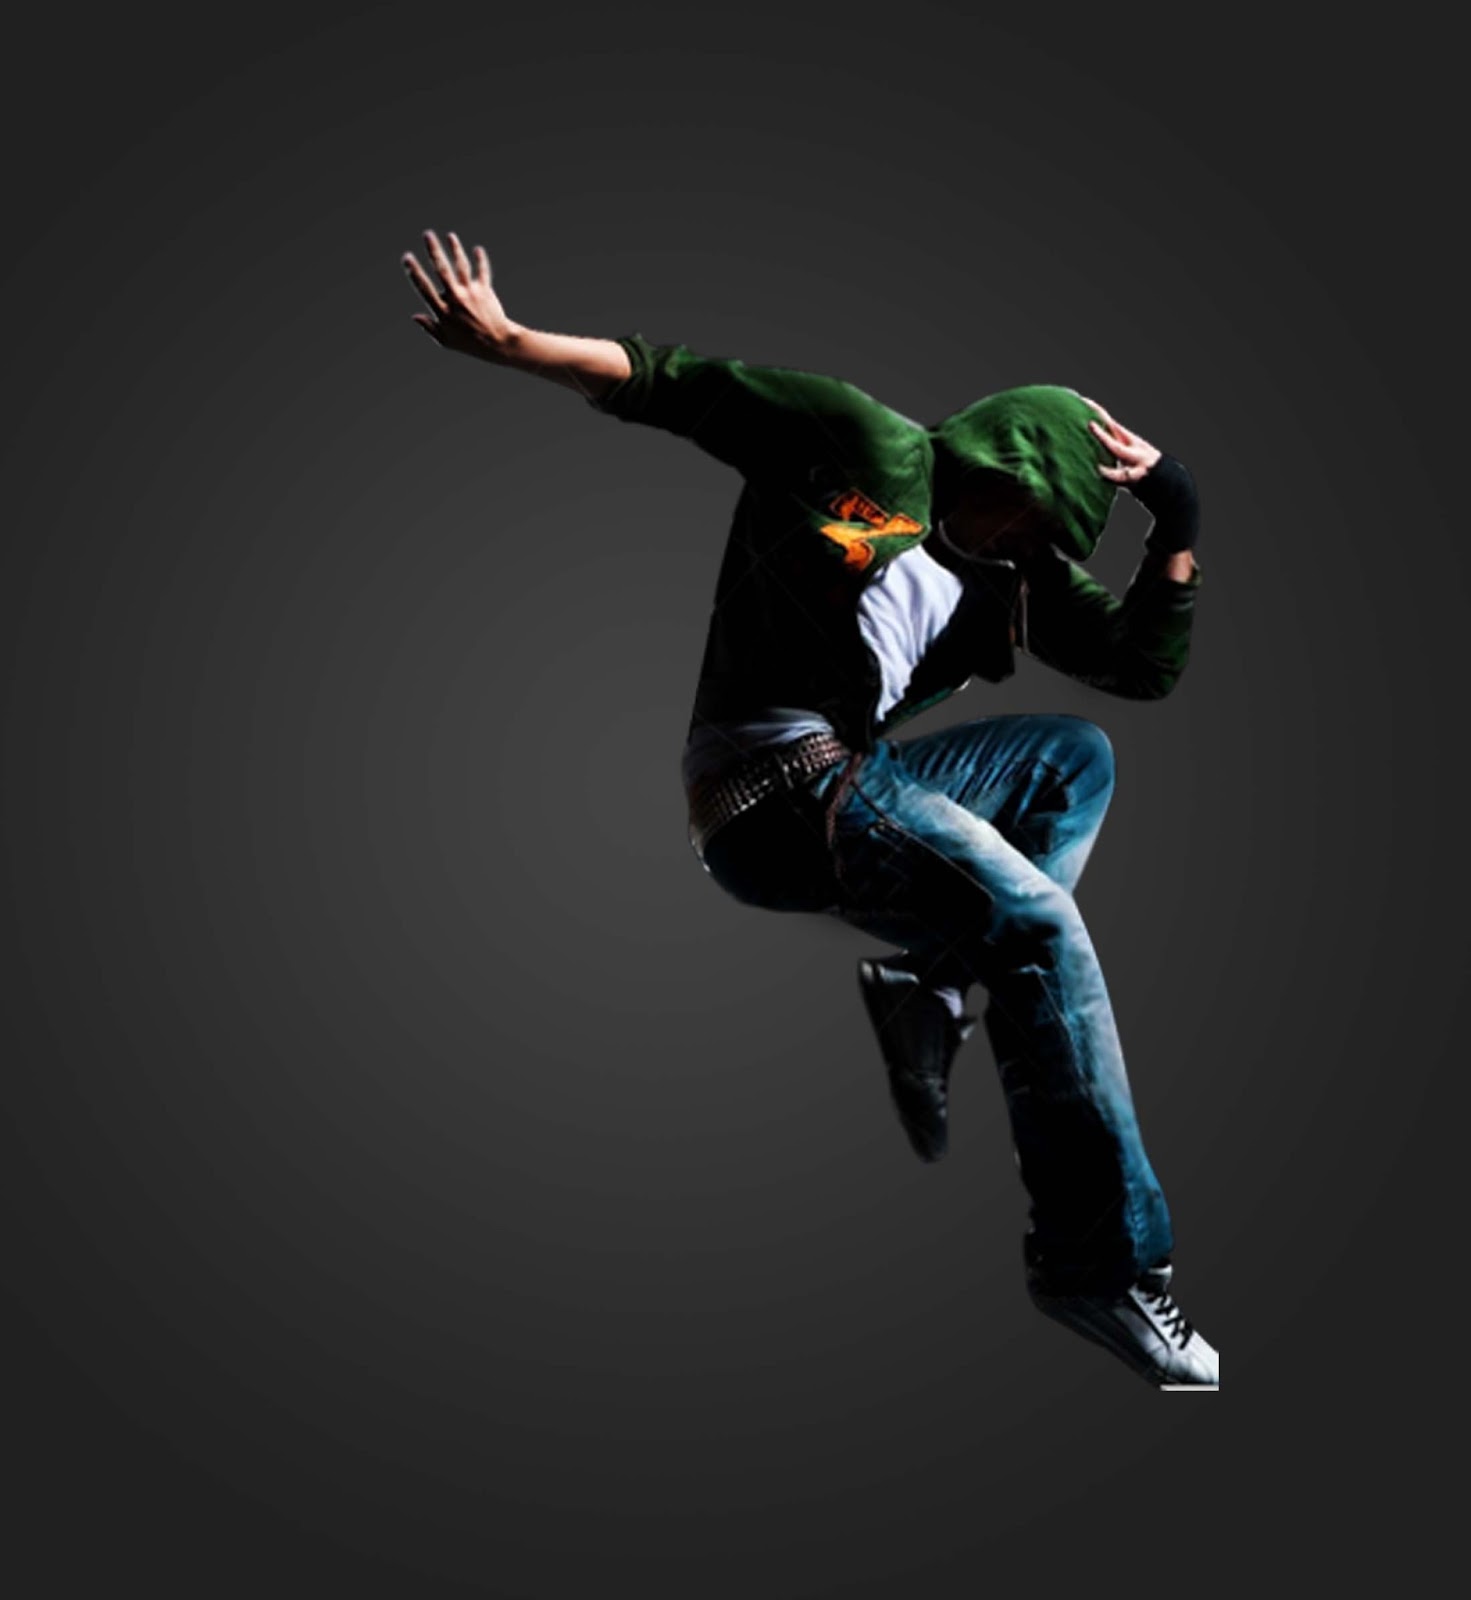
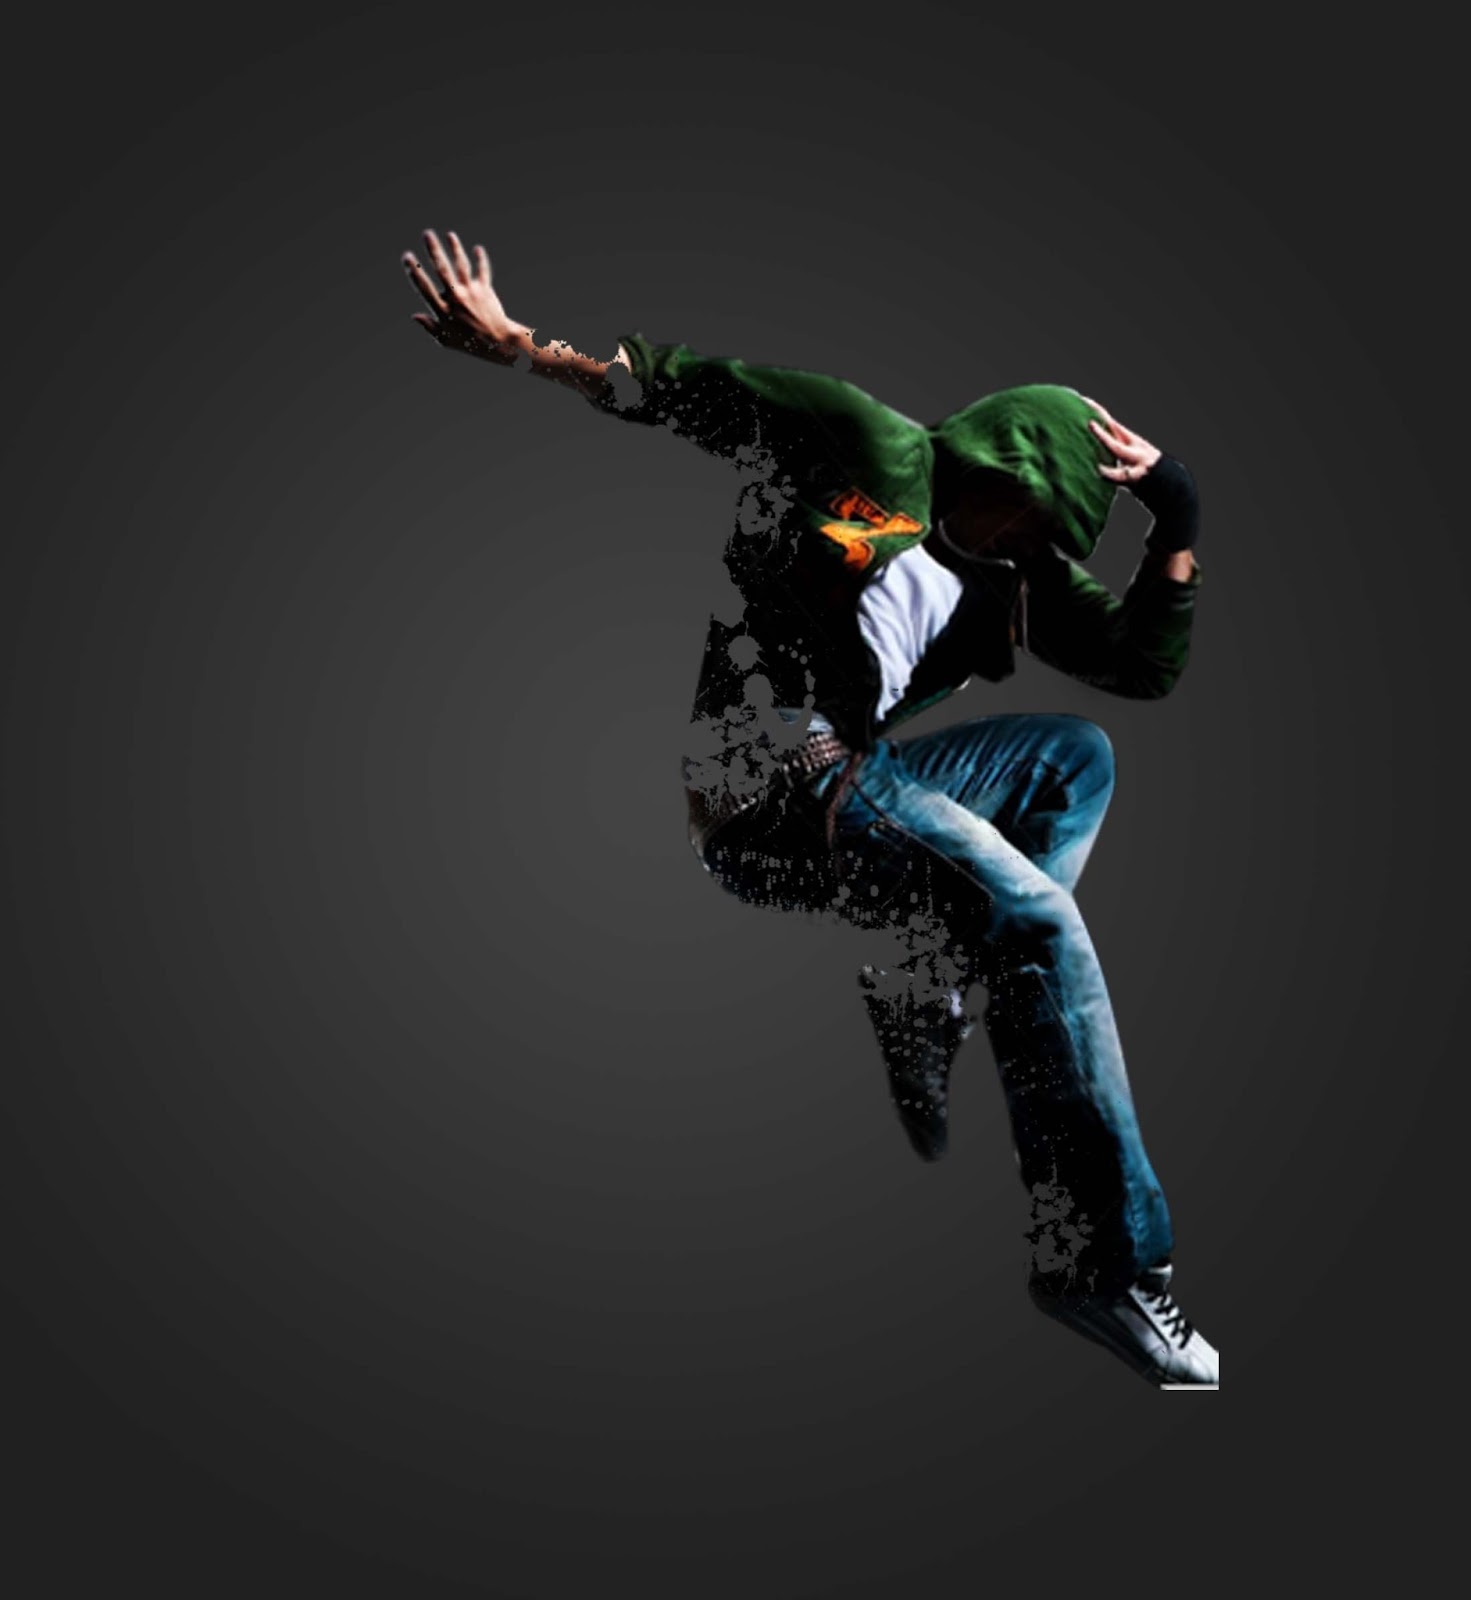
I took the dancer Image from Google. copy paste the image/object on background.
(Cut the object only using lesso tool and paste it on background.)
I took the dancer Image from Google. copy paste the image/object on background.
(Cut the object only using lesso tool and paste it on background.)
Step 3:
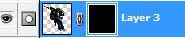
Copy paste this layer 2 times. and name the layers as layer 3, layer 4.
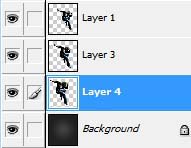
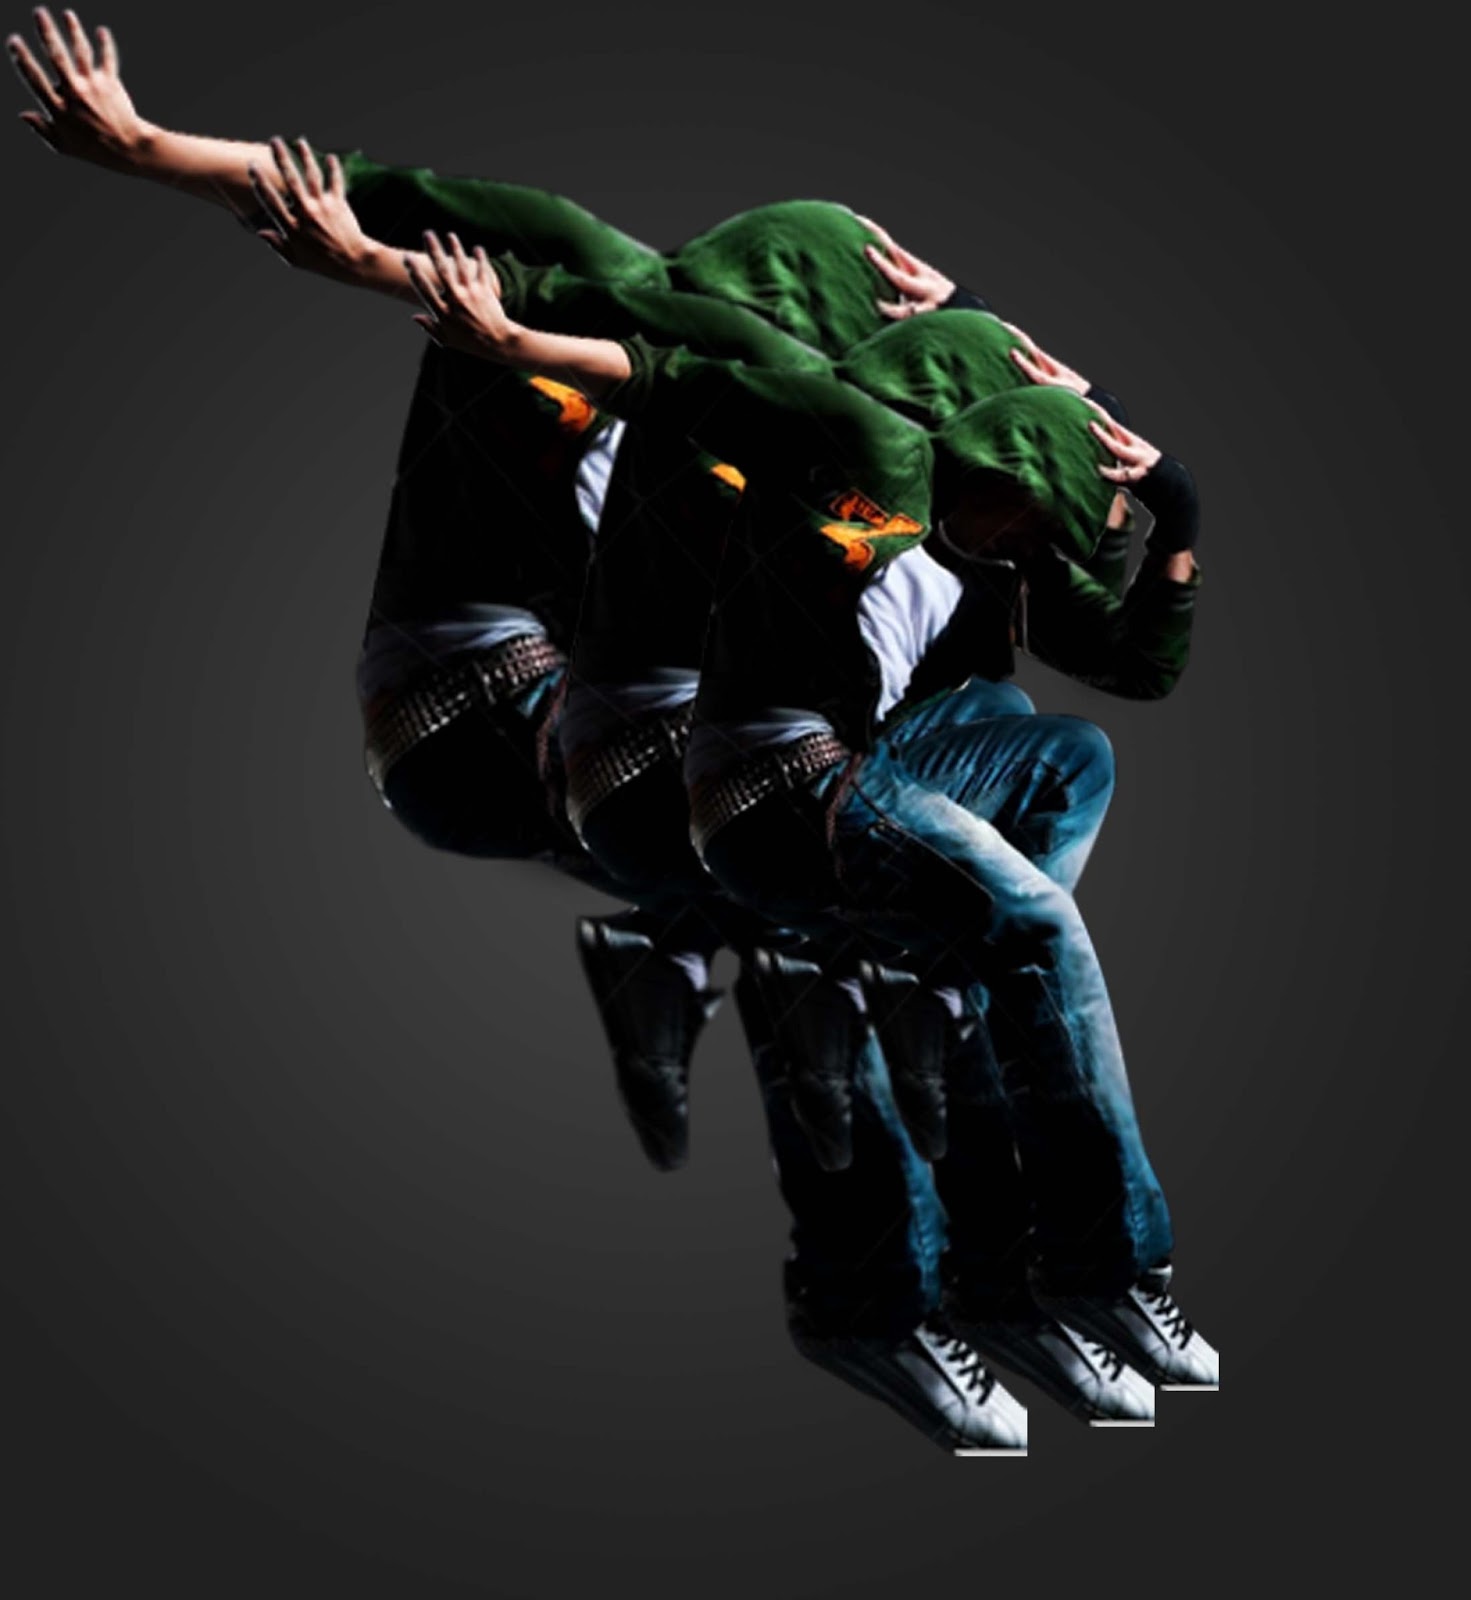
Now Press Ctrl+T for transforming the layer. and transform both copied layers larger than original. And arrange them behind the original layer.
This will look like this.
Now Press Ctrl+T for transforming the layer. and transform both copied layers larger than original. And arrange them behind the original layer.
This will look like this.
Now merge both copied layers.( Layer 3 and layer 4 by selecting them and press Ctrl+E).
now we have 3 layers 1) Background 2)Layer 3 (Layer 3 + Layer 4) 3)Original Object Image.
Step 4:
Now Add layer mask(Layer ---> Add layer Mask ---> Hide all).
Select the Splatter Brushes and just click on the mask(black) layer.
Select the Splatter Brushes and just click on the mask(black) layer.
Step 5:
Now select Layer 1 and add mask to it (Layer ---> Add Layer Mask ---> Reveal All).
Again select Splatter Brushes And Make Some clicks/strokes on the disperses side on the masked layer(white).

Step 5:
If u hide the Layer 3, You will get this Image..
Step 6:
Make visible Both Layers Layer1 and Layer3, You will get final Dispersed Image...
Subscribe to:
Post Comments (Atom)


0 comments:
Post a Comment