Image Masking with Pencil
We See In last tutorial how to Mask the image, Now lets see how to mask image using Brush or Pencil
Final view
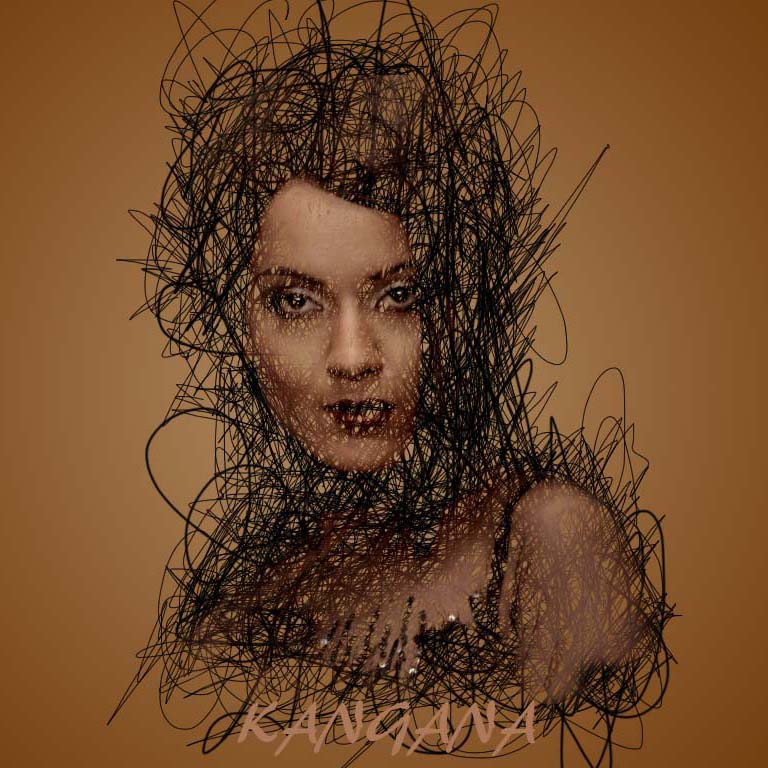
![Image Masking with Pencil Image Masking with Pencil](https://blogger.googleusercontent.com/img/b/R29vZ2xl/AVvXsEinr1NpfqjZOS5MUJXwodedFRnUipgO0Uddk_2LOkBYm_BP1PRCcrqaJSeKO3wlzphxZqdQ9XxagAPKlUM5HX0sJoXqUixr9RO9oe7GKLJx5kxoTw86u8XzGsmuPzp9YHaOjIiDCwEJRXA/s1600/final+(9).jpg)
Step 1:
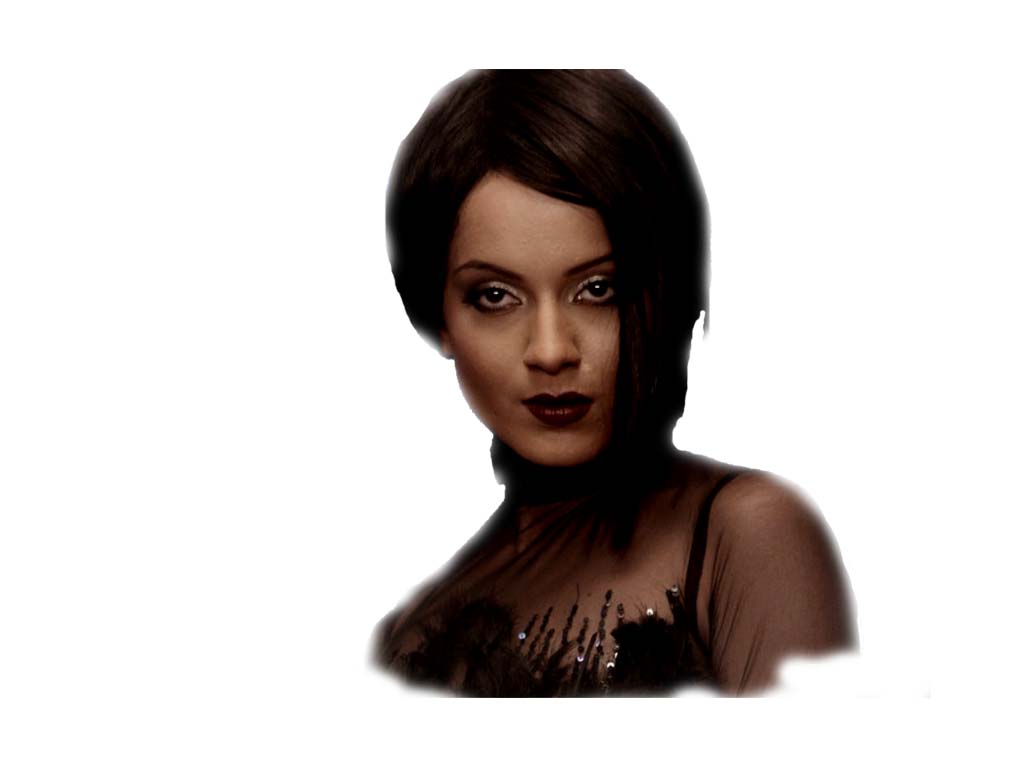
First take a image which is to be mask.and cut the background of the object..
Original
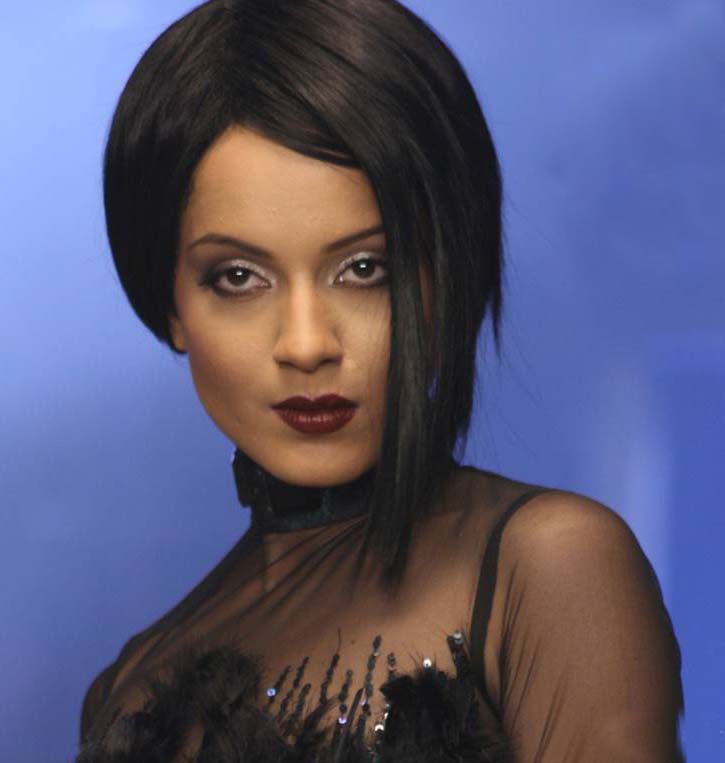
![Image Masking with Pencil - choose photo Image Masking with Pencil - choose photo](https://blogger.googleusercontent.com/img/b/R29vZ2xl/AVvXsEihkODR2yBLbZn5AoaIJTC-cAv_EkkTH8nsF1fTUm_eKZXk7EP5NWhN_GIUXGvIiZYOYkv0fJoR3pGYPTrMP2D3j7Tb8dl7-p_tQ-7ZHydkkOWJdKVTRabBsLUVQp8k541Z5NYct1Qa-5Y/s1600/kangana.jpg)
By removing background
![remove background remove background](https://blogger.googleusercontent.com/img/b/R29vZ2xl/AVvXsEhcRTLYVqkD756M2X8edPgOLYSXp_qDtx-f57PJZdTUl8IlAH48oeFqgiN999-Q1VGH6HMCVatO9j2j5N0LVtceUd4tPGuGMBXfOim_MBCgfxMej2a5VFaTY2YfCFVLt4J0aduTrP8oS_4/s1600/croped.jpg)
Add some red and yellow color on image by pressing Ctrl+B.
Make background transparent and Save this image as png.
Step 2:
Step 2:
Create New File in photoshop.
make a duplicate layer by right clicking on the background "background copy" (ctrl+j).
select the fill gradient tool from toll box and select 2 color pattern, change the colors as shown.. (orange-- light orange) set fill type to radial and fill the color by dragging the mouse from middle of the layer to the corner...
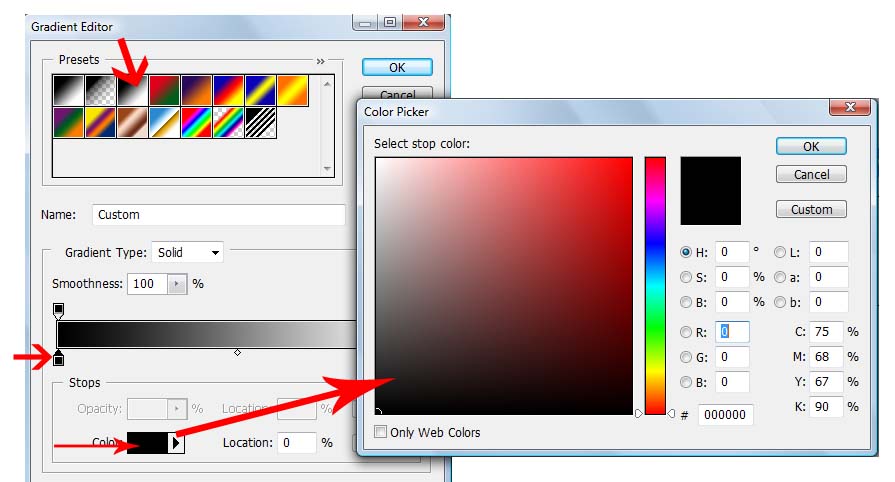
![Gradient fill Gradient fill](https://blogger.googleusercontent.com/img/b/R29vZ2xl/AVvXsEj-ZumVxGRIBsCRviys2STg2BWKLk6yvi02_JQOXPJgf5-T5WHLOWil-wMa9BAaO5_m-OrfxVh2nTOkZgBJKGvjKoQltklGaPLFY-a7EQmhwGlZMl6-Q9Ltu6h8A_uSPl4hM4Ss00Tgjek/s1600/66.jpg)
![color selection for Gradient fill color selection for Gradient fill](https://blogger.googleusercontent.com/img/b/R29vZ2xl/AVvXsEhTJjljYm-PfTTMfnislQPyjoPSscZqJT3rp1-7ZmwA-LHxhjZamdhmX-DUKvBbxdCzHJrNXStAuPWhXC8rD7aPAMDR3kfskedavPC2VeTbCQ1NpAK3EKPScdph8xDaXCx1Eb5RZuTMTG4/s1600/77.jpg)
![Image Masking -Background Image Masking -Background](https://blogger.googleusercontent.com/img/b/R29vZ2xl/AVvXsEgwbb00CGIzolqYOxM7nwNz6HiLNITGlK2tPy5zFhLfmnnxPi38Hnps1wNZES-PiWcdgTCxwXxSNWY3LdwZWIIPBZ3GOY9UNnHcILIjbJxZmSOy4_reD3lXqRconXmMbTapGtAz8idHX2M/s1600/1.jpg)
Step 3:
Now make a new layer Ctrl+Shft+N.. Name it Layer1.
and add some strokes by free hand using brush while radius of the brush is maximum 1 or 2 px....
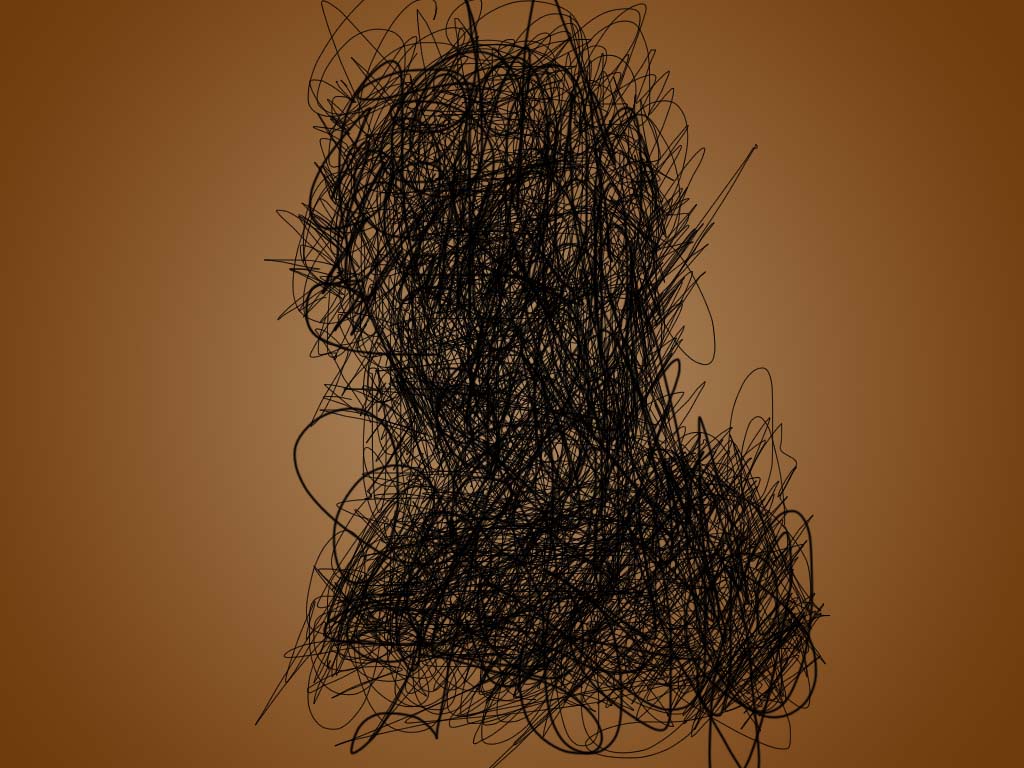
![Image Masking with pencil - add brush or pencil strocks Image Masking with pencil - add brush or pencil strocks](https://blogger.googleusercontent.com/img/b/R29vZ2xl/AVvXsEiyf4MX-UTiucHmyLIjWAouXY9sR4BWZIoPydGJQoNxOjLORTcKJp_PZqEQ16UApVFuDXh2VyYmOvTdXznVs-Hps1U71QihmlVYy5vWeM2JT13cZLNMJLhZ43X3eZZQaWKiw78fla_GN-0/s1600/2.jpg)
Step 4:
Now take the image, which is to be mask.. that is our PNG image. and put it on the current psd (Copy+Paste).
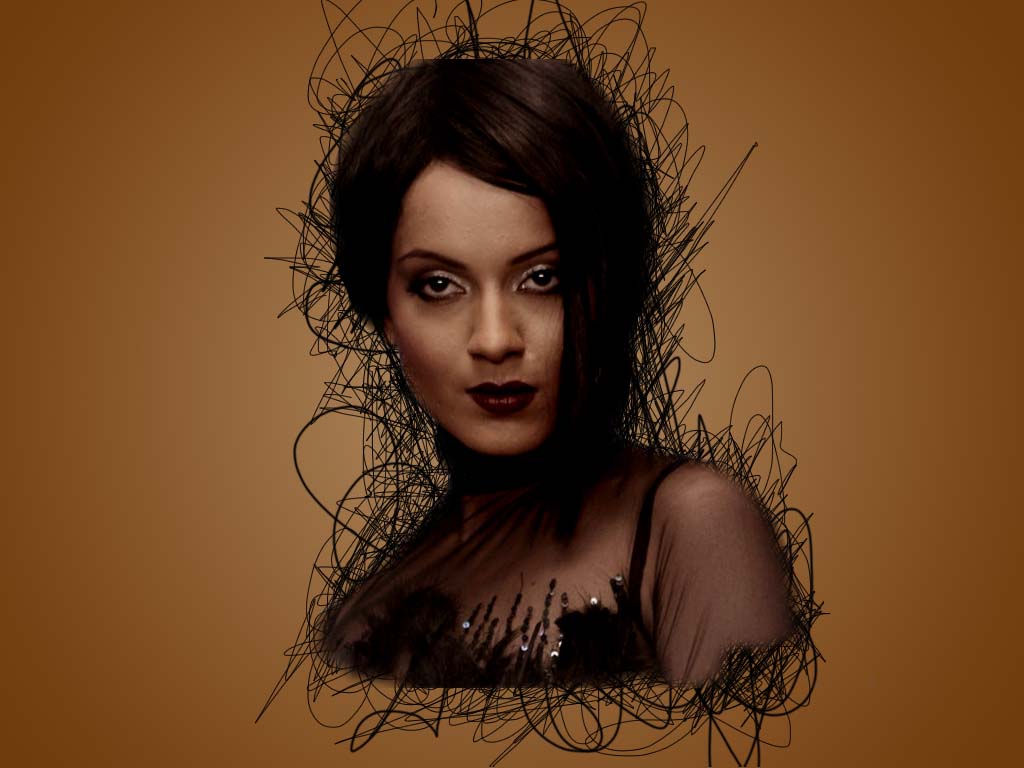
![Image Masking with pencil - add Object Image Masking with pencil - add Object](https://blogger.googleusercontent.com/img/b/R29vZ2xl/AVvXsEhuU0uqvGpOSEPun-zHkCxWau5LpCuLc1m77am_d5n4OjHAL9ZvcOFkT9fPq-GumOhgdaEzi64WcmgmRLcZ-Q2aoXVdbJKAF1rhyphenhyphenqBPHZMUFyAvtu_1Jf3P6bR3EpjBH3d8k7pqGRI7szY/s1600/77.jpg)
Just copy the image and paste on the our project at the top.
Step 5:
Now press hold ALT button from keyboard and take the cursor in between the border of the two layers (Layer2 and the layer1 which is to be masked).Note: press and hold ALT button until masking is done.
when the cursor symbol changes, just left click on the border.
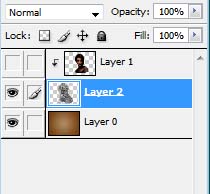
![Image Masking with pencil - Layers Image Masking with pencil - Layers](https://blogger.googleusercontent.com/img/b/R29vZ2xl/AVvXsEiMTGv2OaQYbnwmH-1o7wDf_I7yjxI5tw9XvqV_K-9uCl6e-0p01BJOY07cmT_ceS_4jRba80foHsgk7APxeAAY8FBSv8_qilzN7q8f_1DtttwX-RH0T94TYTp_FXzhNAsp-NZdC5M3NfY/s1600/66.jpg)
Now you will see the Layer1 become Masked.
![Image Masking with pencil - masked layer Image Masking with pencil - masked layer](https://blogger.googleusercontent.com/img/b/R29vZ2xl/AVvXsEh-YOHAx7dOmCtxvPu1Z86kwILmnXsV4ROi9LL0FiycVjGL301UAQXyuFzW1ANpw9xsg3mqnYj5vPR31xMEyI3udZ6GYIjy6IV9CThdbC47qWbsEOZBhVQh2fIR9WrUIZWv2XMXTDkQSvM/s1600/55.jpg)
If your object not fit in the mask, adjust the image by pressing Ctrl+t.
Step 6:
Add text on image by Horizontal type text tool ..
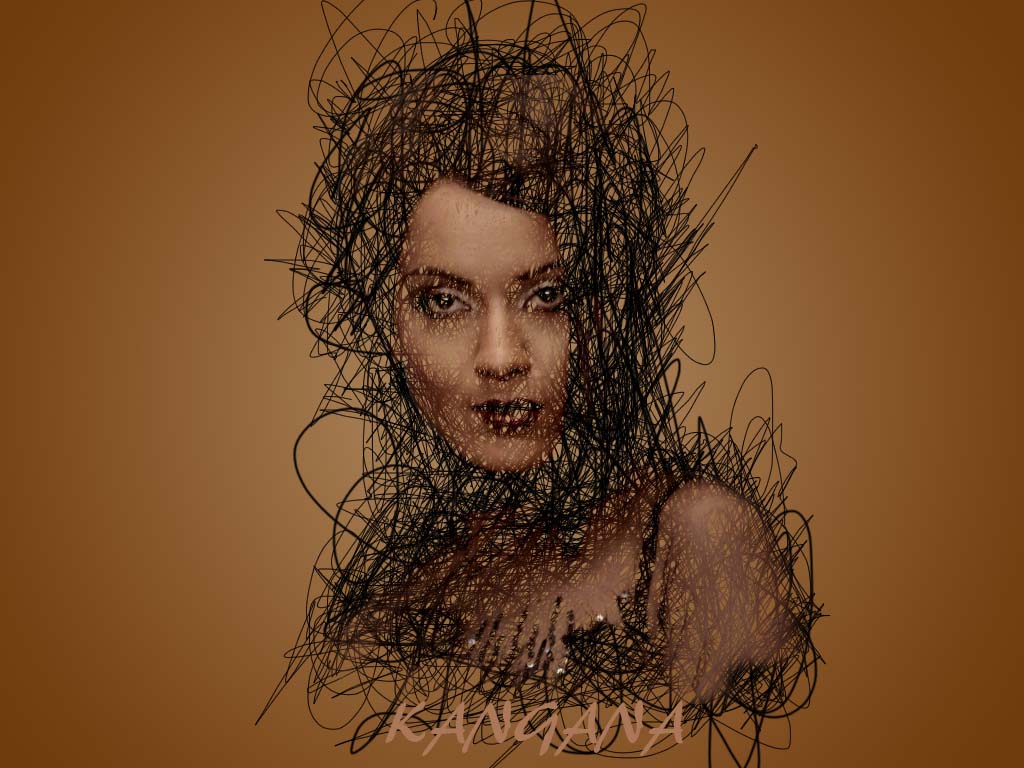
![Image Masking with pencil or brush photoshop tutorial for image masking with pencil](https://blogger.googleusercontent.com/img/b/R29vZ2xl/AVvXsEhAosJ7jrhGPW4Ba2Jf7MIGeEMA4OxTwO3zvqAHkmGGp5cGWWuPiTryO9tvMLDjfRj5obEZ0j9yJIKCzOykUZ-QsMataTN2RpmAYfksAcatWZC3wZ4eUr8t0tYJZTzK86A0WUkAC-rKOHA/s1600/final.jpg)
Done..!!
Subscribe to:
Post Comments (Atom)
0 comments:
Post a Comment